

Learning how to use a car jack to change a tire is a fundamental skill that every driver should possess. Whether you’re faced with a flat tire on the road or performing routine maintenance at home, knowing how to safely and effectively use a car jack can save you time, money, and inconvenience. The car jack serves as a crucial tool for lifting your vehicle off the ground, providing the necessary clearance to remove and replace a tire.
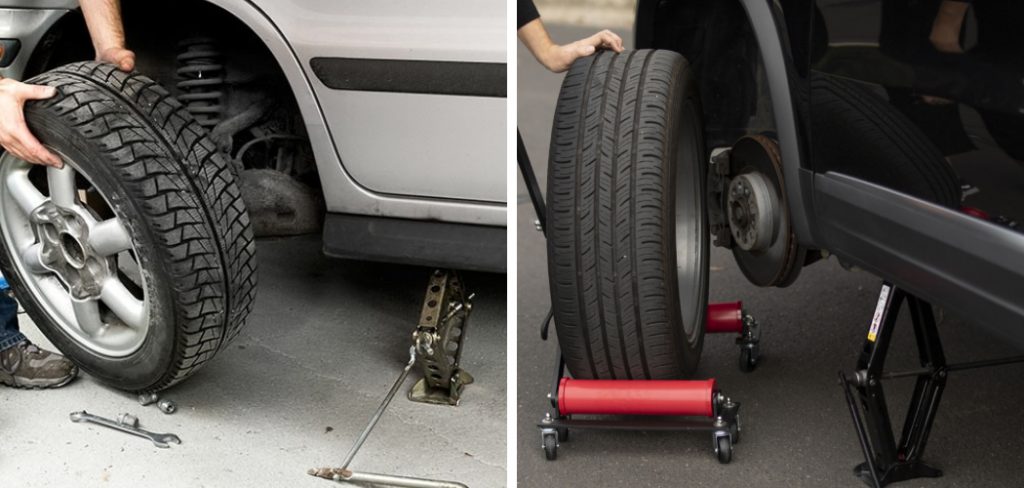
In this comprehensive guide, we’ll walk you through the step-by-step process of using a car jack to change a tire, covering essential safety precautions, proper jack placement, and efficient tire removal and installation techniques. Whether you’re a novice driver or an experienced car enthusiast, mastering the art of using a car jack to change a tire will empower you to handle unexpected roadside emergencies with confidence and ease.
Importance of Knowing How to Use a Car Jack
Grasping the correct usage of a car jack is not only a matter of convenience; it is a critical safety skill. In the event of a tire blowout or puncture, the ability to promptly and securely elevate your vehicle and change the wheel can mean the difference between a minor delay and a potentially hazardous situation. Moreover, relying on professional services is not always possible—particularly in remote areas or during off-hours. By familiarizing yourself with a car jack’s operation, you ensure that you are never stranded due to a lack of basic know-how, affirming your self-sufficiency and readiness to tackle common vehicle maintenance tasks.
Understanding the Car Jack
A car jack is a mechanical device engineered to lift a portion of a vehicle to a height sufficient enough to perform maintenance, such as changing a tire. There are several types of car jacks, including scissor jacks, bottle jacks, and floor jacks, each suitable for different vehicles and situations. A typical scissor jack, often included with a vehicle’s spare tire tools, utilizes a lead screw mechanism that elevates the car when the screw is turned.

A bottle jack, shaped like a bottle and using hydraulic power, offers more lift capacity and stability, making it ideal for heavier vehicles. Lastly, floor jacks are wheeled and also operate hydraulically, providing quick lifting with minimal effort and are favored for garage use. To choose the correct jack for your vehicle, refer to the owner’s manual for specifications and capacity guidelines. Understanding how your car jack functions are integral to ensuring safe and successful tire changes.
Different Types of Car Jacks
When selecting a car jack, it’s important to understand the different types available and choose one that best suits your vehicle’s requirements and the situations in which you might need to use it:
- Scissor Jacks: Compact and lightweight, scissor jacks are convenient for occasional use, especially roadside tire changes. Operated by a simple winding mechanism, they are typically provided with the vehicle’s spare tire kit.
- Bottle Jacks: Their design is more stable and robust, making bottle jacks suitable for lifting heavier vehicles. They use a hydraulic mechanism, which allows for a smooth and effortless lifting process.
- Floor Jacks: Also known as trolley jacks, floor jacks have wheels and provide a low profile, which is ideal for vehicles with lowered suspension. Their hydraulic system makes lifting quick and easy, but they are generally more suited for garage or workshop environments rather than for roadside emergencies due to their size and weight.
- Hi-Lift Jacks: These are specialized jacks designed for off-road vehicles and used in rugged conditions. They can lift the vehicle much higher than standard car jacks and are useful for performing repairs on uneven terrain.
Each type has its particular advantages and limitations. It’s essential to familiarize yourself with the jack you own or are considering purchasing. Always check the weight capacity to ensure it can support your vehicle and follow the manufacturer’s guidelines for use.
Safety Precautions When Using a Car Jack
Before you begin the process of lifting your vehicle with a car jack, it is paramount to practice safety precautions to prevent accidents and injuries. Here are key safety guidelines to follow:

- Find Stable Ground: Always park the vehicle on a firm and level surface to prevent the car jack from slipping or the vehicle from tipping over.
- Engage Parking Brake: Apply the parking brake to avoid any potential movement of the vehicle once it is lifted.
- Use Wheel Chocks: Place wheel chocks around the tires that remain on the ground to provide extra stability.
- Wear Proper Clothing: Remove any loose clothing and jewelry that could get caught in moving parts, and wear gloves to protect your hands.
- Check Jack Condition: Inspect the car jack for any visible damage or defects before use. Never use a compromised jack.
- Position Jack Correctly: Ensure the jack is placed under the designated jack points of your vehicle. Refer to the owner’s manual for precise locations.
- Stay Alert: Never put any part of your body under the vehicle while it is supported only by a jack. Always use jack stands for additional support if you need to work underneath the vehicle.
- Be Prepared: Keep a flashlight and reflective triangles or flares on hand to signal other motorists in case you’re working on the roadside.
Adhering to these safety measures can vastly reduce the risk of accidents during the tire changing process. Remember, preparation and caution are the keys to a safe and successful tire change when using a car jack.
Preparing the Vehicle for Jacking Up
Before lifting your vehicle with a car jack, it’s crucial to prepare the vehicle to ensure your safety and to prevent damage to the vehicle. Follow this step-by-step guide to prepare for the tire change process:
- Ensure Vehicle is in Park: For vehicles with automatic transmissions, ensure the car is in ‘Park,’ and for manual transmissions, put it in first gear or reverse.
- Turn Off the Engine: Switch off the vehicle’s engine, and if possible, remove the keys from the ignition to prevent any accidental engagement.

- Activate Hazard Lights: Turn on your hazard lights to alert other drivers that your vehicle is stationary and that you are performing maintenance.
- Apply the Parking Brake Firmly: Engaging the parking brake reduces the chance of the vehicle moving once raised.
- Place Wheel Chocks: Place heavy objects, like bricks or large rocks, or specially designed wheel chocks, behind the wheels at the opposite end of the car from the side that is to be lifted.
- Remove Wheel Cover (if applicable): If your wheels have covers or hub caps, remove them to access the lug nuts before lifting the car. Some vehicles may require the removal of the hub cap to access the tire’s valve stem or to use the factory jack.
Now that your vehicle is properly staged, you can proceed to position your car jack securely under the vehicle. Always double-check that you’re placing the jack at the manufacturer’s recommended lift points to avoid any damage.
10 Steps How to Use a Car Jack to Change a Tire
1. Prepare Your Vehicle and Safety Equipment:
Park your car on a flat, stable surface away from traffic. Engage the parking brake and place wheel chocks behind the wheels to prevent the car from rolling. Retrieve your spare tire, lug wrench, and car jack from your vehicle’s trunk. Make sure the tools are in good condition and functioning properly before proceeding.
Inspect your spare tire to ensure it is properly inflated and has adequate tread. If the tire is damaged or excessively worn, replace it with a new one. It’s also a good idea to have some basic tools and a flashlight on hand in case of emergencies.
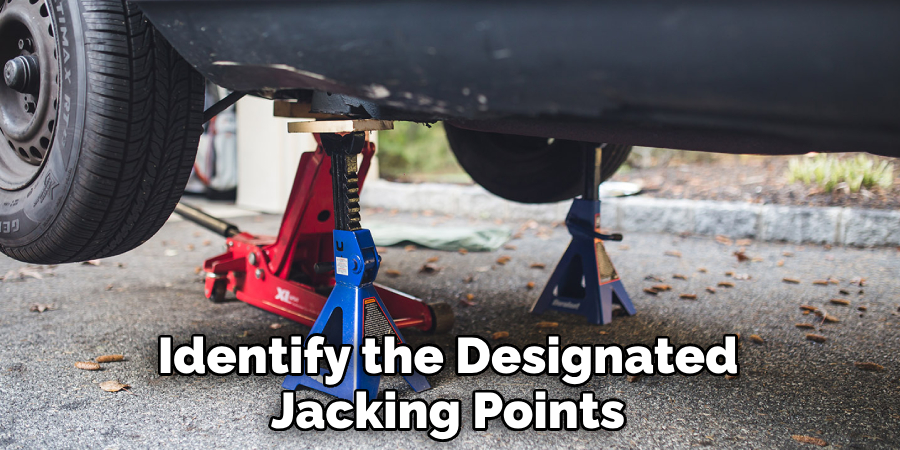
2. Locate the Jacking Points:
Refer to your vehicle’s owner’s manual to identify the designated jacking points. These are usually located along the vehicle’s frame or indicated by small notches or grooves. Placing the jack on these points ensures stability and prevents damage to the vehicle’s body. Although it may be tempting to use other parts of the vehicle, such as suspension components or exhaust pipes, as jacking points, this can cause serious damage and should be avoided.
Additional tips for finding the jacking points include looking for reinforced areas on the frame or underbody of the vehicle, as well as checking for any specific markings or labels from the manufacturer. It’s important to thoroughly inspect the jacking points before use to ensure they are in good condition and can safely support the weight of the vehicle.
3. Loosen the Lug Nuts:
Before lifting the vehicle, use the lug wrench to loosen the lug nuts on the flat tire. Loosen them slightly in a counter-clockwise direction, but do not remove them completely. This will make it easier to remove the lug nuts once the vehicle is lifted.
If the lug nuts are too tight to loosen by hand, use a breaker bar or pipe for added leverage. Be cautious not to apply too much force as this can damage the lug nuts or cause injury.
Once the lug nuts are loosened, locate the jack and place it under the vehicle’s designated lifting point. Refer to your vehicle’s manual for the specific location of the lifting point.
4. Position the Car Jack:
Place the car jack securely under the jacking point nearest to the flat tire. Ensure that the jack is positioned flat on the ground and aligned with the jacking point to prevent slippage or instability during lifting.
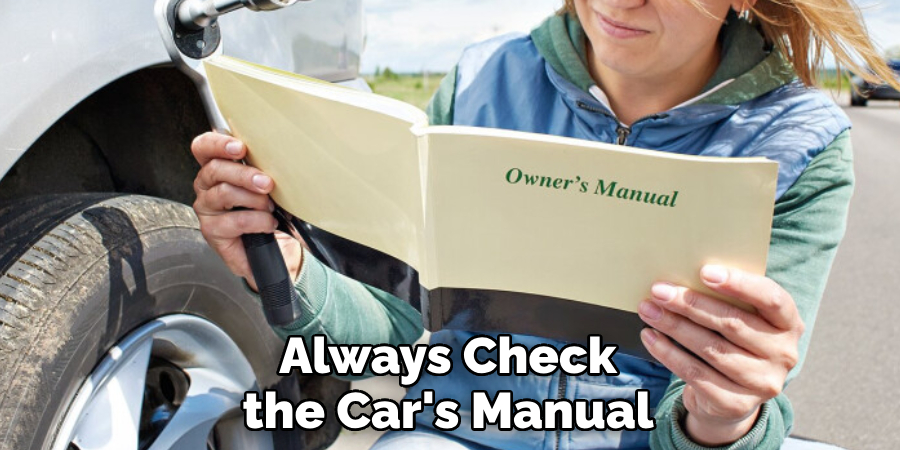
Additionally, always check the car’s manual for specific instructions on where to place the jack for your particular vehicle model. Some cars may have designated jacking points while others may require you to use specific areas of the frame. It is important to follow these guidelines to prevent any potential damage to your vehicle.
Before starting to lift the car, make sure that all passengers are safely out of the vehicle and that the car is in park with the emergency brake engaged. This will prevent any accidents or injuries while lifting the car.
5. Raise the Vehicle:
Use the jack handle to pump the jack up, lifting the vehicle off the ground. Pump the jack handle steadily and slowly, keeping an eye on the vehicle as it lifts. Stop lifting once the flat tire is completely off the ground and there is enough clearance to remove it.
Once the vehicle is lifted, it is important to make sure that it is stable and secure before proceeding. This can be done by double checking that the jack is properly positioned and that the vehicle is not leaning or swaying.
Once you have confirmed stability, use a lug wrench to remove the lug nuts from the flat tire. Place them in a safe location so they do not get lost.
6. Remove the Lug Nuts and Flat Tire:
With the vehicle lifted, use the lug wrench to fully remove the loosened lug nuts from the flat tire. Set the lug nuts aside in a safe place. Grip the flat tire firmly and pull it straight towards you to remove it from the wheel hub.
Next, place the flat tire on its side to prevent it from rolling away. Then, grab the spare tire and lift it up onto the wheel hub, lining up the lug nut posts with the holes in the wheel. Make sure that the spare tire is securely placed on the wheel hub before moving on to the next step.
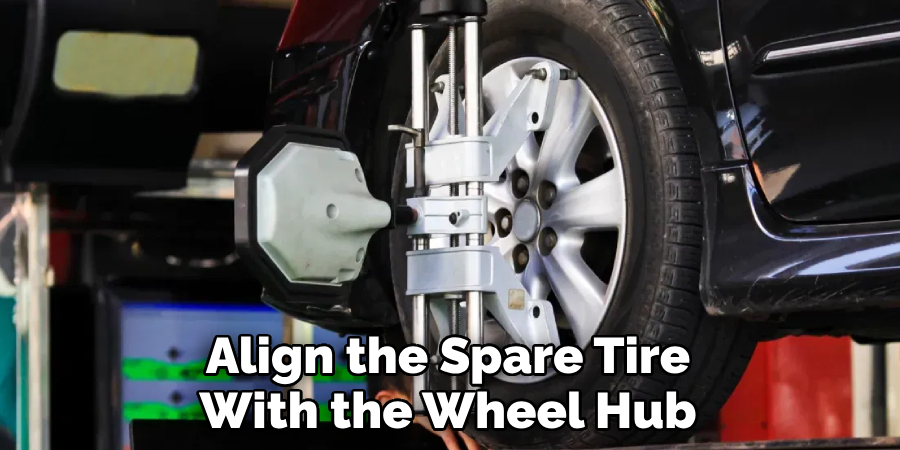
7. Install the Spare Tire:
Align the spare tire with the wheel hub, ensuring that the holes on the rim match up with the wheel studs. Slide the spare tire onto the wheel hub and push it firmly until it sits flush against the hub.
To secure the spare tire in place, use the lug nuts to hand tighten them onto the wheel studs. Do not fully tighten them yet as you may need to make slight adjustments later on.
Once the spare tire is secured, use a jack or wrench to lift the vehicle off the ground and remove the flat tire from the wheel hub. Carefully set it aside before lowering the vehicle back onto the ground.
8. Tighten the Lug Nuts:
Thread the lug nuts back onto the wheel studs by hand, ensuring that they are started correctly and not cross-threaded. Use the lug wrench to tighten the lug nuts in a star pattern, alternating between opposite lug nuts to ensure even tightening.
After tightening the lug nuts by hand, use a torque wrench to tighten them to the recommended torque specification. This is important for ensuring proper tension and preventing over-tightening, which can lead to stripped threads or damage to the wheel studs.
9. Lower the Vehicle:
Once the lug nuts are tightened, slowly lower the vehicle by turning the jack handle in the opposite direction. Lower the vehicle until the spare tire makes contact with the ground, but the full weight of the vehicle is not yet resting on the tire.
Once the vehicle is lowered, remove the jack and place it back in its designated spot in the trunk. Place any removed hubcaps or wheel covers back on the tire if applicable.
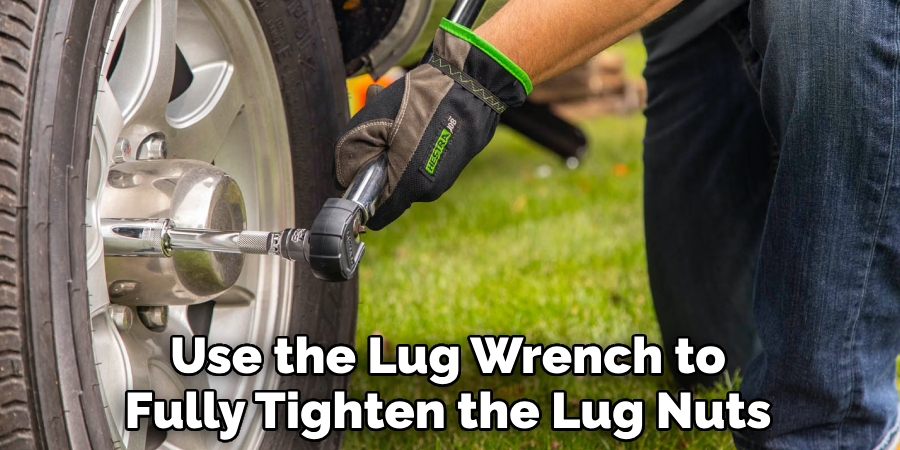
10. Final Tightening and Cleanup:
With the vehicle lowered, use the lug wrench to fully tighten the lug nuts in a star pattern. Check the tightness of each lug nut to ensure they are secure. Remove the jack from under the vehicle and stow it away properly. Finally, gather any tools and equipment used during the tire change and stow them back in the vehicle’s trunk. Additionally, take a moment to inspect the spare tire and ensure it is properly inflated. Although it may seem like a simple task, properly installing a spare tire is crucial for ensuring a safe and smooth ride.
Remember to always drive slowly and carefully when using a spare tire as they are not designed for long-term use. Be sure to visit a mechanic or replace the temporary spare with a new full-size tire as soon as possible. With these steps in mind, you can confidently change a flat tire and get back on the road in no time.
Conclusion
In conclusion, mastering the skill of using a car jack to change a tire is an essential aspect of responsible vehicle ownership. By following the ten detailed steps on how to use a car jack to change a tire, drivers can confidently handle unexpected flat tires and safely perform tire changes whenever necessary.
The process of using a car jack to change a tire requires attention to detail, adherence to safety precautions, and a systematic approach to ensure a smooth and successful outcome. With practice and familiarity, drivers can build confidence in their ability to handle roadside emergencies and maintain the reliability and safety of their vehicles. Remember to always prioritize safety, follow manufacturer guidelines, and keep necessary tools and equipment readily accessible in your vehicle for peace of mind on the road.