

Maintaining the ignition coil of your Jeep is crucial for optimal engine performance and longevity. The ignition coil plays a pivotal role in delivering high-voltage electricity to the spark plugs, igniting the air-fuel mixture in the combustion chamber. Over time, dirt, debris, and engine grime can accumulate on the ignition coil, potentially affecting its efficiency and leading to misfires or engine problems.

Cleaning the ignition coil is a simple yet essential maintenance task that can help ensure smooth engine operation and prevent costly repairs down the road. In this guide, we’ll explore the step-by-step process of how to clean jeep ignition coil safely and effectively.
Whether you’re a seasoned mechanic or a DIY enthusiast, learning how to properly clean the ignition coil will empower you to keep your Jeep running smoothly and reliably for miles to come.
Importance of Maintaining the Ignition Coil
Regularly maintaining the ignition coil is not just about cleanliness; it’s about preserving the overall health of your Jeep’s engine. A well-maintained ignition coil ensures consistent ignition, which is critical to maintain the engine’s power and efficiency.
When neglected, the accumulated contaminants can insulate the coil, leading to poorer conduction, reduced energy to the spark plugs, and ultimately a drop in engine performance. Such deterioration not only compromises the vehicle’s horsepower but can also lead to higher fuel consumption and increased emissions.
Moreover, a failing ignition coil can cause irregular sparks, resulting in inconsistent combustion and the potential for serious engine issues, including catastrophic failure. Thus, periodic cleaning is a proactive measure that helps to avoid the inconvenience and expense of emergency repairs.
Understanding the Ignition Coil
The ignition coil is essentially a high-voltage transformer comprised of two coils of wire – the primary and secondary windings. When the engine is started, the battery sends low-voltage power to the primary winding. This initially creates a magnetic field around the coil.
As the engine runs, the ignition module or the car’s computer controls this field by intermittently breaking the circuit and causing the magnetic field in the primary winding to collapse. As it collapses, it induces a high voltage across the secondary winding due to the many more turns of wire on the secondary.
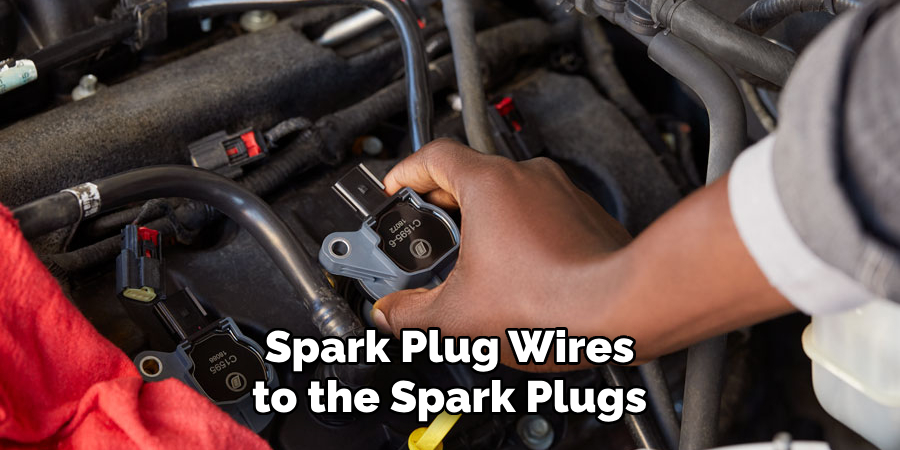
This high voltage, sometimes as much as 50,000 volts or more, is then channeled through the spark plug wires to the spark plugs, igniting the air-fuel mixture within the engine cylinders.
An ignition coil’s performance is pivotal for a precise spark timing and, therefore, efficient engine operation. Any disruption in this process, such as a dirty or failing coil, can lead to a weak spark or misfire, signifying the importance of routine inspections and cleaning as part of Jeep maintenance.
Function of The Ignition Coil
The function of the ignition coil in a Jeep is multi-faceted; at its core, it serves as a critical component in the ignition system, transforming the battery’s low voltage into the thousands of volts necessary to create an electric spark in the spark plugs. This spark is what ignites the air-fuel mixture within the combustion chambers of the engine, thereby creating the explosion that powers the engine.
In essence, without a properly functioning ignition coil, the engine would not be able to start or run efficiently. Its ability to produce a high-voltage spark at just the right moment is what ensures the engine’s performance, fuel efficiency, and overall reliability.
Gathering Necessary Tools and Materials
Before beginning the process of cleaning your Jeep’s ignition coil, it’s important to gather all the necessary tools and materials to ensure a smooth and successful maintenance routine. These tools are generally affordable and easy to obtain.
Here’s what you’ll need:
- A set of wrenches or a socket set
- A can of compressed air or a shop vacuum with a blower function
- Electrical contact cleaner or a dedicated ignition coil cleaner
- Clean lint-free cloths
- A small brush (an old toothbrush can work in a pinch)
- Dielectric grease
- Safety glasses
- Nitrile gloves
It’s critical to choose cleaners specifically designed for use with electronic components, as other types of cleaners could damage the ignition coil or other engine parts. Safety glasses and gloves will provide personal protection against dirt, debris, and any cleaning agents used in the process. Once you have these items ready, you’ll be well-prepared to clean the ignition coil effectively.
10 Steps how To Clean Jeep Ignition Coil
1. Disconnect the Battery:

Before beginning any work on your vehicle’s ignition system, it’s crucial to disconnect the battery to prevent electrical shocks or accidents. Locate the battery in your Jeep’s engine bay and use a wrench to loosen the negative terminal clamp. Once loosened, remove the negative terminal from the battery post and secure it away from the terminal to prevent accidental reconnection.
Then, loosen the positive terminal clamp and remove the positive terminal from the battery post. Place a towel or cloth over the exposed terminals to prevent any accidental contact.
It’s important to follow these steps carefully as failure to disconnect the battery can result in serious injuries or damage to your vehicle’s electrical system.
Once you have completed your work on the ignition system, be sure to reconnect the battery in the reverse order – positive terminal first, then negative terminal. This will ensure that your vehicle’s electrical system is properly reconnected and prevent any potential issues down the road.
2. Locate the Ignition Coil:
The ignition coil is typically located near the engine block, attached to the engine or firewall, depending on your Jeep’s model. Refer to your vehicle’s service manual or online resources to identify the precise location of the ignition coil in your Jeep.
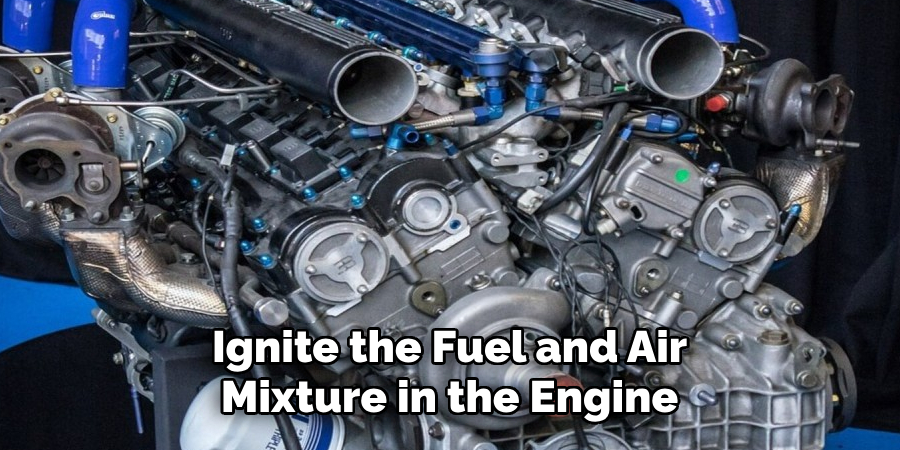
One of the main functions of the ignition coil is to convert low voltage from the battery into high voltage required by the spark plugs to ignite the fuel and air mixture in the engine. This process produces a spark, which ignites the fuel and creates combustion necessary for your Jeep to start and run properly.
3. Remove the Ignition Coil:
Use the appropriate tools, such as a socket wrench or screwdriver, to carefully remove any bolts or screws securing the ignition coil in place. Once the fasteners are removed, gently pull the ignition coil away from its mounting location, taking care not to damage any surrounding components or wiring.
It is also recommended to refer to the vehicle’s manual or seek assistance from a professional mechanic for specific instructions on removing the ignition coil. However, the basic steps are similar for most vehicles.
After removing the ignition coil, inspect it for any signs of damage or wear and tear. Common issues with an ignition coil include cracks, corrosion, or damaged wiring. If any problems are found, it is best to replace the ignition coil rather than attempting to repair it.
4. Inspect the Ignition Coil:
With the ignition coil removed, visually inspect it for any signs of dirt, debris, or corrosion. Pay close attention to the coil’s terminals and the area where it connects to the spark plug wires for any buildup that may impede electrical conductivity. If necessary, clean the coil with a damp cloth or compressed air.
Next, use a multimeter to test the resistance of the ignition coil. Set the meter to ohms and touch one lead to each of the coil’s terminals. The reading should fall within the manufacturer’s specified range, typically between 0.4 and 2 ohms. A reading outside of this range may indicate a faulty ignition coil that needs to be replaced.
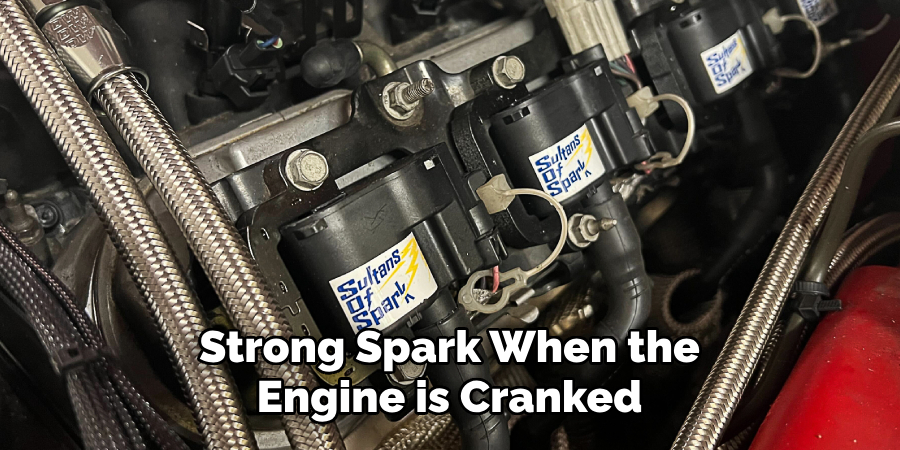
If the resistance test comes back within the specified range, the next step is to check for voltage output from the coil. Reconnect any disconnected wires and start the engine. Use a spark tester or an old spark plug connected to one of the spark plug wires to see if there is a strong spark when the engine is cranked.
5. Prepare Cleaning Equipment:
Before proceeding with cleaning, gather the necessary cleaning equipment. You will need compressed air, a soft-bristled brush, and a lint-free cloth. Additionally, you may use an electrical contact cleaner or isopropyl alcohol for stubborn residue.
Once you have gathered all your cleaning tools, it’s important to understand the proper usage of each item. Compressed air is used to blow away dust and debris from hard-to-reach areas such as keyboard keys or vents. Be sure to hold the can upright and use short bursts instead of continuously spraying.
A soft-bristled brush can be used for gently brushing away dust and dirt from surfaces without scratching them. It’s especially useful for cleaning the intricate parts of a computer or keyboard.
A lint-free cloth is essential for wiping down screens, keyboards, and other surfaces without leaving behind any fibers or residue. Microfiber cloths are recommended as they are gentle yet effective in picking up dust and smudges.
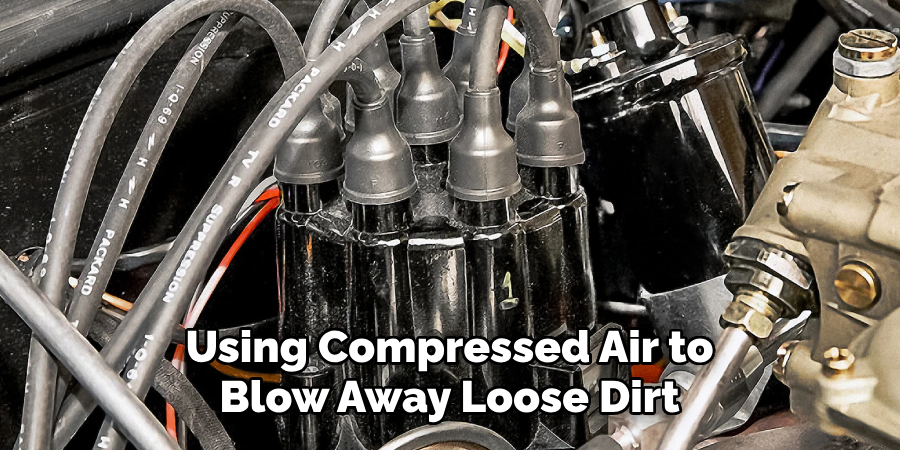
6. Use Compressed Air:
Begin the cleaning process by using compressed air to blow away loose dirt and debris from the surface of the ignition coil. Hold the nozzle of the compressed air canister a few inches away from the coil to avoid damaging delicate components. Move the nozzle back and forth to ensure all areas of the coil are blown clean.
After using compressed air, you can use a small brush or cotton swab to gently remove any remaining dirt or grime from the ignition coil. Be careful not to apply too much pressure, as this could damage the delicate wiring inside the coil.
Next, inspect the ignition coil for any signs of damage or corrosion. Look for cracks, dents, or discoloration on the surface of the coil. If there is significant damage, it may be necessary to replace the ignition coil.
7. Brush Away Residue:
For stubborn residue or buildup, use a soft-bristled brush to gently scrub the surface of the ignition coil. Pay particular attention to the areas around the terminals and connections, ensuring that all traces of dirt and corrosion are removed. Once the coil is clean, use a cloth to wipe away any remaining residue and allow it to air dry.
In addition to cleaning the ignition coils regularly, it’s important to also inspect them for any signs of damage or wear. Look for cracks or breaks in the plastic casing, as well as any frayed wires or loose connections. If you notice any issues, it’s best to replace the ignition coil before it causes further problems with your vehicle’s performance.
It’s also important to keep in mind that while regular cleaning and maintenance can extend the life of your ignition coils, they will eventually wear out over time. If you notice any issues with starting your vehicle or a decrease in engine performance, it may be a sign that your ignition coils need to be replaced. Consult your vehicle’s manual or a trusted mechanic for guidance on when to replace the ignition coils.
8. Clean with Electrical Contact Cleaner:
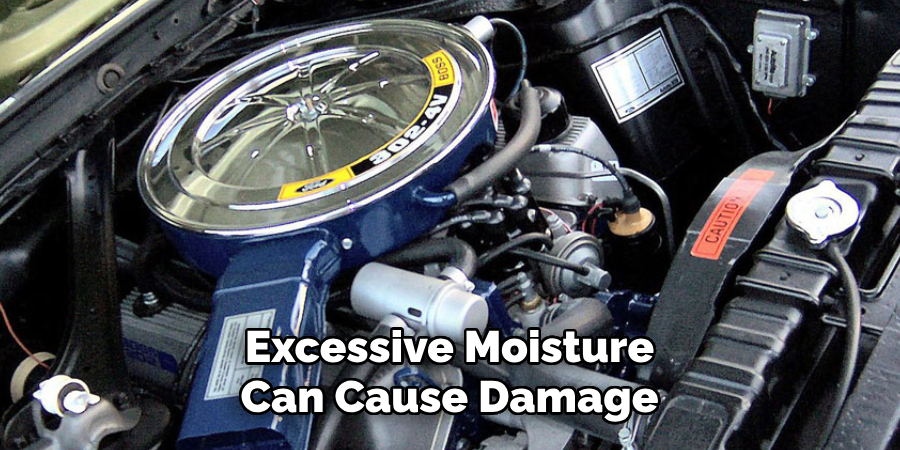
If necessary, apply a small amount of electrical contact cleaner or isopropyl alcohol to a clean cloth and gently wipe down the ignition coil’s surface. Be careful not to oversaturate the coil with cleaner, as excessive moisture can cause damage. Allow the cleaner to evaporate completely before continuing.
Once the coil is clean and dry, reinstall it back into its original position and reconnect any electrical connections. It’s important to make sure all connections are secure, as loose connections can cause issues with ignition or performance.
In addition to cleaning the ignition coil, it’s also a good idea to check the spark plugs for any buildup or damage. If necessary, clean or replace the spark plugs as well.
9. Dry the Ignition Coil:
After cleaning, allow the ignition coil to air dry completely before reinstalling it in your Jeep. Ensure that all cleaning agents have evaporated from the coil’s surface to prevent moisture-related issues. You can also use a clean cloth to gently pat dry the coil if needed.
To ensure that your ignition coil remains in good condition, it is recommended to regularly check for any signs of damage or wear. Inspect the coils for cracks, corrosion, or other visible damage. If you notice any issues, it may be time to replace the ignition coil altogether.
Additionally, make sure to keep the ignition coil and its surrounding area clean from any debris or dirt. This will help prevent potential build-up of contaminants that can affect the performance of your Jeep’s engine.
10. Reinstall the Ignition Coil:
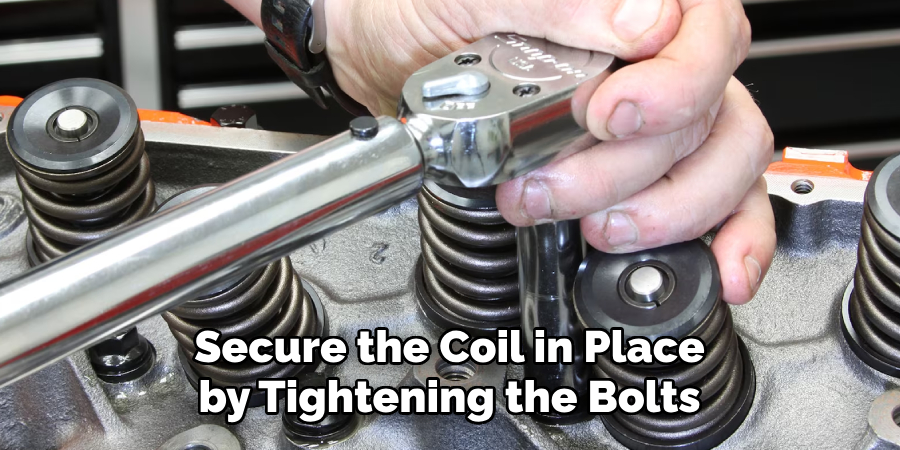
Once the ignition coil is thoroughly cleaned and dried, carefully reinsert it into its mounting location. Secure the coil in place by tightening the bolts or screws removed earlier, ensuring a snug fit without over-tightening. Finally, reconnect the battery by reattaching the negative terminal clamp to the battery post and tightening it securely.
It is important to note that different vehicles may have different installation processes for the ignition coil. It is always recommended to consult the vehicle’s manual or a professional mechanic for specific instructions and precautions before attempting to reinstall the ignition coil.
In addition, it is also recommended to regularly inspect and clean the ignition coil as part of routine vehicle maintenance. This can help prevent build-up and potential malfunctions in the future.
Testing and Maintenance
Once the ignition coil has been reinstalled, it’s critical to conduct a test to ensure it’s operating properly. Start the vehicle and observe the engine’s performance, listening for any irregularities such as misfiring or stalling, which could indicate an issue with the installation.
If the engine runs smoothly, you can proceed to run a diagnostic test with an OBD II scanner, if available, to check for any trouble codes that the vehicle’s computer system may have registered.
Regular maintenance checks on the ignition coil are also paramount to prolong the lifespan of your engine components. Create a maintenance schedule that includes inspecting the coil for signs of wear, corrosion, or damage at regular intervals, which could be aligned with oil changes or other routine service tasks. If any damage is detected during these inspections, replace the coil promptly to avoid any further engine problems.
Conclusion
In conclusion, taking the time to clean your Jeep’s ignition coil is a proactive step in maintaining optimal engine performance and reliability. By following the detailed steps outlined in this guide on how to clean jeep ignition coil, you can effectively remove dirt, debris, and grime that may hinder the ignition coil’s function.
A clean ignition coil ensures consistent delivery of high-voltage electricity to the spark plugs, promoting smooth engine operation and minimizing the risk of misfires or other engine issues.
Regular maintenance of the ignition coil not only extends the lifespan of this critical component but also contributes to overall vehicle longevity and performance. Remember to exercise caution and follow safety guidelines when working on your Jeep’s ignition system. With proper care and maintenance, you can enjoy years of trouble-free driving and keep your Jeep running at its best.

About
JeepFixes Team is a skilled author for Jeep Fixes, bringing 6 years of expertise in crafting a wide range of jeep fixes. With a strong background in jeep fixes work, JeepFixes Team’s knowledge spans various types of fixtures, from decorative pieces to functional hardware, blending precision with creativity. His passion for jeep fixes and design has made him a trusted resource in the industry.
Professional Focus:
Expert in Jeep Fixes : JeepFixes Team aesthetic specializes in creating durable and innovative jeep fixes, offering both appeal and functionality. His work reflects a deep understanding of jeep fixes techniques and materials.
Sustainability Advocate : He is dedicated to using sustainable practices, ensuring that every fixture is crafted with eco-friendly methods while maintaining high-quality standards.
In his writing for jeep fixes, JeepFixes Team provides valuable insights into the latest trends, techniques, and practical advice for those passionate about jeep fixes, whether they are professionals or DIY enthusiasts. His focus on combining artistry with engineering helps others discover the true potential of jeep in design.