

When it comes to maintaining or customizing your Jeep, knowing how to remove the tailgate trim is a valuable skill. The tailgate trim not only adds aesthetic appeal but also serves functional purposes, such as housing various components like the latch mechanism and wiring. Whether you’re upgrading the trim for a sleeker look or need access to underlying parts for repair, understanding the removal process is essential.
In this guide, we’ll explore step-by-step instructions on how to remove jeep tailgate trim from your Jeep. From identifying attachment points to utilizing the right tools, mastering this procedure will empower you to tackle a range of maintenance and customization tasks with confidence.
Whether you’re a seasoned DIY enthusiast or a novice Jeep owner, learning how to remove the tailgate trim opens up a world of possibilities for personalizing and maintaining your vehicle.
The Importance of Knowing How To Remove Jeep Tailgate Trim
Removing the Jeep tailgate trim isn’t merely a matter of preference; it’s an essential skill for any Jeep owner looking to maintain their vehicle’s longevity and functionality. Knowing how to carefully remove the trim allows you to inspect and repair tailgate components without causing damage to the vehicle or the trim itself.
Furthermore, for those who love customization, this knowledge provides the freedom to modify and adjust the aesthetics of the tailgate area with new trims or accessories. It’s a crucial piece of understanding that empowers Jeep enthusiasts to take full control of their vehicle’s condition and appearance.
Understanding the Tailgate Trim
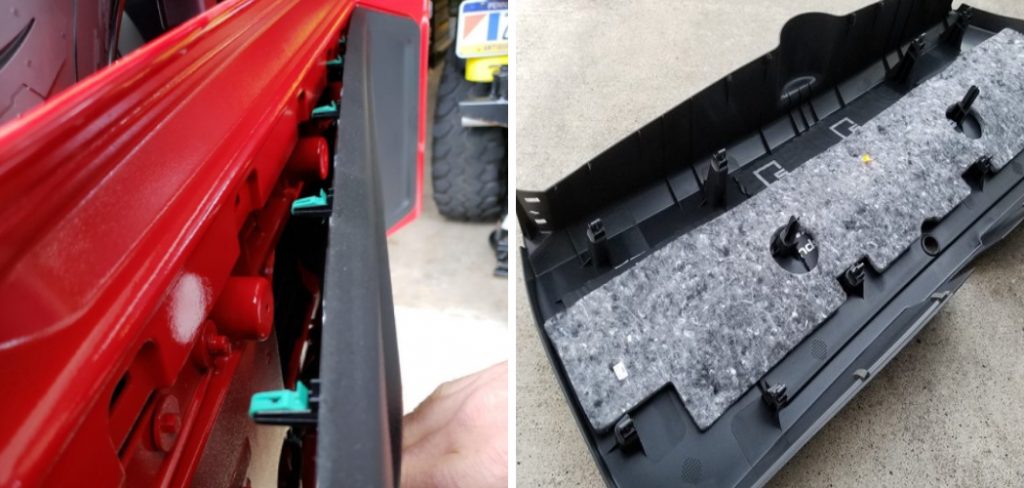
Before attempting to remove the tailgate trim, it’s important to understand its structure and function. The tailgate trim panel is designed to protect and conceal the inner workings of the tailgate, including the latch mechanism, wiring, and backup camera connections, if equipped.
Typically made from durable plastic or metal, the trim is attached to the tailgate with a combination of screws, clips, and retaining fasteners. Some models may feature a trim with integrated lights or decorative elements that contribute to the Jeep’s overall styling.
By familiarizing yourself with the components and their purpose, you’ll be better prepared to handle the trim removal process without accidental damage or undue force.
Components of the Tailgate Trim
The Jeep tailgate trim assembly is composed of several key components working together to enhance both the vehicle’s functionality and appearance. Here’s a breakdown of what you may find:
- Trim Panel: The main piece that covers the interior mechanics of the tailgate. It is usually crafted from high-quality plastic or metal, designed to withstand the elements and the rigors of driving.
- Screws and Fasteners: These are used to secure the trim panel to the tailgate. There can be a variety of screws, so a full set of tools may be required to remove them all.
- Retaining Clips: These help to hold the trim in place on the tailgate, providing a firm fit that prevents rattling or movement.
- Latch Mechanism Housing: This protects the mechanism that opens and closes the tailgate.
- Electrical Wiring Conduit: If your Jeep is equipped with a rear camera or other electronic devices on the tailgate, the wiring will typically be run behind or within the trim.
- Decorative Elements: Some trims may include additional aesthetic features, like emblems, badges, or integrated lighting that contributes to the overall look of the vehicle.

Understanding the composition and layout of these components is the first step toward successful removal and replacement of the Jeep tailgate trim.
Gathering Necessary Tools and Materials
Before you begin the process of removing your Jeep’s tailgate trim, it’s crucial to gather all the necessary tools and materials to ensure a smooth operation. This will not only save time but also prevent any potential damage to your vehicle. Here’s what you’ll need:
- Flathead Screwdriver: A flathead screwdriver will be used to gently pry off the trim panel. It’s advisable to wrap the end with a cloth to avoid scratching the paint or trim surface.
- Torx Bit Set: Jeep vehicles typically use Torx screws, so a complete set of Torx bits is essential for removing various sized fasteners.
- Trim Removal Tool: This specialized tool is designed to safely remove trim panels and retaining clips without causing damage.
- Pliers: Pliers may be necessary to grip and remove retaining clips or fasteners that are difficult to release.
- Magnetic Parts Tray: Keep screws and fasteners organized and prevent loss with a magnetic parts tray.
- Work Gloves: Protect your hands with a pair of work gloves, especially when handling sharp edges or metal components.
- Flashlight or Work Light: Proper lighting can help you see hidden fasteners and make the job easier, especially in low light conditions.
Having these tools at your disposal will prepare you for a hassle-free removal of the Jeep tailgate trim, allowing you to proceed with confidence.
10 Methods How To Remove Jeep Tailgate Trim
1. Gather the Necessary Tools:
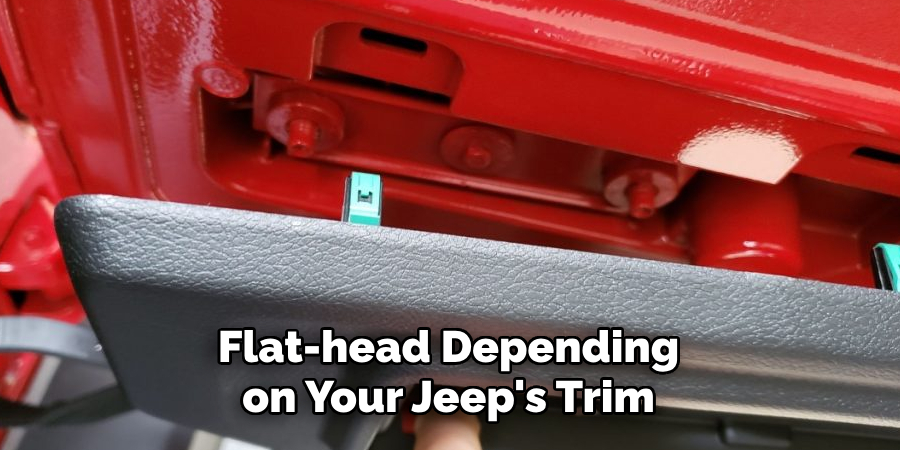
Before starting the removal process, gather all the tools you’ll need. This typically includes a screwdriver (Phillips or flat-head depending on your Jeep’s trim), trim removal tools, pliers, and a socket set. You may also need a wrench or ratchet if your Jeep has a manually-operated antenna.
Once you have all the necessary tools, start by removing the mounting nut located on the base of the antenna. This is usually a 10mm or 12mm bolt, but it may vary depending on your specific model.
Next, remove the inner fender liner and any other components that may be blocking access to the antenna. This may include plastic clips or screws, so be sure to keep track of them and store them in a safe place for re-installation later.
2. Park Your Jeep on a Flat Surface:
Ensure your Jeep is parked on a flat surface and engage the parking brake to prevent any movement while you work on removing the tailgate trim.
It is important to make sure that your Jeep is parked on a flat and stable surface before attempting to remove the tailgate trim. This will help ensure that the vehicle remains steady and secure while you work, making the process safer and easier.
If your Jeep is not parked on a level surface, it may tilt or shift unexpectedly while you are working on removing the trim, increasing the risk of injury or damage to your vehicle.
In addition, engaging the parking brake will further stabilize the Jeep and prevent any potential movement. This is especially important if you are working alone and do not have someone else to hold the vehicle steady for you.
3. Open the Tailgate:
Begin by opening the tailgate of your Jeep to access the trim from the inside. Make sure to also unlock the tailgate if it has a lock.
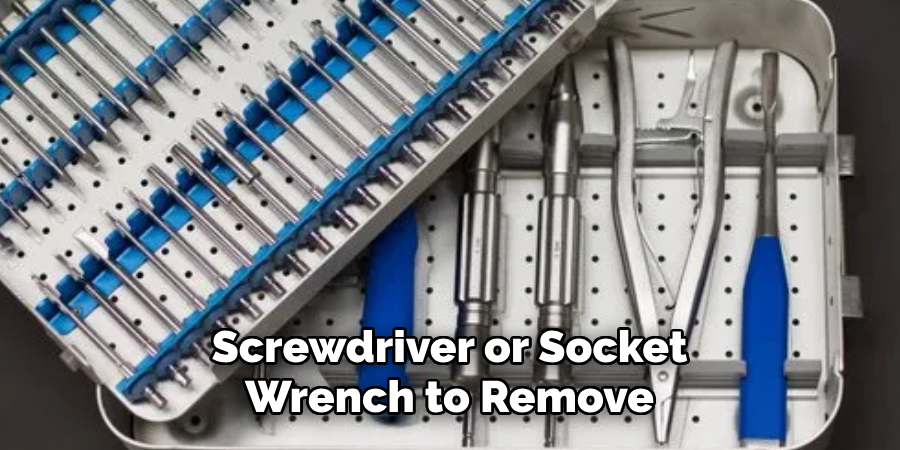
The next step is to remove any existing bolts or screws that are holding the trim in place. These can typically be found along the edges of the trim and may require a screwdriver or socket wrench to remove. Be sure to set these aside in a safe place so they don’t get lost.
Once all the bolts and screws are removed, carefully pull the trim away from the tailgate. It may be attached with clips or adhesive, so take your time to avoid causing any damage.
To remove a clip, use a small pry bar or flathead screwdriver to gently pop it out of place. If there is adhesive, slowly and steadily pull the trim away while applying gentle pressure to loosen it.
4. Identify Attachment Points:
Take a close look at the tailgate trim to identify the attachment points. These are usually screws, clips, or fasteners that hold the trim in place. Make sure to have a Phillips head or flat-head screwdriver, and pliers on hand in case you need them.
Once you’ve identified the attachment points, begin by removing the screws with the appropriate screwdriver. If there are clips holding the trim in place, gently pry them open using a flat-head screwdriver or your fingers. For fasteners, use pliers to loosen and remove them.
It’s important to keep track of the screws, clips, and fasteners as you remove them so that they can be easily reattached later.
When removing tailgate trim, it’s also important to take caution not to use too much force or pressure, as this could cause damage to the trim or surrounding areas. If a clip or fastener seems particularly difficult to remove, try using a lubricant like WD-40 to help loosen it.
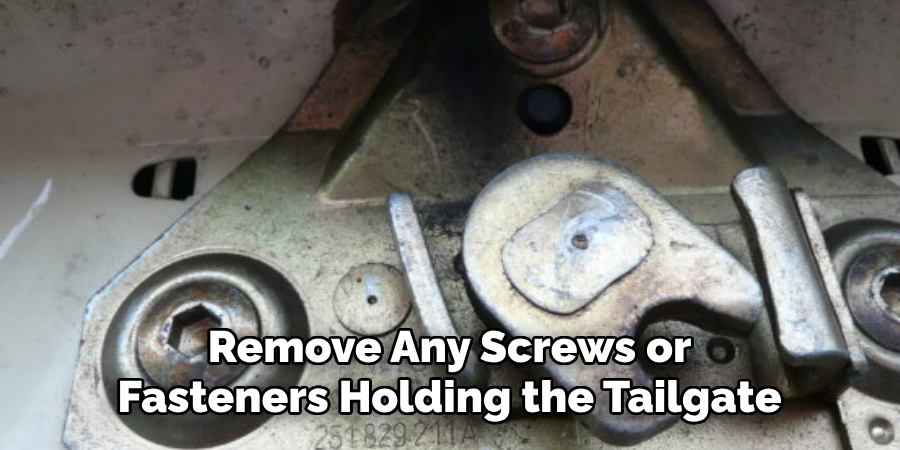
5. Remove Screws or Fasteners:
Use the appropriate tools to remove any screws or fasteners holding the tailgate trim in place. Be sure to keep track of these screws or fasteners as you’ll need them for reassembly later.
If you’re having trouble finding the right tools, consult your vehicle’s manual for guidance. It’s important to use the correct size and type of tool to avoid damaging the screws or fasteners.
Once you have removed all the necessary screws or fasteners, carefully lift off the tailgate trim and set it aside. Be careful not to force it off or bend it in the process. If you encounter resistance, double check to make sure all screws or fasteners have been removed before continuing.
6. Disconnect Wiring or Connectors (if applicable):
Some Jeep models may have wiring or connectors attached to the tailgate trim, particularly if there are features like a rearview camera or third brake light integrated into the trim. Carefully disconnect any wiring or connectors before attempting to remove the trim completely.
While disconnecting, make sure to keep track of which wire or connector goes where so that reassembly is easier later on. It may also be helpful to take pictures or label the wires and connectors to ensure proper placement during reassembly.
Once the wiring or connectors are disconnected, gently remove the trim from the tailgate. Be careful not to bend or damage any of the components attached to the trim, as this could cause issues when reinstalling later on.
7. Use Trim Removal Tools:
If the trim is held in place by clips, use trim removal tools to gently pry the trim away from the tailgate. Work slowly and carefully to avoid damaging the trim or surrounding components. These tools can also be used to remove any adhesive or double-sided tape that may be securing the trim in place. Additionally, if the trim is secured by screws or bolts, use a screwdriver or socket wrench to loosen and remove them.
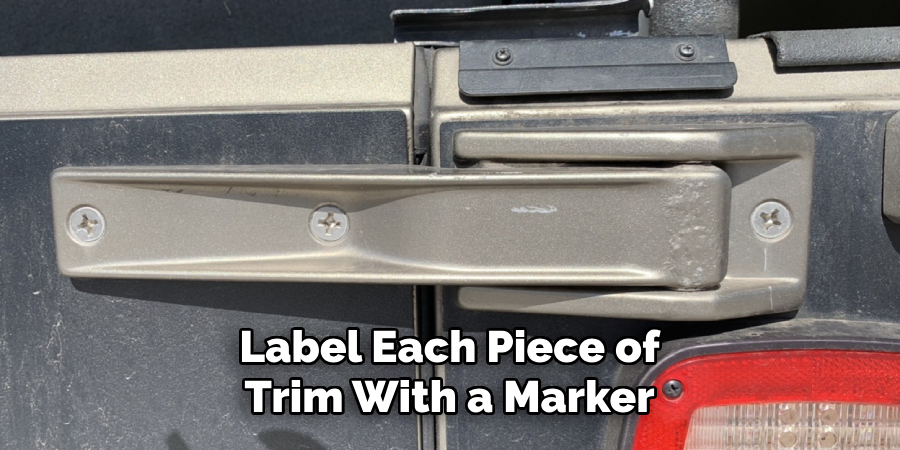
Once the trim has been removed, take note of its location and placement for ease of reinstallation later. If necessary, label each piece of trim with a marker or tape to keep track of which piece goes where.
8. Work Around the Trim:
Work your way around the perimeter of the trim, gradually releasing each clip or fastener until the trim is free from the tailgate. Be careful not to force or bend the trim during this process, as it can easily break or become damaged.
Once the trim is removed, use a clean cloth and some mild soap solution to wipe down the tailgate surface. This will remove any dirt or residue left behind by the trim and help ensure a smooth installation of the new trim.
Before installing the new trim, make sure to inspect it for any defects or damages. If the trim is not in perfect condition, contact the manufacturer for a replacement.
When installing the new trim, start at one end and work your way along the tailgate, gently pressing each clip or fastener into place. Make sure that the trim is securely attached and there are no gaps or loose sections.
9. Inspect for Additional Attachment Points:
Sometimes, there may be hidden attachment points or screws that are not immediately visible. Take a thorough look around the trim to ensure all attachment points are identified and addressed. It is also important to check for any additional attachment points on the interior panels or components, as these can often be overlooked during an inspection.
When inspecting for additional attachment points, it is important to pay attention to details and look for small screws or clips that may secure a piece of trim. These attachment points may not be obvious at first glance, but they can still cause issues if they are not properly secured.
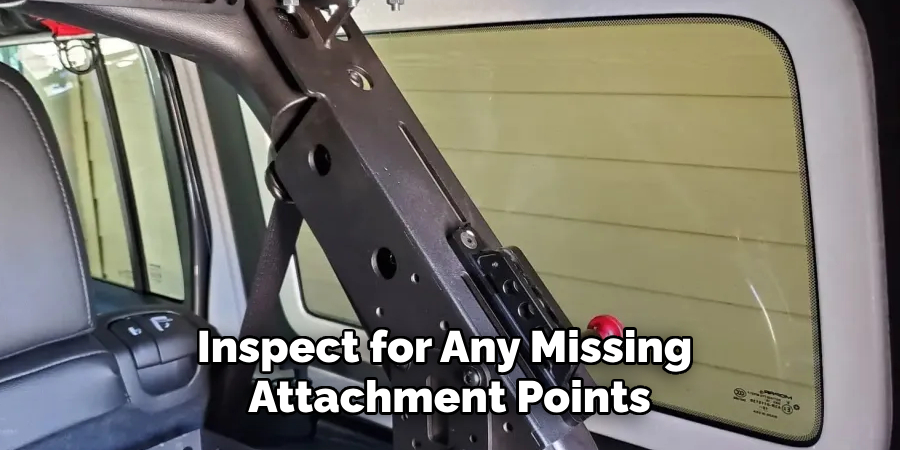
In addition, it is important to inspect for any missing attachment points. Over time, screws or clips may become damaged or lost, leaving a piece of trim vulnerable to coming loose. Make sure to replace any missing attachment points before reattaching the trim.
10. Carefully Remove the Trim:
Once all attachment points are released, carefully remove the tailgate trim from the Jeep. Be mindful of any wiring or connectors that may still be attached and ensure they are disconnected before fully removing the trim.
As you remove the trim, inspect it for any damage or wear and tear. If necessary, clean the trim before reinstalling it. You can use a mild detergent and water solution to gently clean the trim, but be sure to dry it completely before reattaching it.
Handling Trim Components
After the clean-up, it’s important to properly handle and store the trim components to avoid any scratches or damage. Use a soft cloth to cradle the trim during transport, and if storing, keep it in a safe area where it’s not prone to being knocked or weighted down by other items.
Maintaining the integrity of the trim is key to ensuring a flush fit upon reinstallation, preserving the aesthetic and protective qualities of the vehicle. However, if there is any noticeable damage to the trim, it’s best to replace it before reinstalling.
Troubleshooting
When you encounter issues with trim components, it’s crucial to diagnose problems efficiently. If the trim doesn’t fit properly, double-check for any residual adhesive or clips that might be obstructing a flush mount. For squeaks or rattles, inspect the trim for tightness and confirm that all fasteners are secure.

Should the trim still exhibit movement, consider adding foam tape or rubber inserts to dampen noise and improve the stability of the component. Lastly, if you have difficulties with trim color match after reinstallation, UV exposure or cleaning agents may have altered the original color. In such cases, consult with a vehicle color specialist to explore painting or treatment options that can revive the trim to its intended appearance.
Conclusion
In conclusion, mastering the process of removing the Jeep tailgate trim offers Jeep owners a versatile skillset for both maintenance and customization endeavors. By following the detailed steps outlined in this guide, enthusiasts can confidently access underlying components, perform repairs, or upgrade their vehicle’s aesthetic appeal with new trim options.
Additionally, understanding the removal process empowers owners to tackle various DIY projects, saving time and money on professional services.
As with any automotive task, attention to detail and patience are key to ensuring a successful outcome without causing damage to the trim or surrounding components. With the knowledge gained from this guide, Jeep owners can embark on their journey of tailgate trim removal with confidence, knowing they have the necessary skills to achieve their desired results effectively and safely.
Thanks for reading, and we hope this has given you some inspiration on how to remove jeep tailgate trim!