
Painting a leaf spring is not only a matter of aesthetics but also crucial for preventing rust and prolonging the lifespan of the spring. Whether you’re restoring an old vehicle or maintaining your current ride, a well-painted leaf spring can also contribute to the overall visual appeal of your vehicle’s undercarriage.

In this guide on how to paint leaf spring, we’ll walk you through the necessary steps to effectively clean, prepare, and paint your leaf springs, ensuring a durable and professional-looking finish.
What is a Leaf Spring?
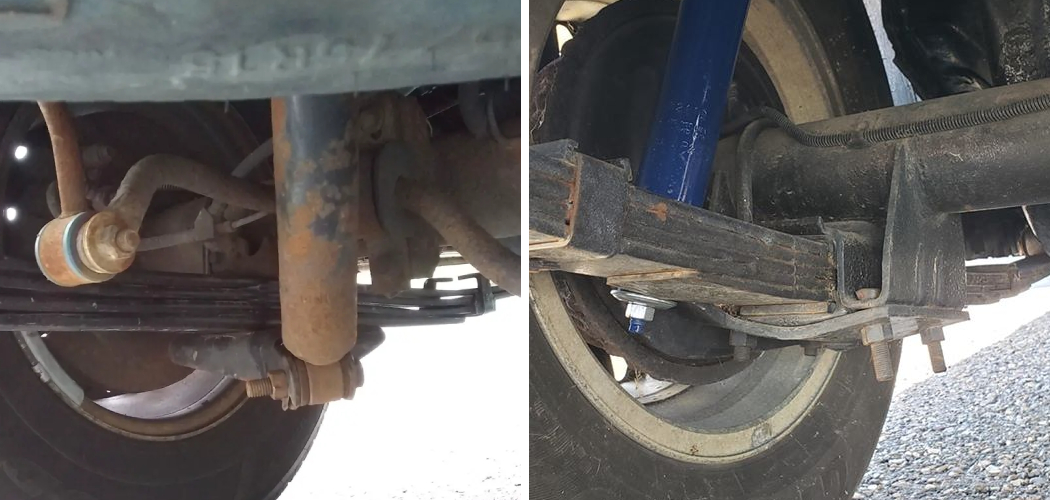
A leaf spring is a type of suspension system commonly used in vehicles to support the weight of the vehicle and absorb shocks from bumps on the road. It consists of several layers, or leaves, of flexible metal strips stacked on top of each other and held together by bolts. The bottom layer, called the main leaf, is attached to the axle while the remaining layers, called helper leaves, provide additional support and stability.
Why Paint Your Leaf Spring?
Apart from improving the appearance of your vehicle, painting your leaf spring has several benefits. These include:
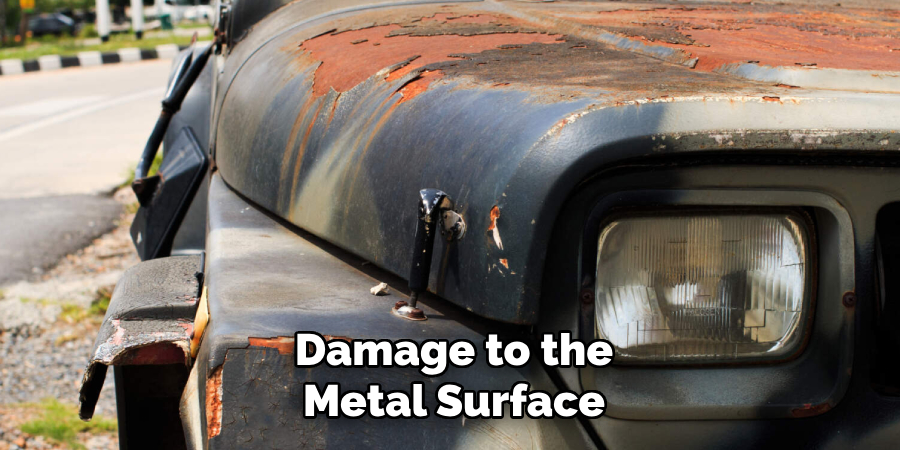
Preventing Rust:
Rust can significantly weaken and damage a leaf spring, leading to potential suspension failure. By applying a coat of paint, you create a protective barrier against moisture and other elements that cause rust.
Enhancing Durability:
A painted leaf spring is less prone to wear and tear caused by friction, reducing the need for frequent replacements.
Adding Value:
If you plan on selling your vehicle, a painted leaf spring can make it more attractive to potential buyers and increase its resale value.
Things To Consider Before Painting Your Leaf Spring
Before diving into the painting process, there are a few things you should keep in mind to ensure successful results.
Cleanliness:
Properly cleaning your leaf spring is crucial before painting as any dirt or debris can compromise the adhesion of the paint and affect its overall finish.
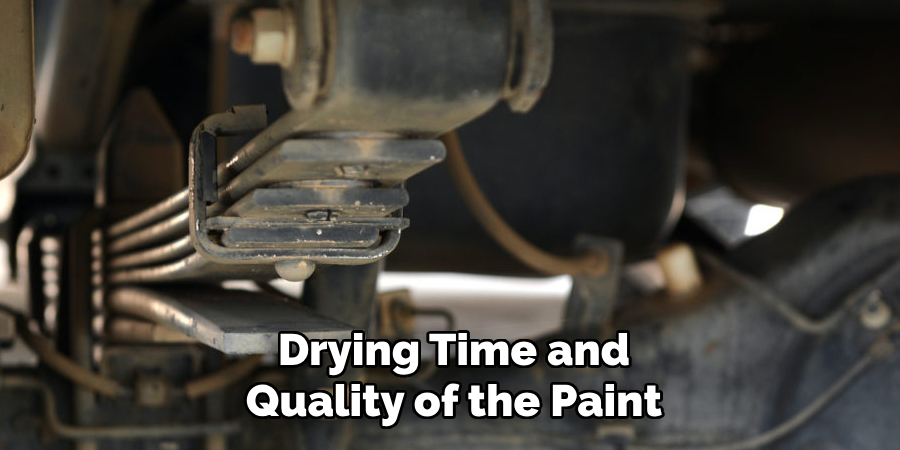
Weather Conditions:
Painting should be done in a well-ventilated area with moderate temperature and humidity. Too much heat or cold can affect the drying time and quality of the paint.
Type of Paint:
There are various types of paint available, such as enamel, acrylic, and urethane. It’s essential to choose one that is suitable for metal surfaces and can withstand outdoor elements.
Materials Needed
Before painting your leaf springs, make sure you have the following materials on hand:
Sandpaper or Wire Brush for Removing Rust and Debris
Sandpaper or a wire brush is essential for removing any rust and debris on the surface of the leaf spring. Rust not only affects the appearance of your leaf springs but can also weaken the metal, compromising its functionality.
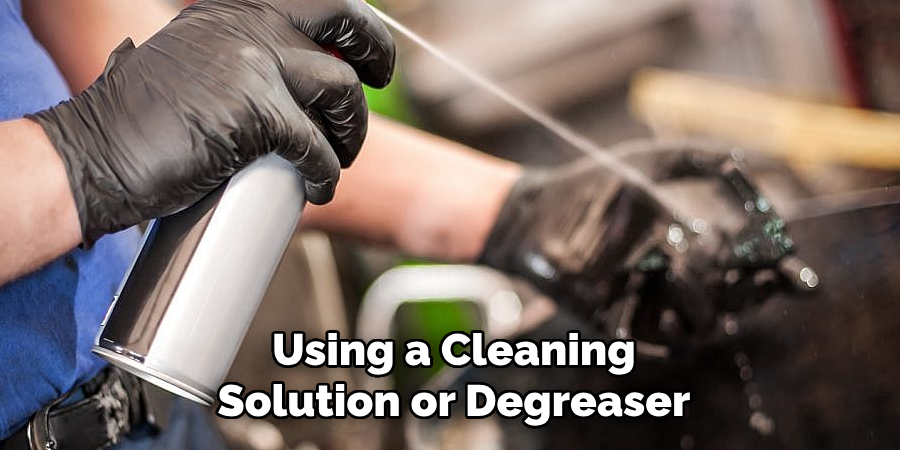
Cleaning Solution or Degreaser
A cleaning solution or degreaser will help remove any dirt, grime, and oil buildup on the surface of the leaf spring. This is crucial for ensuring proper adhesion of the paint.
Primer
Primer acts as a base coat and prepares the surface of the leaf spring for painting. It helps improve paint adhesion and overall durability.
Spray Paint or Paint Brush and Enamel Paint
You can choose to use spray paint or a paintbrush with enamel paint for painting your leaf springs. Spray paint is quick and easy to apply, while a paintbrush allows for better control and precision.
Clear Coat (optional)
A clear coat can be used as a protective top coat to enhance the shine of your painted leaf spring and provide added protection against scratches and UV rays.
11 Step-by-step Guidelines on How to Paint Leaf Spring
Step 1: Choosing the Right Paint and Materials
As mentioned earlier, it’s crucial to choose paint and materials suitable for metal surfaces and outdoor use. Enamel or urethane-based paints are recommended for their durability. You’ll also need sandpaper or a wire brush, a cleaning solution or degreaser, primer, and an optional clear coat.
If you’re using a paintbrush, make sure it’s appropriate for painting metal surfaces. The size of the brush should depend on the size and shape of your leaf spring. But before purchasing any materials, make sure they are compatible with each other.
Step 2: Preparing Your Leaf Spring for Painting
Start by removing the leaf spring from your vehicle. This will make it easier to clean and paint without worrying about overspray or damaging other parts of your vehicle. Place the leaf spring on a flat surface, preferably outside where there is good ventilation.
You may also want to lay a drop cloth or old newspaper underneath to catch any debris or paint. It’s essential to work on a clean, dry surface. The leaf spring must be free of any dirt, rust, and oil.
Step 3: Removing Rust and Debris
Using sandpaper or a wire brush, remove any rust and debris on the surface of the leaf spring. Move in a circular motion to ensure you cover all areas evenly. You may also use a power drill with a wire brush attachment for faster and more effective rust removal. Wipe away any residue with a clean cloth. It’s crucial to remove all rust and debris before proceeding to the next step.
Step 4: Cleaning the Surface
Using a cleaning solution or degreaser, thoroughly clean the surface of your leaf spring. This will help remove any dirt, grime, and oil buildup that could affect paint adhesion. Rinse off the cleaner with water and wipe dry with a clean cloth.
You may also use a metal cleaner or solvent to ensure the surface is completely clean. The leaf spring must be completely dry before proceeding to the next step. But if you notice any remaining rust, repeat step 3.
Step 5: Sanding the Leaf Spring
To help the paint adhere better, lightly sand the surface of your leaf spring with a fine-grit sandpaper. This will create a rougher texture for the primer and paint to stick to. Wipe away any dust with a clean cloth before moving on to the next step.
Although this step is optional, it can significantly improve the overall finish of your painted leaf spring. You may also use a degreaser or solvent instead of sandpaper to roughen the surface. The goal is to create a clean and slightly textured surface.
Step 6: Applying Primer
Using a spray can or paint brush, apply a thin coat of primer on the leaf spring. Make sure to cover all areas evenly and avoid leaving any streaks or drips. The primer will help improve paint adhesion and overall durability. Let the primer dry completely according to the manufacturer’s instructions.
This may take anywhere from 30 minutes to an hour, depending on the type of primer used. But make sure it’s completely dry before proceeding to the next step. The primer will also help identify any remaining imperfections that need to be addressed before painting.
Step 7: Preparing Your Paint
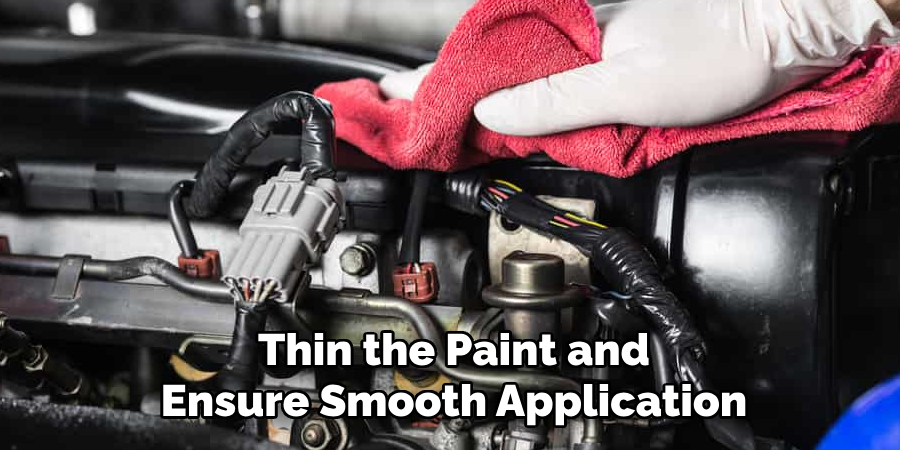
If you’re using spray paint, shake the can vigorously for about a minute to ensure the paint is well-mixed. If you’re using enamel paint with a brush, stir it thoroughly before application. You may also use a paint thinner or conditioner to help thin the paint and ensure smooth application. Make sure to follow the manufacturer’s instructions for proper mixing. It is crucial to mix the paint well to achieve a consistent color and finish.
Step 8: Applying the First Coat of Paint
Using a spray can or paint brush, apply a thin coat of paint on the leaf spring. Start from one end and move in a back-and-forth motion to ensure even coverage. Avoid applying too much paint at once as it may cause drips and unevenness. It’s better to apply multiple thin coats than one thick coat.
If you notice any imperfections, let the paint dry and sand it lightly before applying another coat. It’s essential to be patient and take your time for a smooth and even finish. The first coat will act as a base layer, and the following coats will add depth and fullness to the color.
Step 9: Applying Additional Coats (If Needed)
Depending on the type of paint used, you may need to apply multiple coats for full coverage and durability. Make sure to let each coat dry completely before applying the next one. You may also lightly sand any imperfections between coats for better results.
But if you’re satisfied with the coverage and finish after the first coat, you can skip this step. The number of coats needed will depend on the quality and color of the paint, as well as your desired finish.
Step 10: Optional Clear Coat
If you want to enhance the shine and add an extra layer of protection, you can apply a clear coat on top of your painted leaf spring. Make sure to use a compatible clear coat that is suitable for outdoor use and metal surfaces.
Apply it in the same manner as the paint, with multiple thin coats for better coverage and durability. Let the clear coat dry completely before handling or installing your leaf spring back onto your vehicle. The clear coat will add a glossy finish and protect your paint from UV rays, dirt, and other elements.
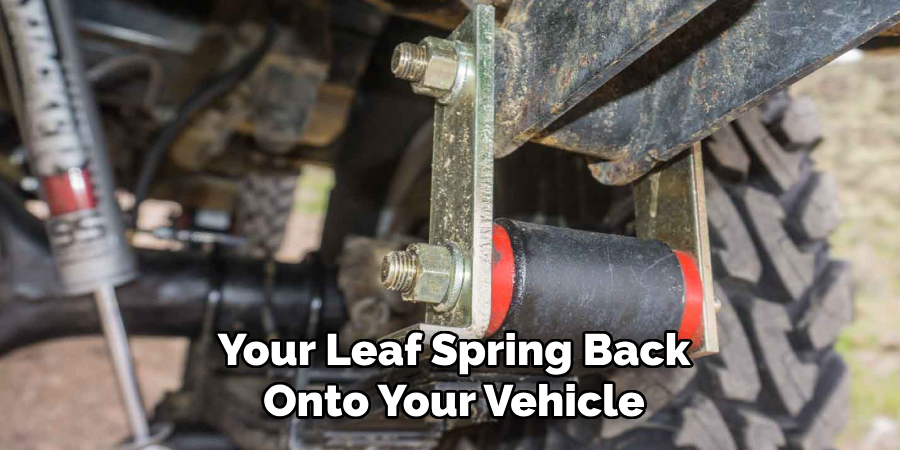
Step 11: Reinstalling the Leaf Spring
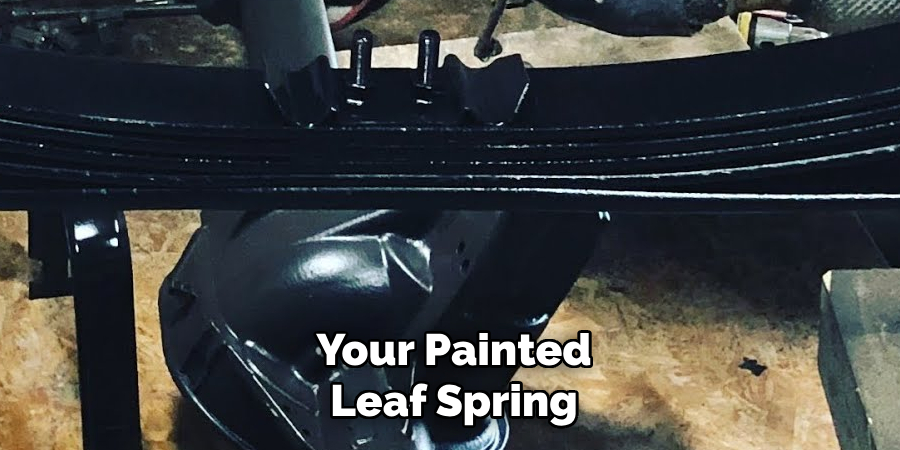
Once the paint and clear coat are completely dry, you can reattach your leaf spring to your vehicle. Make sure to handle it carefully to avoid scratching or damaging the paint. You may also want to use a spray lubricant on any bolts or hinges for easier installation.
Once reinstalled, take some time to admire your newly painted leaf spring and enjoy the enhanced appearance of your vehicle. With proper care and maintenance, your painted leaf spring should last for years to come. And if you ever need to repaint it, you now have the knowledge and skills to do so effectively.
Following these steps on how to paint leaf spring and using quality materials will ensure a professional-looking finish for your painted leaf spring. Whether you’re looking to improve the appearance of your vehicle or protect it from rust and wear, painting your leaf spring is an excellent solution. And with the right tools and techniques, you can achieve great results without breaking the bank.
Additional Tips
- Before Painting, Make Sure to Cover Any Exposed Parts of Your Vehicle Nearby or Remove Them Altogether if Possible.
- Always Work in a Well-ventilated Area and Wear Protective Gear, Including Safety Glasses and Gloves.
- If You’re Using Spray Paint, Hold the Can About 6-8 Inches Away From the Surface for Best Results.
- For a More Professional Finish, Use Sandpaper Between Coats to Achieve a Smooth Texture.
- Consider Choosing High-quality Enamel or Automotive Paint for Better Coverage and Durability.
- Don’t Rush the Drying Process, as This Can Affect the Overall Finish of Your Painted Leaf Spring.
- Store Any Unused Paint in a Cool, Dry Place for Future Touch-ups or Repairs. Otherwise, It May Become Thick and Unusable Over Time.
- Regularly Clean and Wax Your Newly Painted Leaf Spring to Maintain Its Appearance and Protect It From Rust.
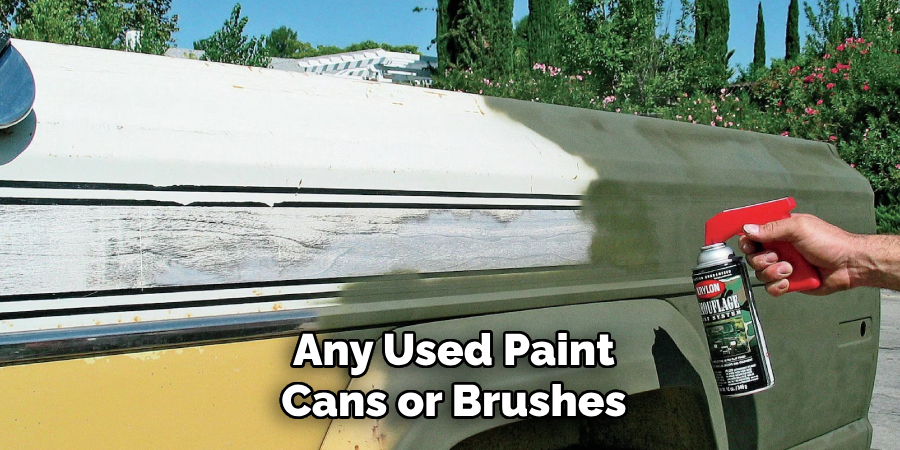
- Be Mindful of Any Environmental Hazards Before Throwing Away Any Used Paint Cans or Brushes. Follow Proper Disposal Instructions to Help Protect the Environment.
- If You’re Not Confident in Your Painting Skills, Consider Seeking Professional Help for a Perfectly Finished Leaf Spring. Remember: Practice Makes Perfect! Give Your Leaf Spring the TLC it Deserves, and You’ll Have a Beautifully Upgraded Vehicle in No Time.
- Share Your Newly Painted Leaf Spring With Others and Inspire Them to Do the Same for Their Vehicles. As They Say, “Sharing is Caring!”
Frequently Asked Questions
Q: Can I Paint My Leaf Spring a Different Color Than the Original?
A: Yes, you can paint your leaf spring any color you desire. Just make sure to choose a high-quality automotive or enamel paint for better coverage and durability. It’s also essential to properly prepare and prime your leaf spring before painting for the best results. The same applies to any touch-ups or repaints in the future.
Q: Can I Paint My Leaf Spring Without Removing It From My Vehicle?
A: While it is technically possible to paint your leaf spring while it’s still attached to your vehicle, it’s not recommended. The process will be more challenging and may result in an uneven finish or damage to other parts of your vehicle. It’s best to remove the leaf spring and work on it in a well-ventilated area with plenty of space.
Q: How Do I Know When My Paint Is Fully Dry?
A: Drying time will vary depending on the type of paint used, temperature, humidity, and other factors. As a general rule, allow at least 24 hours for the paint to dry completely. You can also lightly touch the surface with your finger to see if it’s tacky or leaves any residue. If it does, then it’s not fully dry yet, and you should wait a bit longer before handling or installing your painted leaf spring.
Q: Is It Necessary to Use Primer Before Painting My Leaf Spring?
A: While primer is not always necessary, it can help improve the adhesion and coverage of your paint. It also helps to prevent rust and other damage to the metal surface. If you’re using a high-quality automotive or enamel paint, primer may not be necessary. However, it’s still recommended for better results and a longer-lasting finish.
Q: Can I Paint Over Rust on My Leaf Spring?
A: It’s not recommended to paint over rust as it can cause the rust to spread and further damage your leaf spring. It’s best to remove any existing rust before painting by sanding or using a rust converter. This will ensure a smooth and even finish, as well as prevent any future corrosion. Remember, proper preparation is key to a successful paint job.
Conclusion
In essence, painting a leaf spring not only prevents corrosion but also extends the life of the vehicle’s suspension system. By following proper surface preparation, selecting the right type of paint, and applying it meticulously, you can ensure a durable and long-lasting finish.
Regular maintenance checks afterward can help in the early detection of any issues and keep the leaf spring in optimal condition. Remember, safety is paramount, so always wear protective gear and work in a well-ventilated space. Thanks for reading this article on how to paint leaf spring.