

As a vehicle owner or even a seasoned mechanic, understanding the intricacies of maintaining your car’s emission system can significantly affect performance and fuel efficiency.
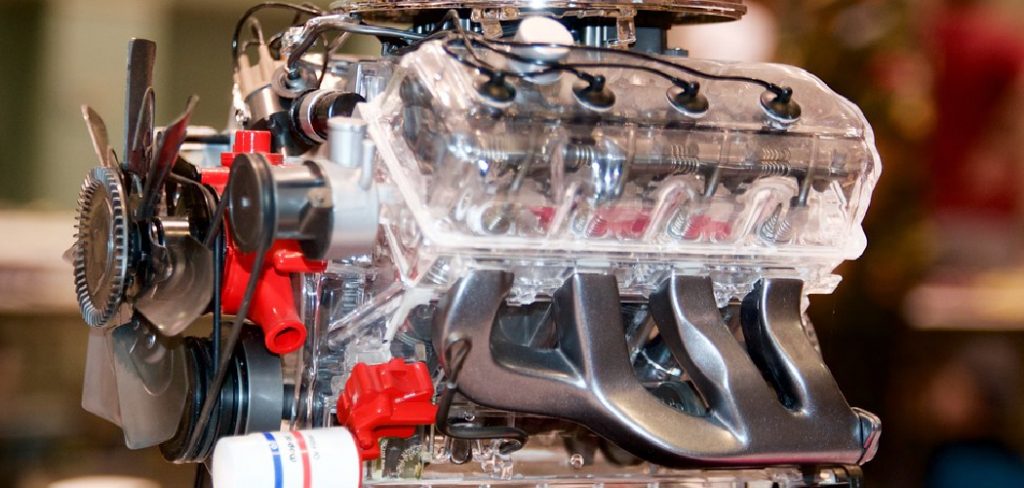
The air injection valve plays a crucial role in this system, ensuring the minimization of harmful emissions. Follow this in-depth guide to learn how to clean air injection valve and provide your vehicle with a better air-fuel mixture and optimal performance.
Importance of a Clean Air Injection Valve
Every component must function at peak performance for a vehicle to operate at its best. The air injection valve is a critical part of this puzzle; it helps reduce tailpipe emissions by injecting fresh air into the vehicle’s exhaust system.
Over time, carbon and soot can build up in the valve, inhibiting its ability to function properly. This can lead to a mix of performance issues, from decreased fuel efficiency to rough idling and even engine misfires.
What is an Air Injection Valve?
The air injection valve, also known as the secondary air injection system, is vital to a vehicle’s emission control system. It improves catalytic converter efficiency in cold weather when the engine ignition model does not provide sufficient heat to the exhaust stream. This process allows the catalytic converter to operate at its peak, minimizing the emissions output.
Signs of a Dirty Air Injection Valve
Recognizing when your vehicle’s air injection valve needs cleaning is vital. Some of the most common symptoms include rough idling, a decrease in engine performance, an illuminated ‘Check Engine’ light, or a noticeable increase in emissions. If you’re experiencing any of these issues, it may be time to thoroughly clean your air injection valve.
How to Clean Air Injection Valve: A Step-by-Step Guide for Enhanced Automotive Performance
Step 1: Gather Tools and Materials
To start the cleaning process, you’ll need the following tools and materials:
- Safety goggles and gloves
- Wrench or socket set
- Air intake cleaner solution
- Clean rags
- Wire brush
- Baking soda (optional for tougher carbon deposits)
- A small container for collected debris

Step 2: Preparation
Safety should always be your top priority when working on your vehicle. It’s essential to disconnect the battery to avoid any risk of electric shock. Furthermore, ensure that your workspace is well-ventilated, as the cleaning process will involve the use of strong chemicals. Before starting, allow the engine to cool down completely.
Step 3: Locating the Air Injection Valve
The location of the air injection valve varies depending on the vehicle’s make and model. It’s commonly found near the exhaust manifold or in the exhaust pipe. If you’re unsure, consult your car’s manual or locate it using an online guide specific to your vehicle.
Step 4: Removing the Valve
Once you’ve located the valve, use your wrench to carefully remove the fasteners securing it in place. Take note of the position of any wiring or hoses connected to the valve, as they will need to be appropriately reconnected after cleaning. Gently remove the valve and be cautious not to damage the surrounding components.
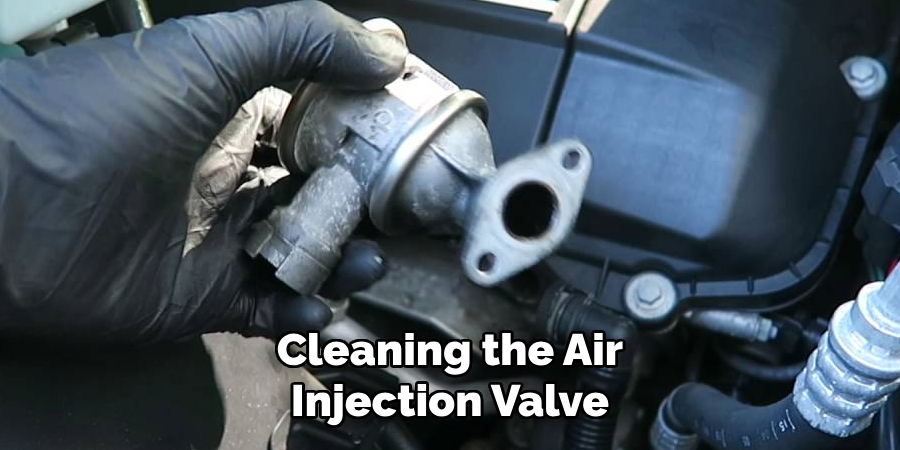
Step 5: Cleaning the Valve
Cleaning the air injection valve is a meticulous process that requires attention to detail. If the buildup is moderate, use the air intake cleaner solution and a wire brush to scrub the valve thoroughly. For more stubborn deposits, you can create a paste of baking soda and water to break down the carbon. Use the container to collect any debris that comes loose during the cleaning.
Step 6: Inspecting and Reinstalling the Valve
After cleaning, inspect the valve for any signs of damage or wear. If applicable, check the valve’s diaphragm to ensure it’s flexible and not torn. Reinstall the valve by securing it back into place with the fasteners. Reconnect any hoses and wiring in their proper positions.
Step 7: Testing and Maintenance Tips
With the valve reinstalled, reconnect the battery and start the engine. Verify that the ‘Check Engine’ light is no longer illuminated and that the vehicle operates without any previous symptoms. Moving forward, incorporate regular maintenance checks for your air injection valve to avoid future buildup.
5 Benefits of Cleaning Your Car’s Air Injection Valve
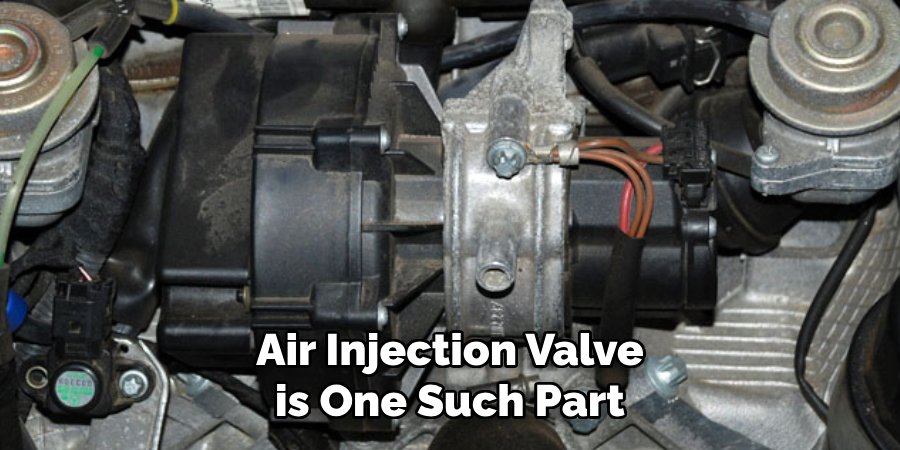
Car maintenance is an essential part of being a responsible vehicle owner. However, some sneaky components under your hood might go unnoticed but can significantly impact your car’s performance. The air injection valve is one such part, and regularly cleaning it can bring about a host of benefits that you might not have considered. Here are five compelling reasons to add this task to your maintenance checklist.
1. Improved Fuel Efficiency
When the air injection valve is clogged or not working efficiently, your engine doesn’t get the proper amount of air it needs to burn fuel effectively. The lack of proper air ratio can lead to an unburned fuel increase, which means your engine works harder and burns more fuel than necessary. Regularly cleaning your air injection valve helps maintain the ideal air-fuel ratio, improving your fuel efficiency by up to 14%.
2. Enhanced Engine Performance
A clean air injection valve ensures that all the air entering the engine is clean and free from debris. When the valve is clogged, the engine can experience misfires, reduced power, and unnecessary engine strain. By cleaning this component, you’re literally giving your engine a breath of fresh air. The result? A more responsive and smoother driving experience with less vibration and noise from the engine.
3. Extended Engine Lifespan
With a clean air injection valve helping to maintain the proper air-fuel ratio, your engine can operate more smoothly with less strain. This means less wear and tear on engine components, including the cylinder walls, piston rings, and the emission control system. With a properly cleaned valve, you can expect your engine to run as it was designed to for a longer period, leading to an extended lifespan for your vehicle’s most critical component.
4. Reduced Emissions
When an air injection valve is dirty, it can increase harmful emissions from your vehicle. This happens as a result of inefficient burning of fuel, leading to unburned hydrocarbons being released into the atmosphere. By keeping your valve clean and your engine running efficiently, you’re not just kinder to your car but also to the environment, ensuring that your vehicle remains compliant with emissions standards.
5. Cost Savings
Regular maintenance, like cleaning the air injection valve, may seem like a small task, but it can result in significant cost savings over time. The improvements in fuel efficiency mean you’ll be spending less at the pump. Furthermore, avoiding issues with a clogged valve prevents more extensive, expensive repairs down the line. It’s a simple action that pays off in both the short and long run, keeping your car running at its best and your wallet a little more padded.
Remember to refer to your car’s manual for the recommended maintenance schedule and the proper cleaning process for your air injection valve. This task might seem minor, but the benefits are too substantial to ignore. It’s a small effort that goes a long way in preserving your car’s health and performance.
5 Common Mistakes People Make When Trying to Clean Air Injection Valve
Cleaning your car’s air injection valve can seem like a straightforward task, but there are some common mistakes that people make that can affect the cleaning process and potentially damage the valve. Here are five mistakes to avoid when attempting this maintenance task.
1. Using the Wrong Cleaning Solution
Not all cleaning solutions are suitable for use on an air injection valve. Some may be too harsh and can cause damage to the valve’s delicate components. It’s essential to use a cleaner specifically designed for this purpose or recommended by your vehicle’s manufacturer.
2. Not Disconnecting the Battery
Before attempting any maintenance on your car, it’s crucial to disconnect the battery. Failing to do so can cause electrical problems and harm if wires are accidentally touched while cleaning the valve.
3. Not Inspecting the Valve Before Cleaning
Before diving into the cleaning process, inspecting the valve for any signs of damage or wear is essential. If there is visible damage, it may be best to replace the valve rather than attempting to clean it.
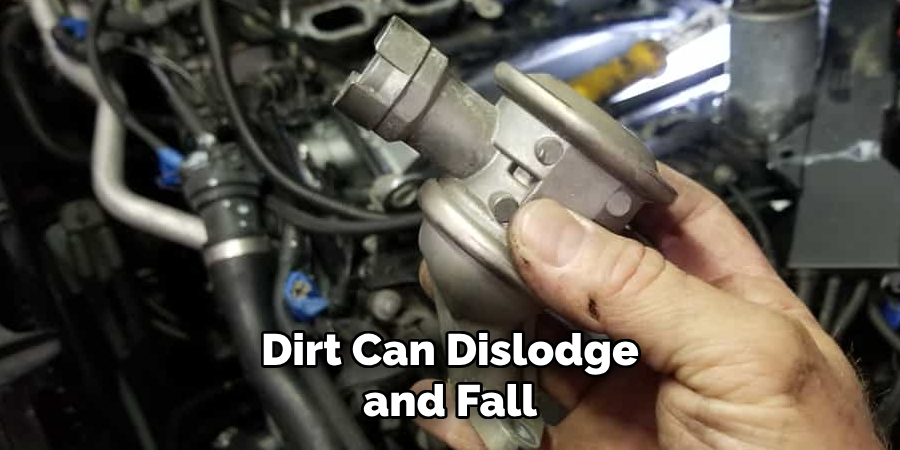
4. Not Collecting Debris Properly
While cleaning the valve, debris, and dirt can dislodge and fall into the engine. It’s important to use a piece of cloth or paper to cover the valve’s opening to prevent debris from entering the engine.
5. Not Reinstalling Properly
After cleaning, it’s crucial to reinstall the valve correctly. This includes securing it back into place and reconnecting any disconnected hoses or wires. Failing to do so can lead to leaks or other issues with the valve’s functioning.
By avoiding these common mistakes, you can ensure a smooth and effective cleaning process for your air injection valve, keeping your car in top shape for longer. Remember, it’s always best to consult a professional mechanic for assistance if you’re unsure about the process or don’t feel confident doing it yourself.
Conclusion
Cleaning your vehicle’s air injection valve is a straightforward process that can offer immense benefits in terms of performance and longevity. Regular maintenance of this and other critical components in your car’s emission system ensures a smooth driving experience and contributes to a cleaner environment.
By following these well-explained steps, you’re proactively maintaining your vehicle’s peak performance. Thanks for reading our post about how to clean air injection valve.