
If you’re a proud owner of a Jeep Liberty, you know that understanding your vehicle’s electrical systems is key to maintaining its optimal performance. Among the various components in your Jeep, the ignition off draw (IOD) fuse plays a crucial role in many electrical operations.

In this comprehensive guide, we’ll walk you through the process of how to remove iod fuse of jeep liberty step by step, ensuring that you do so safely and efficiently.
Understanding the IOD Fuse
The IOD fuse, which stands for Ignition Off Draw, is an essential component designed to protect the battery’s charge and prevent unnecessary battery drain when the vehicle is not in use.
When your Jeep Liberty is idle, the IOD fuse ensures that certain electrical functions, such as keyless entry systems and alarm systems, are still powered without draining the battery. Its removal can be necessary during various maintenance and diagnostic processes, such as when you’re checking for a parasitic battery drain.
Tools and Materials for the Job
Before you dive into removing the IOD fuse of your Jeep Liberty, gathering the required tools and materials is essential. Here’s what you’ll need:
- A set of fuse pullers or a needle-nose plier (to grip and pull the fuse)
- A small flashlight (to illuminate the fuse box if needed)
- A flathead screwdriver (in case the fuse pullers are not available)
Ensure that you have these items within reach before you start, as they will make the process smoother and more manageable.
How to Remove IOD Fuse of Jeep Liberty: Your Ultimate DIY Guide
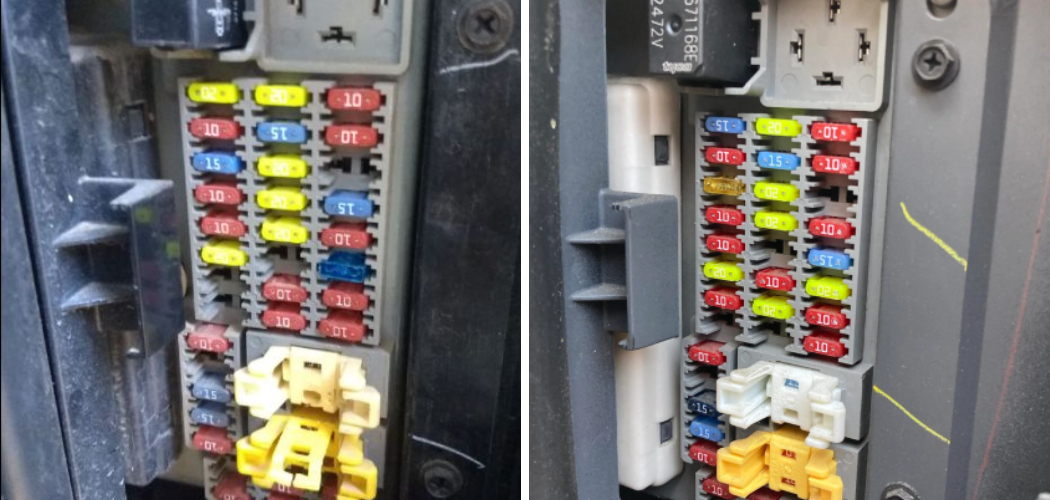
Step 1: Identify the Location of the IOD Fuse
Before removing the IOD fuse, you’ll need to locate it in your Jeep Liberty. The IOD fuse can typically be found in the fuse box under your vehicle’s hood.
- Open the hood of your Jeep and secure it with the prop rod.
- Locate the fuse box near the battery; it may have a black plastic cover over it.
- Refer to your owner’s manual or the fuse box cover for the IOD fuse’s exact position. It’s usually labeled as “IOD” or “IOD Feed.”
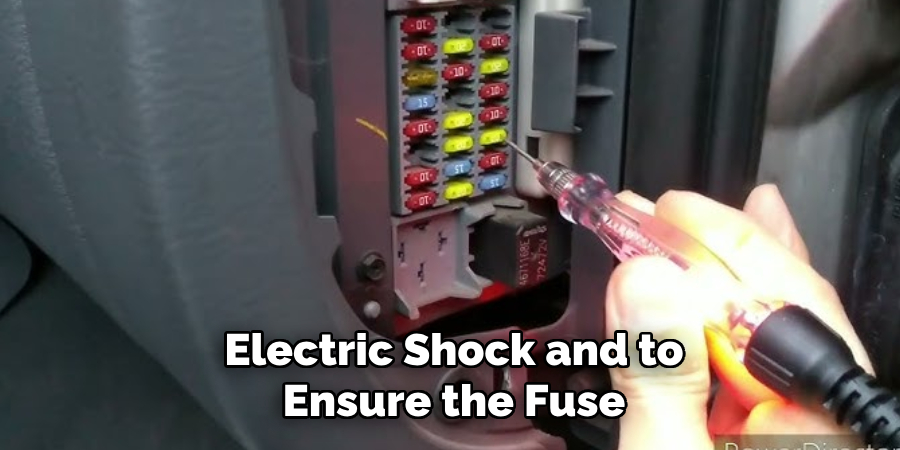
Step 2: Prepare the Vehicle for Fuse Removal
Safety first. Always disconnect the negative terminal of the battery or plug the fuse back in if you previously disconnected it to prevent electric shock and to ensure the fuse is not removed with electricity still running through it.
- Use a wrench to loosen the bolt on the negative battery cable.
- Slide the cable away from the battery terminal and secure it so it cannot snap back into place during the procedure.
Step 3: Remove the Fuse
With the negative battery cable detached, you can now remove the IOD fuse from the fuse box.
- Take the fuse pullers or needle-nose pliers and carefully grip the IOD fuse.
- Gently pull the fuse out of the socket. It may be a tight fit, so wiggle it if needed to loosen it.
Step 4: Inspect the Fuse for Any Damage or Wear
Examine the fuse after removal to check for any signs of damage, such as a broken filament or discoloration. If the fuse looks defective, this could be the reason for the electrical issues you are experiencing.
- If the fuse is damaged, you must replace it with a new one. Refer to your owner’s manual for the correct amperage rating.
Step 5: Replace or Reinstall the Fuse, If Necessary
If the removed IOD fuse appears in good condition, reinstall it into the fuse box.
- Ensure that the fuse aligns correctly with the terminals in the socket.
- You should hear a click as the fuse locks into place.
- If you’re replacing the fuse, insert the new one like the old one.
5 Considerations When Removing the IOD Fuse of Jeep Liberty
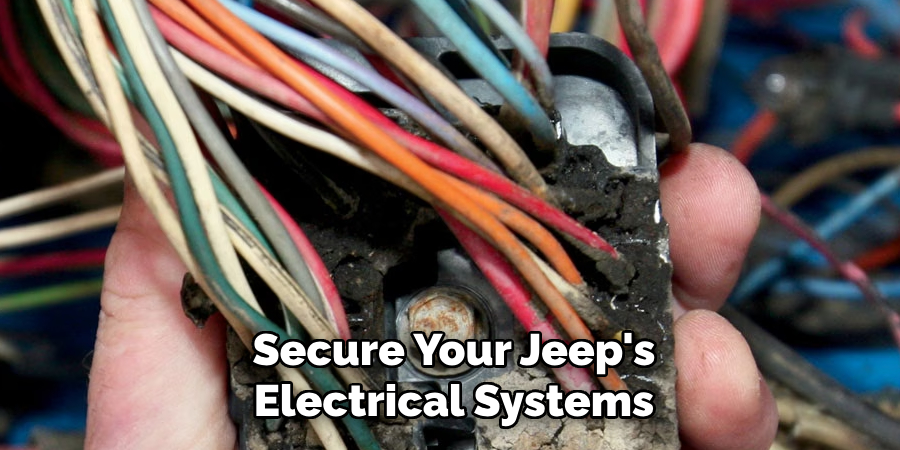
The Ignition-Off Draw (IOD) fuse in your Jeep Liberty is crucial and often related to persistent battery drainage. Understanding when and how to remove it is as important as recognizing its function. This knowledge can save time and frustration for Jeep owners and off-road enthusiasts.
In this listicle, we’ll walk you through five essential considerations when dealing with the IOD fuse, aiming to demystify the process and give you the confidence you need to secure your Jeep’s electrical systems.
1. Understand the Purpose of the IOD Fuse
Before delving into the removal process, it’s essential to comprehend the IOD fuse’s role in your Jeep. The IOD fuse’s primary function is to protect your vehicle’s electrical components when the key is OFF. Removing this fuse interrupts the battery’s draw from various systems, allowing you to perform maintenance or avoid battery drainage issues during long-term parking.
2. Safety Precautions
Safety should be your top priority when dealing with any of your vehicle’s electrical components. Here are a few crucial precautions:
- Disconnect The Battery: Before removing the IOD fuse or any other electrical service, disconnect the negative terminal of your battery to prevent shorts.
- Protective Gear: Wear rubber gloves and safety glasses to protect against any potential electrical contact.
3. Locate the IOD Fuse
The IOD fuse isn’t usually the easiest to find, especially if you’re unfamiliar with your vehicle’s electrical layout. To uncover it:
- Consult the Owner’s Manual: The IOD fuse’s location will be detailed here.
- Understand What You’re Looking For: The IOD fuse may be labeled under the fuse box cover as “IOD.”
4. Removing the IOD Fuse
Once you’ve identified the IOD fuse, it’s time to remove it—but you’ll want to do so with care.
- Choosing the Right Tool: A pair of insulated electrical pliers can significantly reduce the risk of shock.
- The Right Technique: Ensure a firm grip on the fuse and pull straight out to avoid damaging the surrounding electrical components.
5. Troubleshooting Tips
Understanding why you need to remove the IOD fuse can often lead to more informed problem-solving.
- Battery Drain Issues: If you’re experiencing battery drainage, removing the IOD fuse can help you isolate the culprit components individually.
- Professional Assistance: If you’re unsure about the issue or need specialized diagnostics, it’s best to consult with a professional mechanic or the dealership.
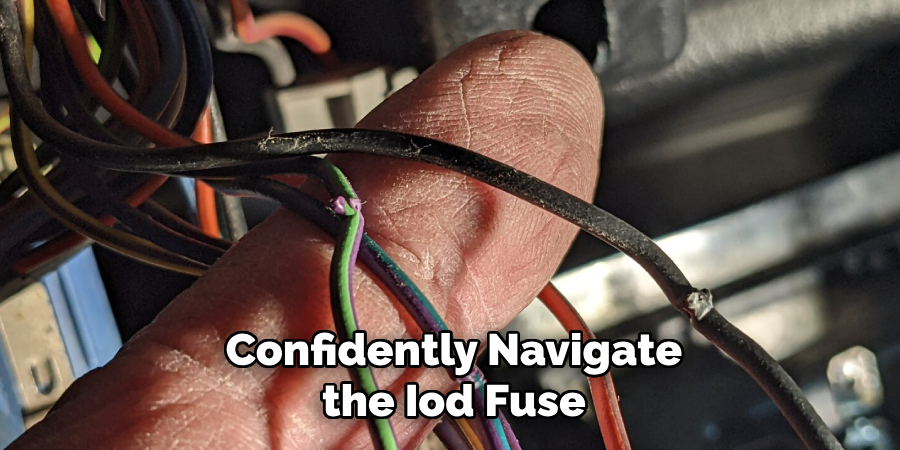
Remember that your vehicle’s electrical systems are interconnected, and any alterations can have unforeseen consequences. By methodically following these considerations, you can confidently navigate the IOD fuse, ensuring your vehicle’s health and peace of mind on and off the road.
5 Common Mistakes People Make When Trying to Remove the IOD Fuse of Jeep Liberty
Removing the IOD fuse from your Jeep Liberty may seem simple, but it can be surprisingly tricky for many people. In this section, we’ll discuss five common mistakes people make when removing the IOD fuse and how to avoid them.
1. Not Disconnecting the Battery
Disconnecting the battery is one of the most crucial safety precautions when removing the IOD fuse. Many people forget to do this, putting themselves at risk of electric shock and potentially damaging their vehicle’s electrical components.
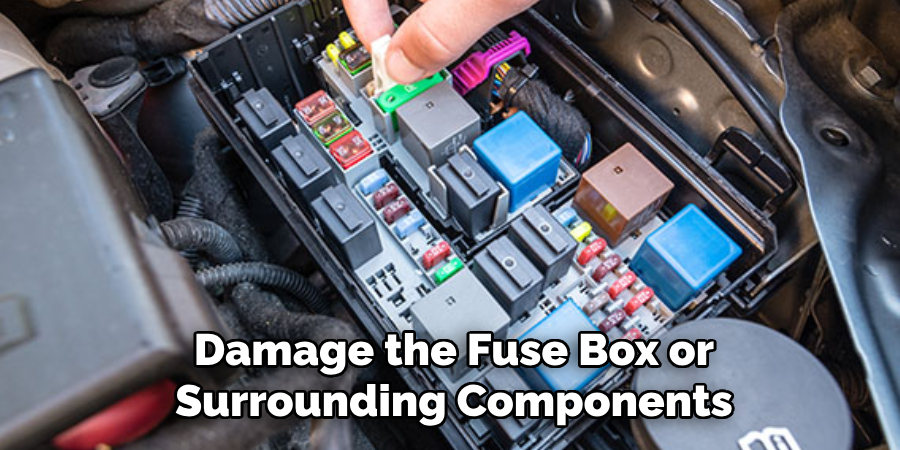
2. Using the Wrong Tools
Using the wrong tools to remove the IOD fuse can damage the fuse or surrounding components. It’s essential to use insulated pliers specifically designed for working with electrical components.
3. Not Following Proper Technique
Pulling the fuse out at an angle or with excessive force can damage the surrounding components and make it difficult to reinstall the fuse. Always ensure a firm grip on the fuse and pull straight out to avoid any damage.
4. Misunderstanding the Purpose of IOD Fuse
Many people mistakenly believe removing the IOD fuse will reset their vehicle’s electrical systems. While it can help with battery drainage issues, it is not a solution for all electrical problems and should not be used as such.
5. Not Consulting the Owner’s Manual
The owner’s manual contains valuable information regarding your Jeep Liberty, including the location and function of the IOD fuse. Not consulting it can waste time and potentially damage the fuse box or surrounding components.
You can safely and effectively remove the IOD fuse from your Jeep Liberty by avoiding these common mistakes. Remember to always prioritize safety and consult with a professional if you have any doubts or concerns. With proper knowledge and technique, dealing with the IOD fuse can be simple for any Jeep owner. So, always be careful and follow the recommended steps to avoid any potential issues. Happy off-roading!
Conclusion
Your Jeep Liberty’s IOD fuse significantly preserves your battery’s power and ensures that various systems are operational when needed. Knowing how to handle it correctly is valuable for any DIY mechanic or Jeep enthusiast. Following the steps outlined in this guide, you can confidently navigate removing the IOD fuse and effectively maintain your vehicle’s electrical health.
Remember to always prioritize safety and refer to your owner’s manual for any specific instructions or precautions related to fuse removal and replacement. Thanks for reading our post about how to remove iod fuse of jeep liberty.