Breaking in piston rings, also known as ‘seating’ them, is a vital step in the engine-building process. This initial procedure ensures that the rings form a tight seal against the cylinder walls, reducing oil consumption, and promoting efficient engine performance. Proper ring seating contributes to the longevity of the engine and optimizes power output and fuel economy.
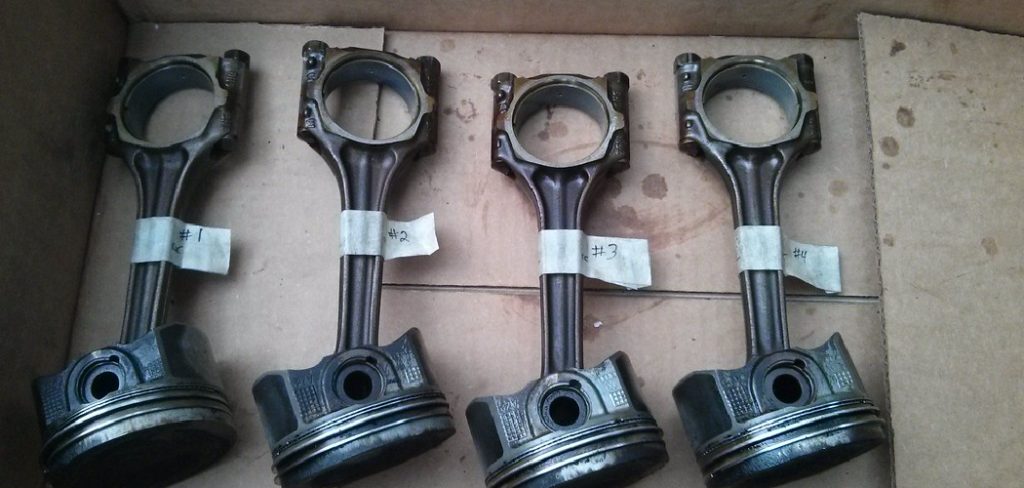
The process involves a series of steps that must be executed with precision, and it varies depending on the type of engine and rings used. In the upcoming sections, we’ll explore the best practices for breaking in piston rings to help maximize your engine’s potential. In this article on how to break in piston rings, we will discuss the steps involved in breaking in piston rings and provide tips to ensure that your engine is properly seated.
Why is Breaking in Piston Rings Important?
Breaking in piston rings is a critical step because it allows the rings to conform to the cylinder walls and create a tight seal. During this process, the rings wear down slightly, creating tiny grooves on their surfaces that match the imperfections and crosshatching of the cylinder walls.
This matching ensures that combustion gases from inside the cylinder do not escape past the rings, leading to loss of power, and oil from the crankcase does not enter the combustion chamber, causing excessive consumption.
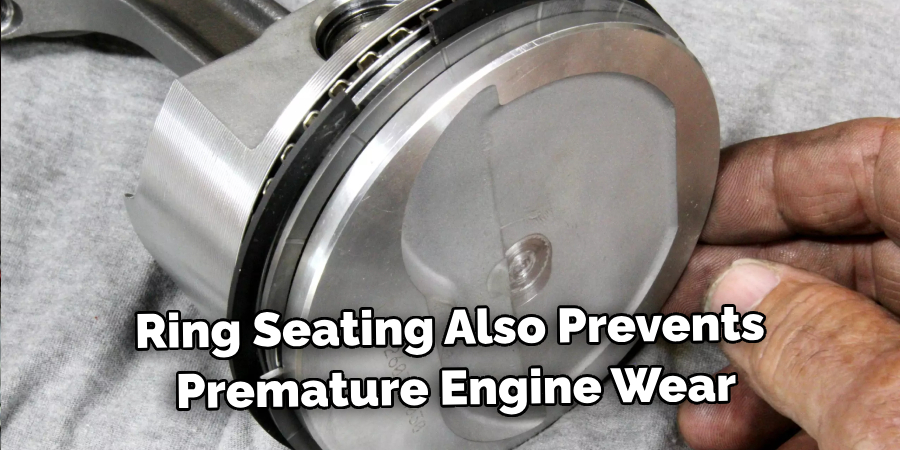
Proper ring seating also prevents premature engine wear and promotes optimal performance. Therefore, it is essential to follow the recommended procedure for breaking piston rings to ensure long-lasting engine performance.
When to Break in Piston Rings?
Breaking in piston rings should be done immediately after assembling a new engine or installing new rings on an existing engine. This ensures that the rings are properly seated before the engine is put into regular use. Failure to break in piston rings can result in decreased power output, increased oil consumption, and premature wear on engine components.
You should never skip this critical step, even if the manufacturer claims that their rings are pre-seated or ‘ready to install. But don’t worry, breaking in piston rings is a relatively simple process that can be completed in a few hours.
What You’ll Need
Before you begin the process of breaking in your piston rings, make sure you have all the necessary equipment and materials. These include:
A Torque Wrench
A torque wrench is essential for tightening the head bolts to the manufacturer’s specified torque setting. This ensures that the head gasket creates a proper seal, which prevents oil from leaking out and potentially damaging your engine.
Break-In Engine Oil
Using break-in engine oil during the initial stages of engine operation is crucial as it contains additional additives that promote ring seating. Regular motor oil lacks these additives and could hinder the break-in process.
Time
Breaking in piston rings requires patience, as it is a time-consuming process. Set aside enough time to properly complete the procedure without rushing, as this can have detrimental effects on your engine’s performance.
A Tachometer
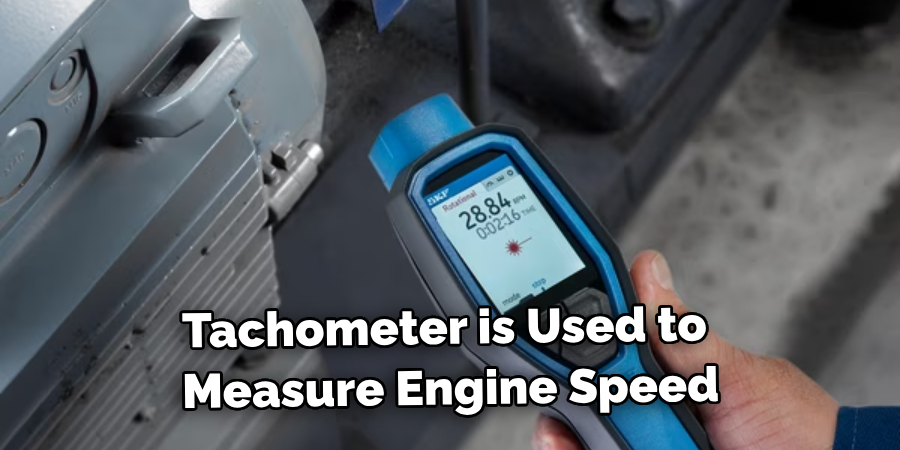
A tachometer is used to measure engine speed or RPM. It helps in monitoring the engine’s revolutions and ensures that you do not exceed the recommended RPM during break-in.
A Vacuum Gauge
A vacuum gauge can help detect any potential issues with your engine’s piston rings. It measures the amount of vacuum your engine produces, which should be steady and high for optimal performance.
11 Step-by-step Guides on How to Break in Piston Rings
Step 1: Preparing the Engine for Break-In
Before beginning the break-in process, it’s essential to prepare the engine properly. This step involves cleaning all components thoroughly and checking for any defects or malfunctions. Any issues found should be addressed before proceeding with the break-in. Additionally, ensure that you have the correct rings for your engine – using incorrect rings can result in poor ring seating.
Step 2: Installing the Rings
Carefully install the piston rings onto the pistons by following the manufacturer’s instructions. Be sure to keep track of which rings go on which piston and their correct orientation. If installing new rings, it’s recommended to use a ring expander tool to prevent damage to the rings. But if re-using old rings, make sure to clean them thoroughly and check for any signs of wear. You can use a ring filer to ensure that the rings have proper end gaps.
Step 3: Lubricating the Rings
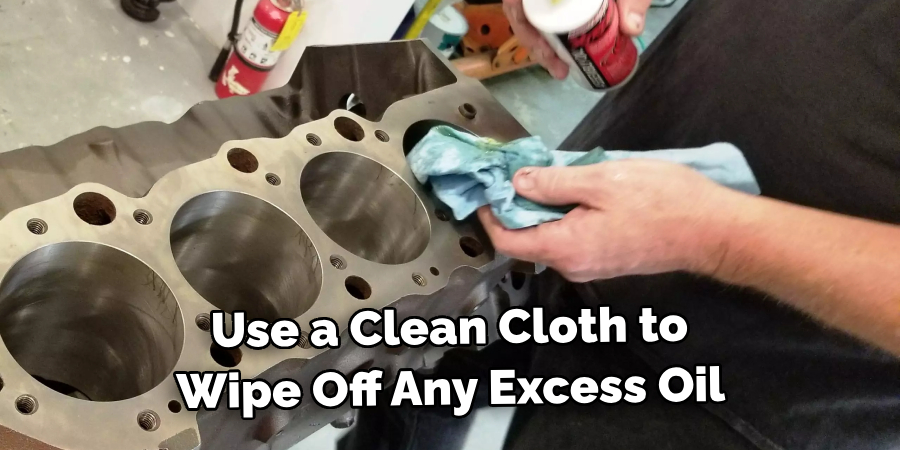
Before placing the pistons into their corresponding cylinders, make sure to lubricate the rings with break-in oil. This step is crucial as it reduces friction during initial start-up and contributes to proper ring seating. The rings should be evenly coated with oil, but avoid using excess. You can use a clean cloth to wipe off any excess oil. If using a multi-part oil ring, make sure to lubricate all the components.
Step 4: Placing the Pistons into Cylinders
Gently place the pistons into their respective cylinders, making sure not to damage the rings. If the engine has a one-piece rear main seal, now is the time to install it. Be extra careful when lowering the crankshaft, as any sudden movements can damage the rings. Once the pistons are in place, use a ring compressor tool to compress the rings and slowly lower the piston into the cylinder. The compressor should be positioned just above the rings.
Step 5: Torquing the Head Bolts
Using a torque wrench, tighten the head bolts to the manufacturer’s specified torque setting in a criss-cross pattern. This ensures even distribution of torque and prevents warping of the cylinder head. It’s crucial to follow the recommended sequence and torque settings as not doing so can result in improper ring seating.
But if using an engine with a one-piece cylinder head, torque the bolts in a circular pattern. You can also use a head bolt stretch gauge to ensure that the bolts are torqued correctly.
Step 6: Priming the Engine
Before starting the engine, it’s essential to prime it first. This process involves ensuring that oil reaches all components of the engine before ignition. You can do this by disconnecting the coil wire and cranking the engine for a few seconds.
This allows oil to circulate and lubricate all components before the engine is started. If using a roller camshaft, use a priming tool to prime the engine. It’s also recommended to use a high-volume oil pump during break-in.
Step 7: Starting the Engine
Once the engine is primed, reconnect the coil wire and start the engine. Let it idle for about 20 minutes at a steady RPM of around 2,000. This allows sufficient time for the rings to sit against the cylinder walls. During this process, monitor your vacuum gauge to ensure the correct vacuum levels are maintained.
If using a carburetor, it’s recommended to use an air/fuel mixture ratio of 12:1. Although different engines may have varying break-in procedures, it’s essential to follow the manufacturer’s recommendations. The first start-up is crucial in determining the success of the break-in process.
Step 8: Varying Engine Speed
After idling for 20 minutes, it’s essential to vary your engine speed by revving the engine in short bursts. This step helps create different loads on the rings, promoting proper seating. It’s recommended to vary the engine speed between 2,500 and 3,000 RPM for about 20 minutes.
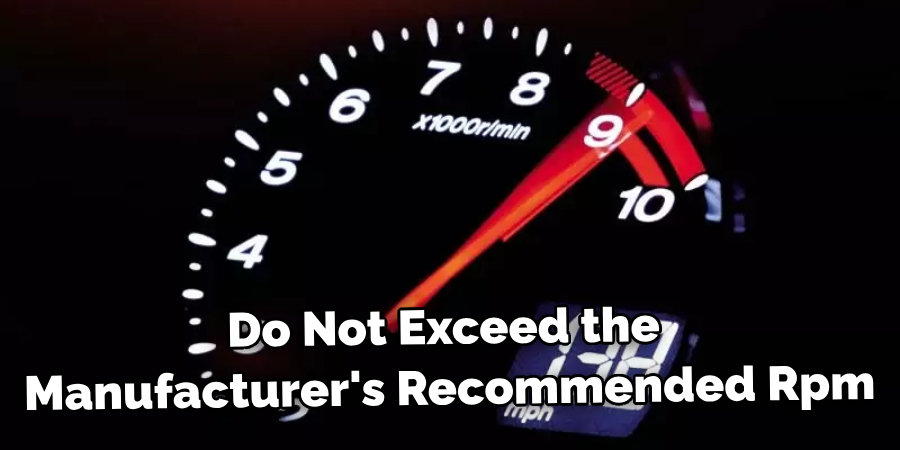
During this process, monitor your tachometer to ensure that you do not exceed the manufacturer’s recommended RPM. You can also use a break-in oil additive to further promote ring seating.
Step 9: Cooling Down
After varying the engine speed for about 20 minutes, let the engine cool down for at least 30 minutes. This step allows the rings to relax and settle into their proper position. During this time, do not start the engine or make any adjustments.
However, if using an engine with a one-piece crankshaft seal, let the engine cool down for about 45 minutes as these seals need more time to seat. But if using a new or rebuilt engine, let it cool down for at least 8 hours before restarting.
Step 10: Repeating the Process
Repeat steps 7-9 at least three times. This helps ensure that your rings are fully seated against the cylinder walls. Each time, increase the duration of varying engine speeds by five minutes. You can also increase the RPM range to 3,500-4,000 in the final cycle. After completing three cycles, let the engine cool down for at least 8 hours before re-starting.
It’s also recommended to change the oil and filter after the final break-in cycle. Congratulations, you have now successfully broken in your piston rings! Remember to follow the manufacturer’s recommendations for future maintenance and enjoy you’re fully functioning engine.
Step 11: Checking for Leaks
After completing the break-in process and letting the engine cool down, it’s crucial to check for any leaks. Carefully inspect all connections and gaskets, especially around the head bolts and oil pan. If you notice any leaks, address them immediately before starting the engine again. Leaks can compromise the performance of your engine and lead to costly repairs.

This step is essential for ensuring the longevity and reliability of your engine. So, always make sure to check for leaks before and after a break-in. But with proper installation and break-in, your piston rings should provide you with smooth engine operation for thousands of miles to come.
How Much Could It Cost?
The cost of breaking in piston rings can vary depending on the engine and any additional tools or additives needed. On average, you can expect to spend anywhere from $150 to $500 for the break-in process. This cost includes materials such as break-in oil, assembly lube, and new gaskets.
However, if you decide to hire a professional mechanic to perform the break-in, the cost can increase significantly. However investing in a proper break-in process can save you money in the long run by ensuring the longevity and performance of your engine.
So, it’s essential to budget for a quality break-in process when building or rebuilding an engine. Overall, the cost of breaking in piston rings is relatively minimal compared to the potential damage and expenses that could occur without proper break-in. So, don’t skimp on this crucial step in building your engine.
The initial investment will pay off in the long run with a reliable and high-performing engine. Happy motoring! We hope this guide has helped demystify the break-in process and provided you with valuable information for achieving optimal performance from your engine.
Common Myths and Misconceptions about Piston Ring Break-In
Myth:
Break-in periods are unnecessary for modern engines.
Fact:
While modern engines may have different break-in procedures and may not require as much time as older engines, a proper break-in period is still crucial for ensuring the longevity and performance of your engine.
Myth:
Using high-performance or synthetic oils during break-in will damage the rings.
Fact:
Using high-quality oils during break-in can actually promote proper ring seating and provide better lubrication for your engine. However, it’s important to follow the manufacturer’s recommended oil weight and change interval.
Myth:
You need to constantly rev your engine during break-ins for the rings to seat properly.
Fact:
While varying engine speed is necessary, excessive revving can actually damage your engine. It’s important to follow the manufacturer’s recommended RPM range and duration for each cycle.
Myth:
You can break in your engine by simply driving it on the highway.
Fact:
Highway driving does not provide enough load or variation in engine speed for proper ring seating. It’s crucial to vary engine speeds and loads during break-in to ensure proper ring seating.
Myth:
Once your engine is broken in, you no longer need to monitor oil levels or change the oil as frequently.
Fact:
Proper maintenance and oil changes are crucial for the longevity of your engine, even after a break-in. It’s important to continue monitoring oil levels and following the manufacturer’s recommendations for oil change intervals.
So, make sure to keep up with routine maintenance for a healthy engine. Overall, proper break-in procedures and maintenance are essential for the longevity and performance of your piston rings and engine.
Additional Tips
- Always Follow the Manufacturer’s Recommendations for Break-in Procedures Specific to Your Engine.
- Use High-quality Break-in Oil During the Initial Break-in Process.
- Monitor Engine Temperature and Keep it Within Recommended Levels.
- Use a High-quality Oil Filter to Prevent Contamination During Break-in.
- Avoid Hard Acceleration, Idling for Extended Periods, or Overheating During Break-in.
- After the Final Break-in Cycle, Change the Oil and Filter Again to Remove any Metal Shavings or Debris.
- Regularly Monitor Oil Pressure and Vacuum Levels for Proper Engine Functioning.
- Consult a Professional Mechanic if You Encounter any Issues During or After the Break-in Process. Never cut corners when it comes to properly breaking in your engine’s piston rings as it can lead to major engine problems down the road.
With proper installation, break-in procedures, and maintenance, your engine will provide you with reliable and efficient performance for years to come. So follow these steps on how to break in piston rings and additional tips to ensure the longevity of your engine’s piston rings. Happy motoring!
Frequently Asked Questions
Q: Can I Skip the Break-in Process and Immediately Drive My New Engine?
A: No, it’s essential to properly break in your engine’s piston rings to prevent future issues and ensure long-term performance. Skipping the break-in process can lead to poor ring seating, decreased engine efficiency, and even engine failure.
Q: Can I Use Synthetic Oil During Break-in?
A: It’s not recommended to use synthetic oil during break-in as it has a lower coefficient of friction than conventional oil, which can hinder proper ring seating. Wait until after the break-in process to switch to synthetic oil.
Q: What Happens if I Don’t Break in My Engine’s Piston Rings Properly?
A: Improper break-in can lead to poor ring seating, decreased engine performance, and potential engine failure. It can also cause increased oil consumption and blow-by, leading to higher emissions and pollution. So always follow the manufacturer’s recommendations for break-in procedures to ensure the longevity and reliability of your engine.
Q: How Long Does the Break-in Process Take?
A: The break-in process can take anywhere from 20 minutes to a few hours, depending on the engine and manufacturer’s recommendations. It’s essential to follow the specified time and procedures for proper ring seating.
Conclusion
Properly breaking in piston rings is a critical step that can greatly extend the life and efficiency of an engine. By following a meticulous and controlled break-in process, you ensure that the piston rings seat correctly against the cylinder walls, leading to optimal compression, oil consumption, and overall engine performance.
Remember, patience during the break-in period can lead to significant long-term benefits, saving time and money on future repairs and maintenance. Always consult your engine manufacturer’s guidelines on how to break in piston rings for specific break-in procedures to achieve the best results for your engine type. With these tips and techniques, you can confidently break in piston rings and keep your engine running smoothly for years to come.

About
JeepFixes Team is a skilled author for Jeep Fixes, bringing 6 years of expertise in crafting a wide range of jeep fixes. With a strong background in jeep fixes work, JeepFixes Team’s knowledge spans various types of fixtures, from decorative pieces to functional hardware, blending precision with creativity. His passion for jeep fixes and design has made him a trusted resource in the industry.
Professional Focus:
Expert in Jeep Fixes : JeepFixes Team aesthetic specializes in creating durable and innovative jeep fixes, offering both appeal and functionality. His work reflects a deep understanding of jeep fixes techniques and materials.
Sustainability Advocate : He is dedicated to using sustainable practices, ensuring that every fixture is crafted with eco-friendly methods while maintaining high-quality standards.
In his writing for jeep fixes, JeepFixes Team provides valuable insights into the latest trends, techniques, and practical advice for those passionate about jeep fixes, whether they are professionals or DIY enthusiasts. His focus on combining artistry with engineering helps others discover the true potential of jeep in design.
