
Do you need to identify what alternator you have in your vehicle? Whether you are looking to replace it or simply curious, there are a few ways to determine which alternator is installed in your car.
Determining the specific type of alternator your vehicle is equipped with is critical for maintenance, troubleshooting, and planning a replacement. The alternator is a fundamental component of your car’s electrical system, charging the battery while the engine runs and powering electrical systems.
To correctly identify your alternator, one must consider various factors such as the alternator’s physical characteristics, the part number, and the vehicle’s make and model.
In this guide on how to tell what alternator I have, we will outline a step-by-step process to help you accurately recognize the alternator in your vehicle, ensuring you can make informed decisions regarding its care or replacement.
What are the Benefits of Identifying Your Alternator?
Identifying your alternator has numerous advantages, including:
- Easy Maintenance: Knowing what type of alternator you have can make it easier to maintain it properly. You can check the manufacturer’s specifications and recommended maintenance procedures for that specific model.
- Correct Replacement: When it comes time to replace your alternator, identifying the exact type will ensure you purchase the correct one. This will save you time and money in the long run.
- Avoid Compatibility Issues: Some alternators may look similar, but they might have slightly different specifications or mounting options that could cause compatibility issues if not identified correctly.
- More Accurate Troubleshooting: If your vehicle is experiencing electrical problems, knowing the type of alternator can help you pinpoint the issue more accurately and efficiently.
These are just a few benefits of identifying your alternator, making it an essential task for any vehicle owner or mechanic. Now, let’s dive into the steps to determine what alternator you have.
What Will You Need?
Before you begin, gathering a few tools and materials that will come in handy during the identification process is essential. These include:
- Owner’s manual for your vehicle
- A flashlight or work light
- Basic hand tools such as screwdrivers and wrenches
- Pen and paper or a notepad app on your phone

Once you have these items at hand, let’s dive into identifying your alternator.
10 Easy Steps on How to Tell What Alternator I Have
Step 1: Locate the Alternator
The first step in identifying your alternator is to locate it within the engine compartment. In most vehicles, the alternator is found on the front of the engine and is accessible from the top. Look for a metal component typically shaped like a cylinder, with a pulley on one side connected by a belt to the engine.
To assist in locating it, you can refer to your vehicle’s owner’s manual, which often includes a diagram of the engine bay highlighting the alternator’s position. Use your flashlight or work light to view the engine better if working in dim lighting. Remember, if the location is not immediately apparent, follow the serpentine belt, which usually runs over the alternator pulley.
Step 2: Inspect the Alternator for Visible Markings
Once you have located the alternator, the next step is to scrutinize it for any visible markings. These may include manufacturer logos, part numbers, or other identifiers. The alternator will likely have a label or a stamped metal plate that contains this information.
Ensure the engine is off and cooled down before touching any parts. Use your flashlight to illuminate the area for a clearer view. Take note of any numbers or letters you find, as these will be crucial for identifying the specific model of your alternator. Write down all the information you can see — it will be helpful when searching for a replacement or discussing options with an automotive specialist.
Step 3: Check the Vehicle’s Owner’s Manual
After noting the visible markings on your alternator, your next move is to check your vehicle’s owner’s manual. Many manuals will have a detailed section on engine components that includes specifications for the alternator. Look for areas that list part numbers or model designations specifically for the alternator.
This information can often be found in the manual’s maintenance or technical details sections. Cross-reference any numbers you saw on the alternator with those provided in the manual; this validation ensures you have correct and complete information about the alternator model.
Step 4: Verify With a Parts Database or Retailer
To further confirm the alternator model, use online parts databases or visit a local auto parts retailer. With the information you jotted down from the alternator and your owner’s manual, a parts representative can help you match the code to the correct alternator model.
Online databases often allow you to input the vehicle’s make, model, year, and part number to locate the exact alternator you have. This step helps double-check your findings and ensures you have the accurate alternator model before purchasing a replacement or seeking repair.

Step 5: Examine the Alternator’s Connections
Another method to ensure you have the correct alternator identified is to examine its connections for uniqueness. Different alternator models may have varied numbers of wires and types of connectors. Carefully inspect the back side of the alternator where the wiring harness connects.
Look for any distinctive features, such as the shape of the plug, the number of pins, and the configuration of the connection points. Make sure to disconnect the battery before removing or disturbing any wiring to avoid electric shock or damage to the vehicle’s electrical system. Documenting these details will provide additional confirmation when cross-referencing with parts databases or consulting with a professional.
Step 6: Consult the Service Manual for Your Vehicle
If the owner’s manual needs to have the specifics you need, the next step would be to consult the service manual for your vehicle. Service manuals are more detailed than owner’s manuals and include comprehensive information about all vehicle components. These manuals often contain wiring diagrams, full parts lists, and specific technical data about the alternator.
Checking the service manual can lead you to a more definitive identification of the alternator, particularly if your vehicle has been serviced or altered from its original factory specifications. Contact your dealership or look for an online version of the service manual specific to your vehicle’s make, model, and year.
Step 7: Use an Identification App or Online Resource
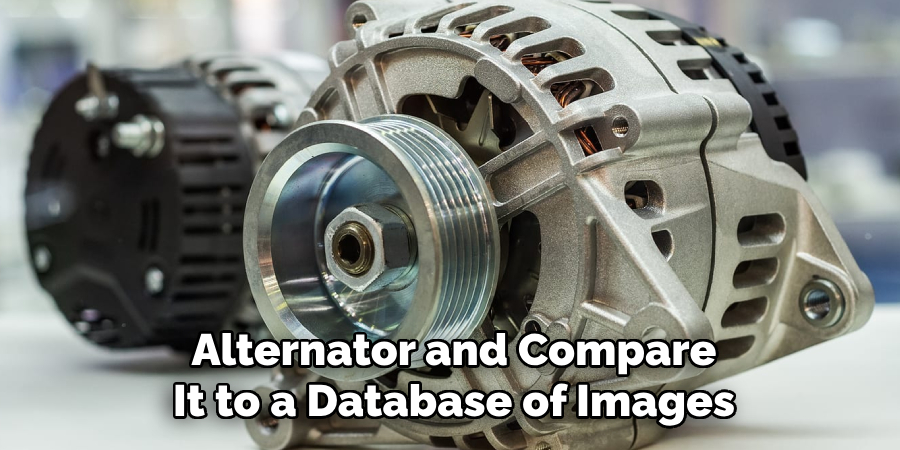
For tech-savvy car owners, there are apps and online resources available that can aid in alternator identification. These digital tools often require you to input details such as the make and model of your vehicle or part numbers you’ve gathered to assist in pinpointing your specific alternator.
Some apps also allow you to take pictures of the alternator and compare it to a database of images. Utilize these technological resources to help confirm the alternator’s identity. It’s a quick and efficient method, especially if you’re looking for confirmation and additional details on the go.
Step 8: Compare Physical Characteristics
If the aforementioned steps leave you in doubt, you can compare the physical characteristics of your alternator to pictures or specifications found in repair guides or online resources. Pay close attention to the shape, size, mounting brackets, and the position of the pulley and electrical connections.
These can often be distinctive features that set different models apart. Automotive forums and communities can also be helpful tools in this comparison, as you can post images of your alternator and ask for expert opinions from experienced mechanics or car enthusiasts who are familiar with your vehicle’s make and model.
Step 9: Seek Professional Advice
When in doubt, it’s advisable to seek professional advice from a certified mechanic or auto-electric specialist. They possess the expertise to correctly identify the alternator model and ensure compatibility with your vehicle. These professionals can perform a hands-on inspection and may use diagnostic tools to determine the health and type of your alternator.
Additionally, if your vehicle has a unique or aftermarket charging system, their insight can be invaluable. Before visiting a professional, ensure you bring along all the information you’ve gathered from the previous steps to assist them in diagnosing and confirming the alternator model.
Step 10: Record and Store Your Alternator’s Information
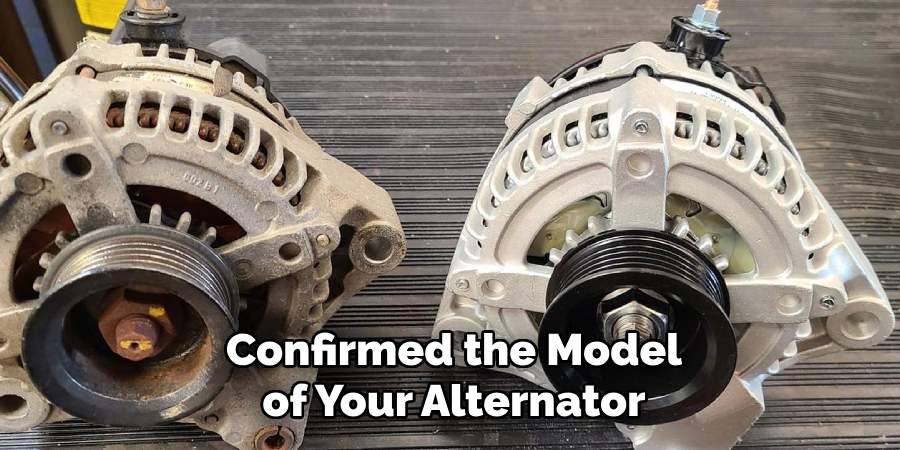
Once you have confirmed the model of your alternator, take a moment to record all the details and store this information in a safe place. Whether it’s in a digital format on your smartphone or written down in your vehicle maintenance log, having this information readily available can save time in the future.
It is beneficial to have a record when ordering replacement parts, scheduling repairs, or even discussing your vehicle’s needs with a service provider. By maintaining a comprehensive history, you help ensure that any future alternator issues can be dealt with swiftly and accurately.
By following these steps, you can confidently identify your alternator and facilitate the replacement or repair process.
5 Additional Tips and Tricks
- Use a Multimeter: A multimeter is an essential tool for testing and diagnosing electrical systems, including your alternator. Using the multimeter to measure the voltage output of your alternator, you can determine its amperage and whether it is functioning correctly.
- Inspect the Pulley: The pulley on your alternator can provide valuable information about the type and size of your alternator. Look for any markings or labels on the pulley that could indicate its specifications.
- Look for a Part Number: Inspect the alternator for any part numbers, which can be looked up online or provided to an auto parts dealer for identification.
- Visual Inspection: Note the physical characteristics of your alternator, such as the location of electrical connectors, the number of ribs on the pulley, and whether it’s internally or externally regulated.
- Use a VIN Decoder: Your Vehicle Identification Number (VIN) can be used on various online databases to give you detailed specifications about components used in your vehicle, including the alternator.
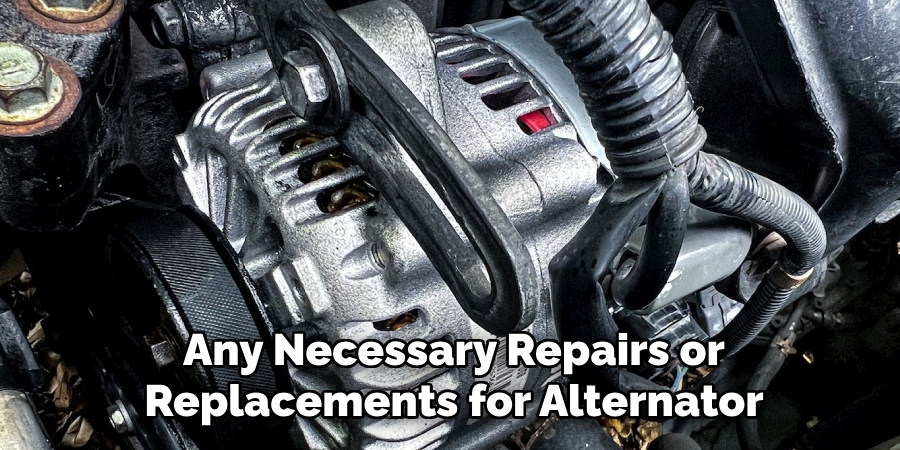
With these additional tips and tricks, you can quickly determine what type of alternator you have and confidently make any necessary repairs or replacements.
6 Things You Should Avoid
- Don’t Rely Solely on Physical Appearance: Alternators can look similar externally while having different specifications internally. Avoid identifying your alternator type based on looks alone.
- Avoid Guesswork: Making assumptions about your alternator with proper testing or part number verification can lead to the correct identification and potential vehicle issues.
- Don’t Ignore Safety Precautions: When inspecting or testing your alternator, ensure that the vehicle is off and you’re following proper safety protocols to prevent electrical shocks or short circuits.
- Don’t Dismiss Professional Advice: If you need clarification on the alternator type, consult with a professional mechanic rather than risk the purchase of an incorrect model.
- Avoid Using Inaccurate Tools: Ensure that any tools or devices, such as multimeters, are properly calibrated and in good working condition for correct measurements.
- Don’t Skip Regular Maintenance: Regularly checking and maintaining your alternator can help prevent any major issues in the future. Be sure to identify or address potential problems before it fails.
By avoiding these common mistakes and taking advantage of valuable tips and tricks, you can accurately identify your alternator type and make informed decisions regarding maintenance and repairs.
Does the Alternator Voltage Change With Rpm?
Yes, the voltage output of an alternator can change with engine RPM (revolutions per minute). As the engine speeds up, the alternator rotates faster and generates more electricity to power the vehicle’s electrical systems. This increase in speed also results in an increase in voltage output.

However, modern vehicles have a built-in voltage regulator that maintains a constant output voltage regardless of engine RPM. This ensures that the vehicle’s electrical systems receive a steady supply of power, regardless of driving conditions.
Overall, it’s essential to ensure that your alternator is functioning correctly and producing the appropriate voltage output for your vehicle’s needs. Regular maintenance and testing can identify any issues and prevent potential problems in the future.
So, it’s crucial to pay attention to your vehicle’s alternator and follow the steps discussed in this guide to ensure its proper functioning.
How Can You Check the Alternator Voltage?
As mentioned before, a multimeter can be used to check the voltage output of your alternator. Here is a step-by-step guide on how to do so:
- Turn off Your Vehicle: Before beginning any tests on your alternator, make sure the vehicle’s engine is turned off. This prevents the possibility of electrical shocks, protects your vehicle’s electrical systems, and ensures your safety during the inspection process. Removing the keys from the ignition is also a good practice to avoid any accidental startup.
- Locate the Alternator: The alternator is typically found near the front of your engine and is connected to the battery and other electrical components.
- Set Up Your Multimeter: Set your multimeter to DC volts and select a range of 14 volts.
- Connect the Leads: Connect the black lead of your multimeter to the negative battery terminal and the red information to the positive battery terminal.
- Start Your Vehicle: Start your engine and let it idle for a few minutes.
- Observe the Voltage Reading: With your multimeter still connected, observe the voltage reading. A healthy alternator should have an output of around 13-14 volts. If it reads significantly lower or higher, your alternator may have an issue.
By following these steps, you can easily check the voltage output of your alternator and determine its health and performance. If you suspect any issues with your alternator, it’s best to consult a professional mechanic for proper diagnosis and repairs.
Can You Run Without Alternator?
It is possible to run a vehicle without an alternator. However, it’s not recommended and can cause significant issues. The alternator is responsible for providing electricity to your vehicle’s electrical systems while running the engine. Without it, the battery will quickly drain, and essential components such as headlights, power windows, and radio will stop working.
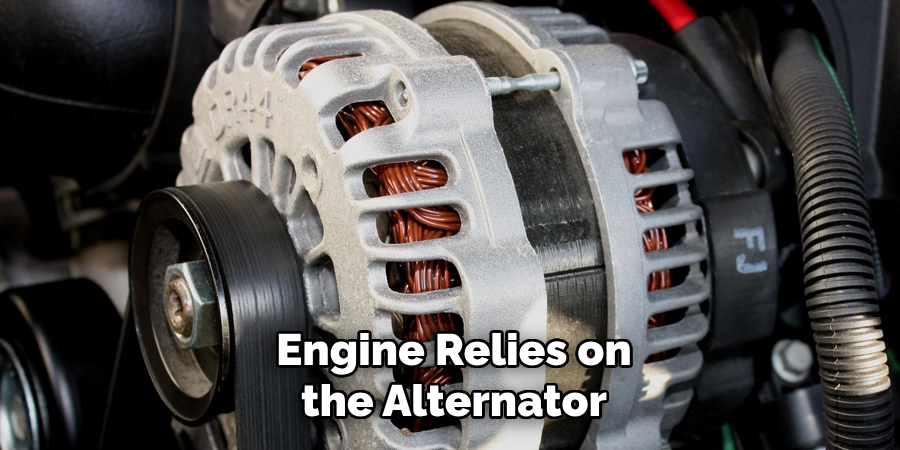
Moreover, the vehicle’s engine relies on the alternator to keep the battery charged, and without it, the engine may stall or shut off completely. While running without an alternator for a short period may be possible, it’s not a sustainable solution and can lead to expensive repairs in the long run. Therefore, it’s essential to ensure that your vehicle’s alternator is functioning correctly and promptly address any issues.
Conclusion
In conclusion, correctly identifying your alternator type requires a combination of diligent observation, proper use of tools, and occasionally seeking expertise. By leveraging the mentioned tips—ranging from multimeter testing to VIN decoding—and steering clear of the outlined pitfalls, you’ll be equipped to make accurate assessments.
Whether you’re a seasoned mechanic or a car owner looking to understand your vehicle better, recognizing the alternator’s role and specifics will contribute to optimal vehicle performance and longevity. Stay methodical in your approach, and when in doubt, rely on professional guidance to guarantee the right alternator is in place to power your vehicle’s electrical needs.
Hopefully, this guide on how to tell what alternator I have has provided you with the necessary knowledge and resources to identify your alternator type confidently. Happy troubleshooting!