Plugging a brake line is a critical skill for any vehicle owner or mechanic faced with the need to temporarily halt the flow of brake fluid. Whether conducting repairs, maintenance, or modifications to the braking system, knowing how to plug brake line effectively ensures safety and prevents hydraulic fluid leakage. A properly plugged brake line helps maintain brake system integrity, preventing air from entering the system and ensuring consistent braking performance.
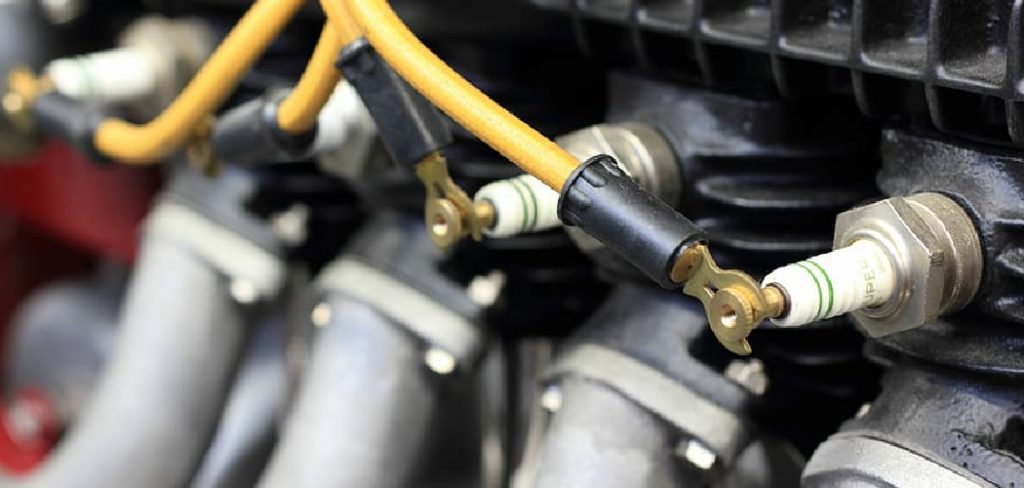
Understanding the process involves selecting the appropriate materials and techniques to create a secure seal without compromising the overall functionality of the brake system. In this guide, we’ll explore the essential steps and considerations involved in plugging a brake line, covering everything from identifying the location of the brake line to selecting suitable plugs and implementing proper sealing methods.
Mastering this skill empowers individuals to address brake system issues confidently, enhancing both safety and peace of mind on the road.
Importance of Plugging Brake Lines
Plugging brake lines is a pivotal procedure in the maintenance of a vehicle’s braking system. It prevents the loss of brake fluid, which is essential for transmitting force from the brake pedal to the wheel’s brake calipers. Without an adequate amount of fluid or with the presence of air bubbles in the system, the effectiveness of the entire braking system diminishes, potentially leading to brake failure and hazardous driving situations.
A properly plugged brake line allows mechanics to work on the system without introducing impurities or air, which is paramount for the reliability and responsiveness of the brakes. Ensuring that the brake lines are securely sealed off during repairs also minimizes environmental contamination from brake fluid spills.
Additionally, plugging brake lines is necessary when conducting modifications or upgrades to the braking system, as it allows for precise control over the installation of new components. Althoguh the process may seem simple, it requires attention to detail and proper technique to ensure a successful outcome.
The Vital Role of Brake Line Maintenance
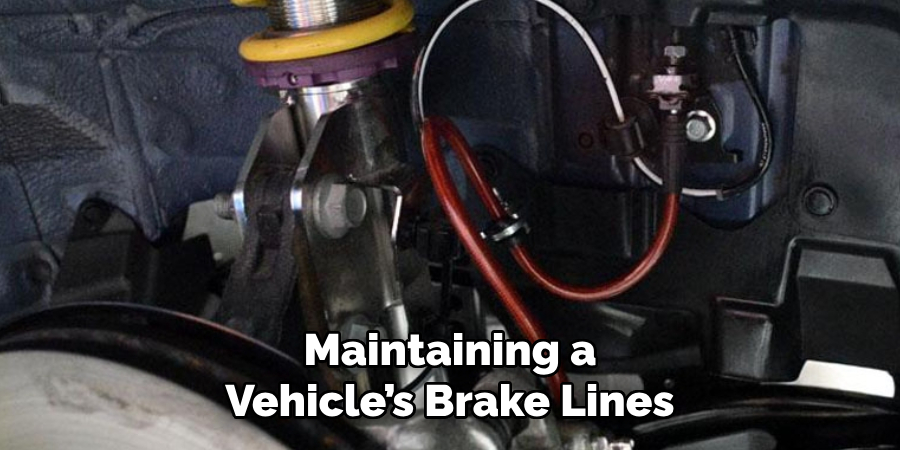
Before diving into the process, let’s understand the significance of maintaining a vehicle’s brake lines. Your brake system’s performance hinges on the integrity of the brake lines. These tubes transport the brake fluid, which is critical in amplifying the force applied to the brake pedal and stopping the vehicle.
Any leaks or breaches in the brake lines not only compromise your braking efficiency but also pose a serious safety hazard. With the high stakes in mind, it’s imperative to address brake line issues promptly and with the utmost care.
Understanding Brake Line Plugging
When your brake line is compromised and replacement isn’t an immediate option, plugging the line can provide a temporary solution. Brake line plugging is exactly what it sounds like: it’s the act of sealing off a section of the brake line to prevent fluid from leaking out. This process buys you time until a permanent fix, such as line replacement, can be executed.
Why Brake Lines Need to be Plugged
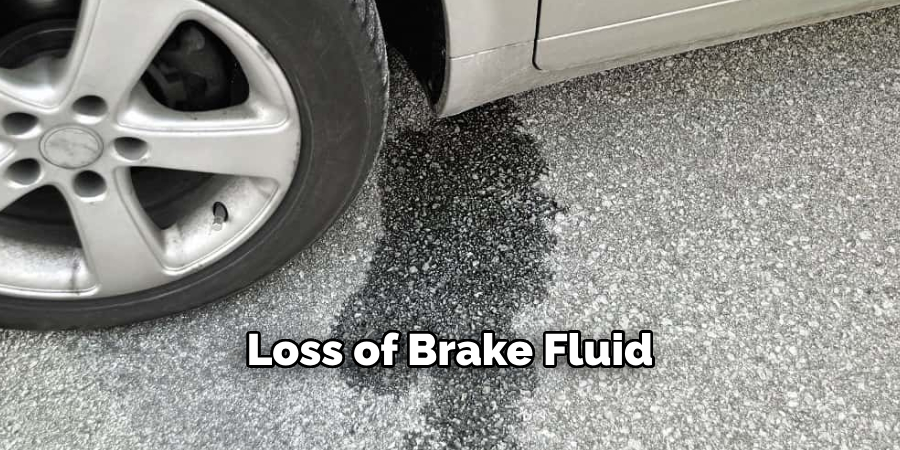
Brake line plugging becomes necessary when there’s a section of the brake line that’s damaged or leaking. This damage can be the result of corrosion, wear and tear, or accidental impact. No matter the cause, leaving a brake line unaddressed can lead to a loss of brake fluid, a spongy brake pedal, and ultimately, the failure of your braking system.
Types of Brake Line Plugs Available
There are a few different types of brake line plugs, each with its own method of installation and use. The most common types include compression fittings, flare nuts, and line plugs. Understanding the appropriate use for each plug is essential to the repair process.
Preparing for the Repair
Preparation is key to any successful automotive repair job. Failing to prepare can result in complications or even safety hazards.
Gathering Your Tools and Materials
To plug a brake line, you’ll need several basic tools and materials, including:
- Brake line wrench
- Tubing cutter or hacksaw
- Brake cleaner
- Replacement brake fluid
- Safety goggles and gloves
- Appropriate brake line plugs
Ensure you have all necessary tools and that they are in working condition. Using the correct tools for the job reduces the risk of making mistakes that could worsen the situation.
Safety First
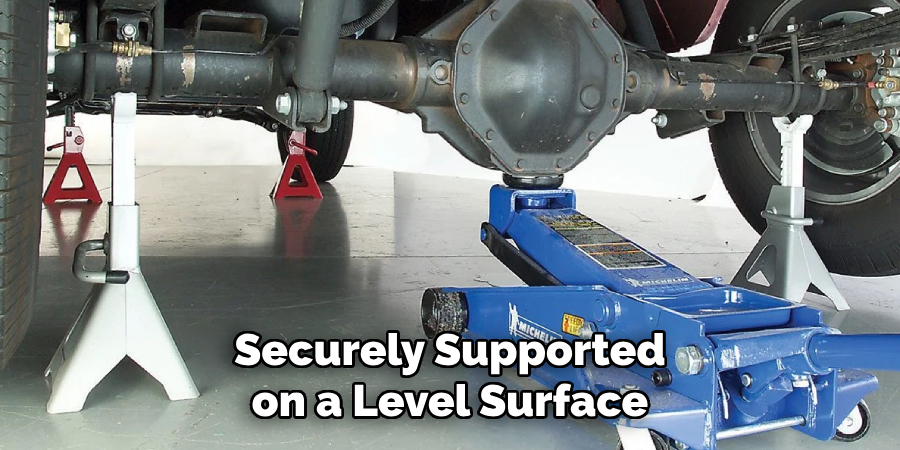
Safety should always be your primary consideration when working on vehicle brakes. Double-check that your vehicle is securely supported on a level surface and apply the parking brake. Working with the brake system can be messy, and brake fluid is corrosive, so protect your eyes and skin with safety goggles and gloves.
Identifying the Brake Line to Be Plugged
Before you can plug a brake line, you need to identify which line is the problem. Start by tracing the brake line from the master cylinder to each brake caliper or wheel cylinder. Look for any signs of leakage, such as wet spots, dripping fluid, or rust around the connections.
Locating the Damaged Line
Leaks often occur at the connections between lines, at the master cylinder, or at the rubber hoses that connect to the vehicle’s wheels. If the connection points appear to be intact, inspect the entire length of each line for corrosion, kinks, or other physical damage that could lead to leaks.
Inspecting the Brake Line
When you find the section that needs plugging, inspect it closely to determine the severity of the damage. If the line is severely compromised, it may be better to replace the entire line, rather than attempting to plug it.
10 Steps for How to Plug Brake Line
When it comes to maintaining your vehicle, the brake system stands out as a critical area not just for safety reasons, but also for performance and reliability. Knowing how to plug a brake line is essential for any habitual DIYer or novice mechanic. The steps below are a concise guide to help you manage brake line issues confidently.
1. Gather Your Materials
Before you get your hands dirty, you’ll need a few things: a brake line fitting assortment, tubing cutter, brake line flaring tool, brake fluid, and the specific brake line for your vehicle. Have a pair of safety goggles and gloves on hand for good measure.
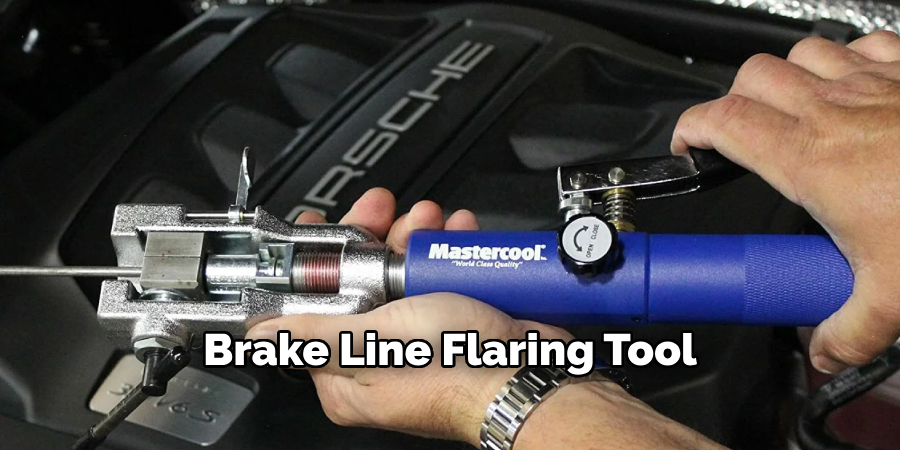
Once you have gathered all your materials, it’s important to make sure that they are all of good quality and in proper working condition. Check for any defects or damage in the brake line fitting assortment, tubing cutter, and flaring tool before using them. It is also recommended to have some extra brake fluid on hand in case of spills or leaks.
2. Lift the Vehicle
To access the problematic brake line, you’ll need some clearance underneath your vehicle. Use a floor jack and jack stands to securely raise the car. Make sure you place the jack stands in the appropriate spots, typically near the wheels.
Once your vehicle is safely raised and supported, find a suitable location to access the brake line. This may require removing some panels or wheel covers, depending on your specific vehicle.
3. Remove the Damaged Line
Unscrew the fittings at each end of the damaged brake line using a line wrench. Once the line is free, turn it gently as you remove it to minimize damage to other components.
After removing the damaged brake line, inspect it for any signs of cracks or kinks. If there are none, proceed with replacing the old line with a new one. However, if there is damage present, you can fix it by cutting out the damaged section and attaching a new piece using compression fittings. Make sure to use a pipe cutter for precision when cutting the brake line.
Once the new brake line is in place, tighten the fittings at both ends using a line wrench. Give them a final check to ensure they are secure and there are no leaks.
4. Cut the New Brake Line
Use a tubing cutter to trim a piece of the new brake line to the exact length needed. Do your best to make a straight and clean cut to ensure a proper seal.
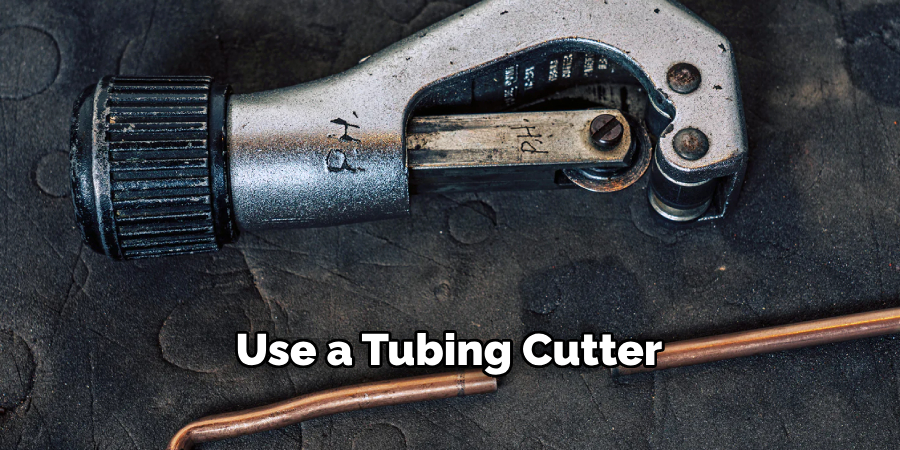
Once the new brake line is cut, deburr the inside and outside edges of the tubing using a deburring tool. This helps to remove any rough or sharp edges that could cause leaks or damage to other components.
Next, double check the length of the new brake line against the old one before proceeding with installation. It’s always better to be safe than sorry when it comes to brake lines.
5. Prepare the Ends
Use a fitting brush to clean the inside of the new line. Next, flare each end of the line using the flaring tool so that it can connect snugly with the fittings.
After flaring the ends of the line, use a tape measure to ensure that both ends are at the same distance from the flare. This will ensure that your connection is secure and leak-proof.
Next, attach any necessary fittings to each end of the line using appropriate wrenches or pliers. Make sure to tighten them securely so there is no risk of them coming loose.
6. Fit and Secure
Thread each brake line fitting into the brake hose. Adjust the exposed length of brake line to ensure the flare and first thread are fully engaged, then tighten the fittings until snug.
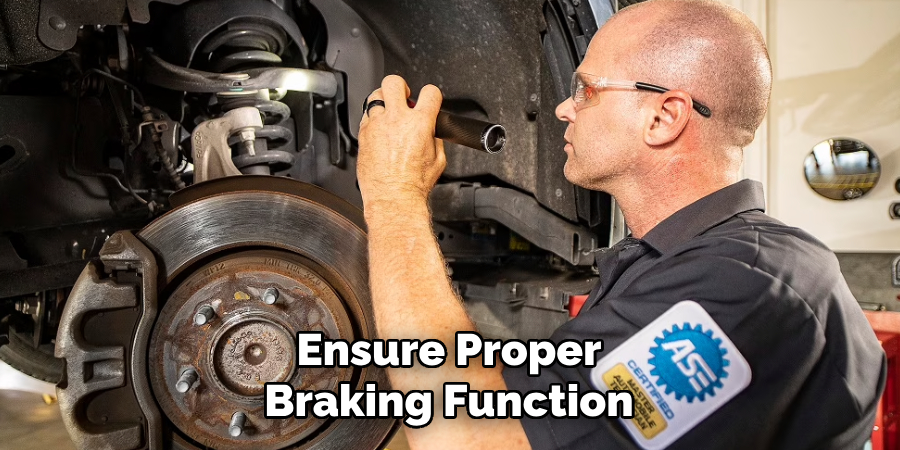
Once the brake lines are connected, it is important to make sure they are properly fitted and secured. This will not only ensure proper braking function, but also prevent any potential leaks that could lead to a dangerous situation on the road.
To begin with, thread each brake line fitting into the brake hose carefully. Pay attention to the exposed length of the brake line and adjust as necessary to ensure that the flare and first thread are fully engaged. This will help create a tight seal between the fitting and hose, preventing any potential leaks.
7. Double-Check Your Work
Once the line is secured, ensure that all connections are tight and inspect for any signs of leaks. It is crucial to confirm the quality of your repairs before moving on. This is especially important when working with plumbing or electrical systems, as any mistakes could lead to costly damages or potential dangers.
To double-check your work, perform a series of tests and inspections. For plumbing repairs, turn on the water supply and check for any leaks. If there are no visible leaks, run the water through all affected areas to ensure proper flow and function. Similarly, for electrical repairs, turn on the power and test all outlets and switches to ensure they are functioning correctly.
If any issues arise during your double-checking process, don’t hesitate to go back and make any necessary adjustments. It’s better to catch and fix mistakes early on rather than having to deal with larger problems later.
8. Bleed the Brake System
Connect a clear hose to the bleeder screw, and submerge the other end into a container of brake fluid. With help from an assistant, pump the brake pedal and open the bleeder screw to remove air from the system. Close the bleeder screw before your assistant releases the brake pedal.
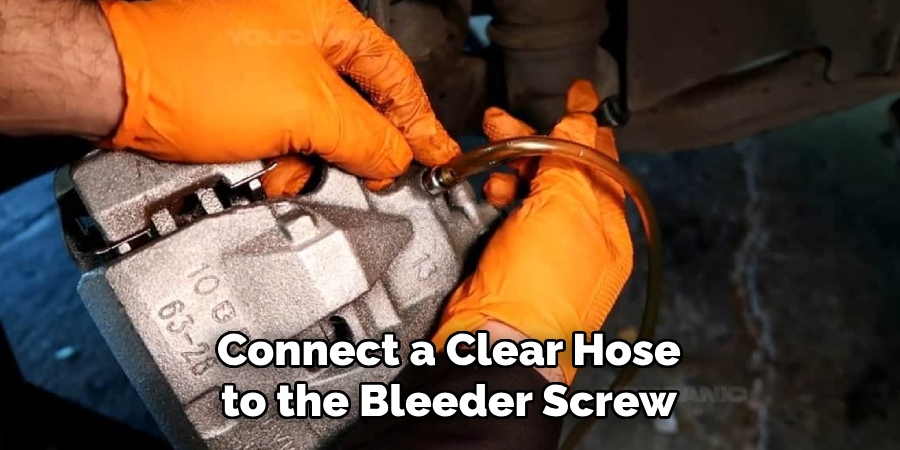
As you continue to bleed the brake system, always ensure that there is an adequate amount of brake fluid in the master cylinder reservoir. If it runs dry, air bubbles may enter the system and contribute to a soft or spongy brake pedal.
Moreover, inspect all of the components and connections for any signs of leaks or damage. If any are found, they should be repaired immediately to ensure the safety and effectiveness of the brake system. It is also important to bleed each wheel in a specific order, typically starting from the wheel farthest from the master cylinder and working your way closer.
9. Test the Brakes
With the air fully bled, conduct a test of your brakes in a safe environment, checking for normal operation and responsiveness. Be sure to test at a very slow speed and gradually build up. This is critical because air in the brake lines can cause a spongy or loose feel, which can be dangerous for both you and your car.
To test that your brakes are working properly, you should perform a series of stops at varying speeds. Begin with light pressure on the pedal to ensure that there is gradual engagement and that the vehicle does not lurch forward abruptly. Then, gradually increase the pressure to test the full braking power of the system.
10. Lower Your Vehicle and Clean Up
Once you’re confident in your brake line repair, carefully lower your vehicle to the ground and remove the jack stands. Check the fluid level in the master cylinder and top it off to the recommended level. Finally, clean up your work area and properly dispose of any old brake fluid. You should also ensure that all tools are accounted for and safely stored away.
It’s important to also properly dispose of any old brake fluid. This is because brake fluid is considered hazardous waste and can be harmful to both the environment and your health if not disposed of correctly. You can check with your local community or auto parts store for proper disposal methods.
Testing Your Repair
After the plug is installed, the brake system must be tested for leaks and proper operation. With the vehicle off, press the brake pedal a few times to ensure it’s firm and doesn’t sink to the floor. Check for any signs of leaking brake fluid at the plug or any other connection points you may have disturbed.
Checking the Brake Fluid Level
If the repair holds and there are no signs of leaks, top off the brake fluid to the correct level and re-secure the brake line.
Final Checks
Take the vehicle for a short test drive in a safe, empty area to test the brakes. Perform a few stops and ensure the braking feels responsive. Afterward, re-inspect the plug to confirm it’s still secure and leak-free.
Conclusion
Plugging a brake line is a critical temporary solution that allows you to maintain the functionality of your brake system while preparing for a permanent fix. Remember, the ultimate goal is to repair the brake line with a permanent solution as soon as possible, either by replacing the damaged section or the entire line, depending on the extent of the damage.
As a responsible DIY enthusiast, ensuring the safety and performance of your vehicle should always be at the forefront of your mind. With a methodical approach, proper tools, and caution, you can successfully navigate the task of plugging a brake line and keeping your car running safely. If you ever feel unsure or overwhelmed by the process, don’t hesitate to consult with a professional mechanic for guidance or to handle the repair.
Driving is a privilege that comes with significant responsibility. By arming yourself with knowledge and a willingness to learn, you can enjoy the journey of maintaining and repairing your vehicle for years to come. Stay safe on the roads, fellow automotive aficionados! So, there you have it – a quick and easy guide on how to plug brake line.

About
JeepFixes Team is a skilled author for Jeep Fixes, bringing 6 years of expertise in crafting a wide range of jeep fixes. With a strong background in jeep fixes work, JeepFixes Team’s knowledge spans various types of fixtures, from decorative pieces to functional hardware, blending precision with creativity. His passion for jeep fixes and design has made him a trusted resource in the industry.
Professional Focus:
Expert in Jeep Fixes : JeepFixes Team aesthetic specializes in creating durable and innovative jeep fixes, offering both appeal and functionality. His work reflects a deep understanding of jeep fixes techniques and materials.
Sustainability Advocate : He is dedicated to using sustainable practices, ensuring that every fixture is crafted with eco-friendly methods while maintaining high-quality standards.
In his writing for jeep fixes, JeepFixes Team provides valuable insights into the latest trends, techniques, and practical advice for those passionate about jeep fixes, whether they are professionals or DIY enthusiasts. His focus on combining artistry with engineering helps others discover the true potential of jeep in design.
