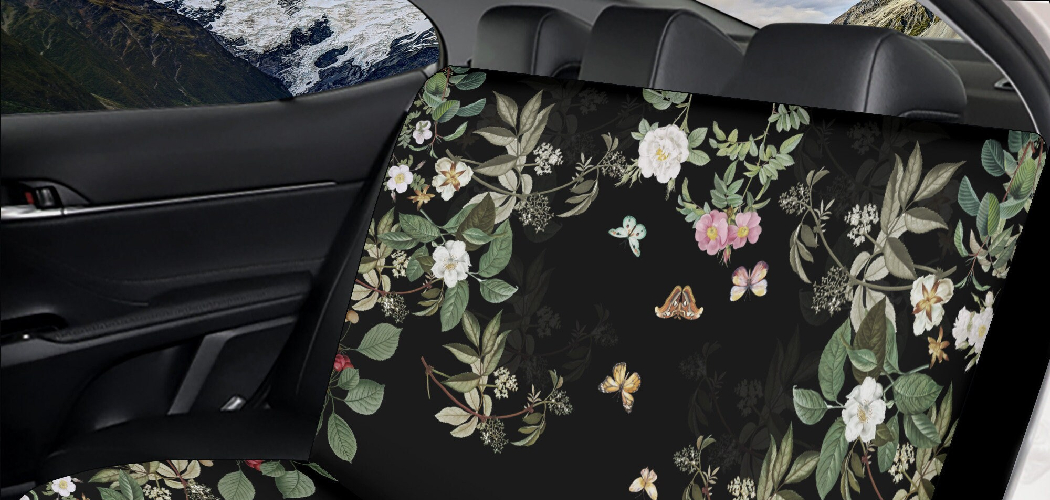
Have you ever gazed back at your rear seats and realized they’re not as crisp, clean, and comfortable looking as when your vehicle was brand new? Over time, rear seats can become worn down from kids, pets, spills, and general wear and tear. Rear seat covers are an affordable and straightforward solution to refresh the look and feel of your back seats.
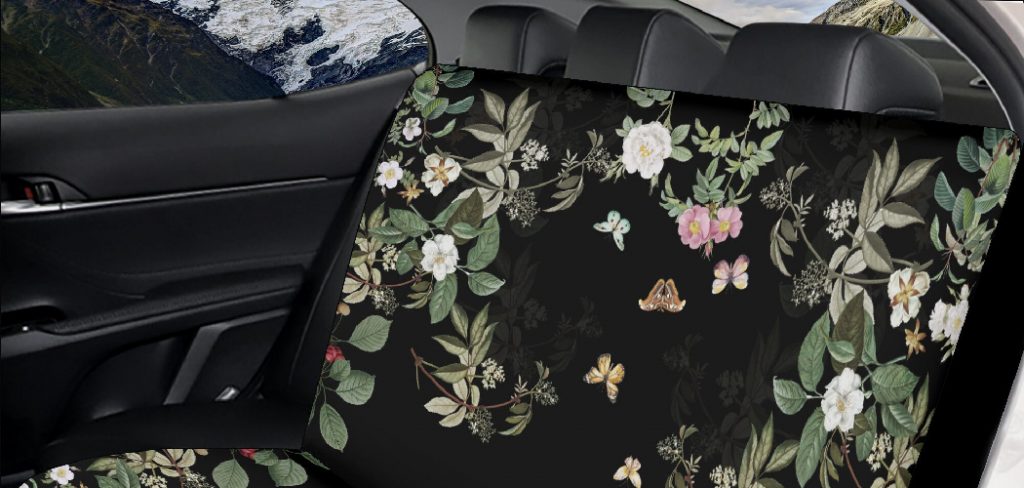
In this post, I will walk through the simple process of how to install rear seat covers. We’ll cover selecting the right size and material, preparing your seats, laying out the covers, attaching them securely, and finally, admiring your newly transformed seating area.
By following the steps outlined here, you can transform your rear seats from drab to fabulous in no time!
What Will You Need?
Before we get started, you’ll need to make sure you have the following items on hand:
- Rear Seat Covers: Make sure to select the right size and material for your vehicle’s seats. Universal fit covers may be cheaper but may not provide a snug or tailored look.
- Scissors: To cut straps or tie-downs if needed
- Cleaning Supplies: Depending on the condition of your seats, you may need a vacuum or cleaning solution to remove any dirt or debris.
- Towel: To wipe down any moisture from the seats
- Rubber Gloves: Optional but can help protect your hands during installation.
Once you have all your supplies ready, it’s time to get down to business!
10 Easy Steps on How to Install Rear Seat Covers
Step 1. Remove Old Seat Covers
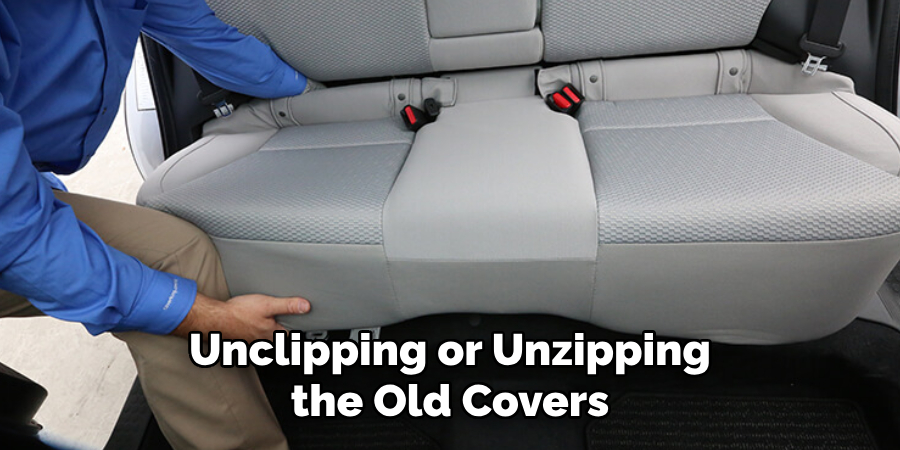
If your car already has seat covers on the rear seats, you must remove them before installing the new ones. This may involve unclipping or unzipping the old covers, depending on their design. It is essential to take your time and be gentle during this process to avoid damaging the seats.
Step 2. Install New Seat Covers
Once the old seat covers have been removed, it is time to install the new ones. Start by placing the cover over the backrest of the rear seat and securing it in place according to the manufacturer’s instructions.
Then, move on to installing the bottom portion of the cover by tucking it into place and securing it with clips or straps as directed. Make sure everything is properly aligned and secure before moving on to install any additional features such as headrest covers or armrest protectors.
Step 3. Adjust for Seat Belts and Buckles
Rear seat covers must be appropriately fitted around seat belts and buckles to maintain functionality and safety. Identify where the seat belt paths are and use the slits provided in the seat cover to accommodate them. If necessary, make small incisions to allow the seat belt buckles to come through. Be cautious while cutting to avoid making the holes too large or damaging the seat cover.
Step 4. Smooth Out the Cover
With the seat covers in place, it’s time to smooth out wrinkles or folds. Start from the top of the seat and work your way down, pulling the cover taut to create a sleek, form-fitting appearance. Pay extra attention to where the back and bottom of the seat meet, as excess material can often gather. Use your hands to adjust and straighten the fabric for a snug fit.
Step 5. Secure the Seat Covers to the Seat
Most rear seat covers come with hooks, elastic straps, or Velcro to help secure them in place. Locate these on the underside of the seat and stretch them beneath and behind the seat itself. If your seat covers come with hooks, attach them to the underside of the seat or to each other to ensure the cover doesn’t shift.
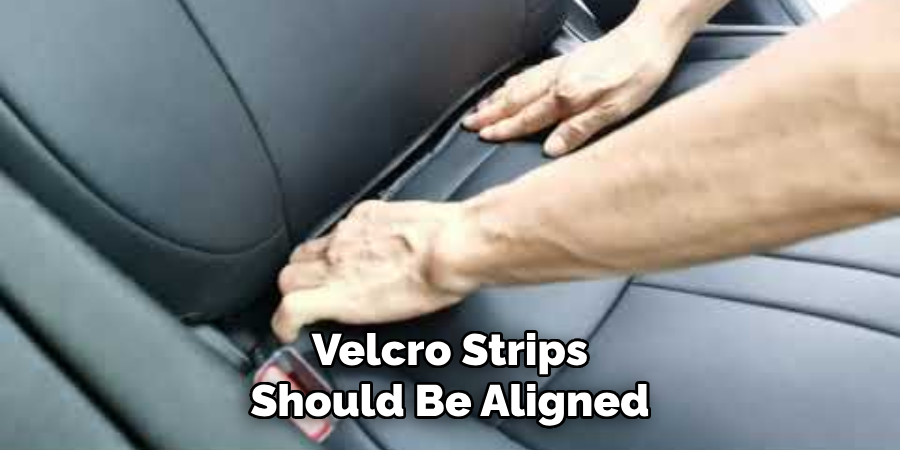
For straps with buckles, pull them tight and buckle them together, making sure they are snug but not so tight that they deform the seat cushion. Velcro strips should be aligned and pressed firmly to adhere. This step is crucial for keeping the cover secure and preventing it from sliding around when the seat is in use.
Step 6. Reattach the Headrests
If your rear seats have headrests that were removed in the process, now is the time to reattach them. First, align the headrest with the seat cover’s designated holes or markings. If the cover has a tight fit around the headrest poles, use a gentle twisting motion to ease them through the material.
Once the bars are through the cover, align them with the holes on the top of the seat and push downwards until you hear a click, indicating the headrest is securely in place. Adjust the headrest cover, smoothing out any wrinkles for a finished look.
Step 7. Tuck in Excess Material and Secure
Once the headrests are back in position and the covers look neat, focus on tucking in any excess material. Most rear seat covers are designed with additional fabric to ensure a universal fit, so you may need to tuck this extra material into the crevices of your seat to achieve a seamless look.
Use the ‘tucking tools’ provided or a flat spatula to push the material deep into the seat joints, if accessible. Ensure the material is tucked evenly to avoid lumps on the seating surface. This will help the covers to conform to the shape of your seats, making them look as though they’ve been custom-made for your vehicle.
Step 8. Check for Operational Features
Some rear seats have special features like fold-down abilities or built-in cup holders. After installing seat covers, check to make sure all of these features are still fully operational. Adjust the covers if necessary to allow for easy access and use of any levers or pull tabs. Test the mechanism for seats that fold down to ensure a smooth function without the seat cover hindering any movement.
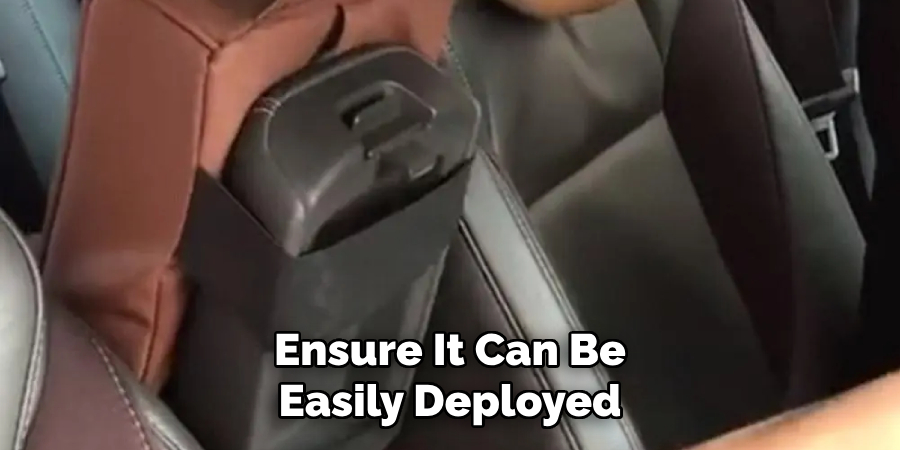
If your vehicle has a center armrest or cup holder, ensure it can be easily deployed and stowed with the seat covers in place. This may involve additional tucking or securing of fabric around these areas.
Step 9. Inspect and Adjust for Evenness
After installing the rear seat covers and ensuring all functionality is preserved, it’s important to inspect the overall fit and finish. Check for evenness and symmetry on both sides of the car seats. Make any necessary adjustments to straighten lines and smooth out the surface, ensuring a clean and professional appearance.
Look at the seat covers from different angles and lighting conditions to detect any inconsistencies or bunching of material. Precision here will result in a better aesthetic and more comfortable seating.
Step 10. Final Inspection and Maintenance Tips
Once you’re satisfied with the fit and appearance of your new rear seat covers, conduct a final inspection to ensure every aspect is as it should be. Verify that all straps, hooks, and Velcro are well-secured and hidden from view and that the seat covers are free of creases or folds.
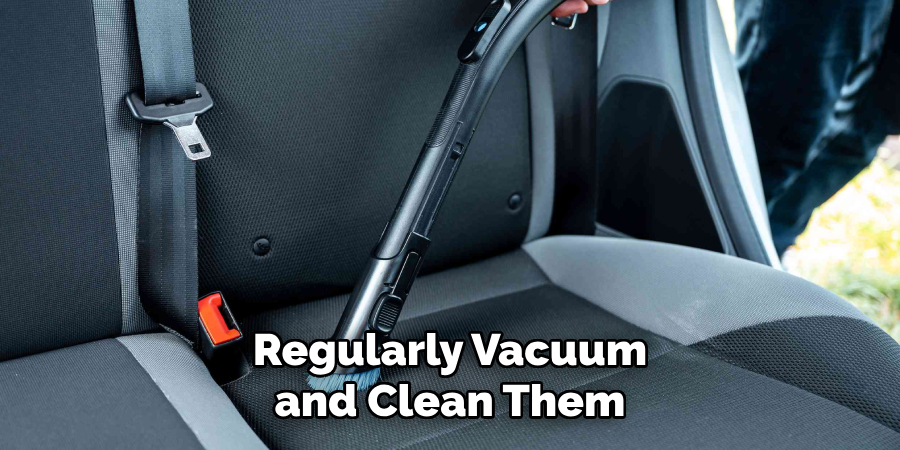
To maintain the new seat covers, regularly vacuum and clean them according to the manufacturer’s instructions. If they begin to loosen over time, revisit the securing mechanisms and tighten as needed to retain the perfect fit. Enjoy the fresh look of your vehicle’s interior and the added protection your new seat covers provide!
By following these simple steps, you can easily install rear seat covers and give your vehicle a fresh new look.
5 Things You Should Avoid
- Avoid Using Brute Force when fitting the seat covers. This can cause them to tear or become overly stretched, compromising their look and fit.
- Do Not Cut Slits or Holes Recklessly. This could lead to the seat covers fraying or incorrectly fitting around the seat belts and buckles.
- Steer Clear of Misaligning the Headrests. Incorrect placement can lead to discomfort for passengers and may also cause wear and tear on the covers.
- Refrain From Ignoring the Seat Cover’s Maintenance Instructions, as improper care can shorten its lifespan and lead to early deterioration of the material.
- Avoid Leaving Excess Material Bunched Up. This can cause an uneven seating surface and an overall unkempt appearance to your seat covers.
By avoiding these mistakes, you can ensure a successful and long-lasting installation of your rear seat covers.
Conclusion
In conclusion, how to install rear seat covers may seem like a daunting task, but with the right tools and techniques, it can be a simple and rewarding experience. Following the steps outlined in this blog post, you can protect your car seats from wear and tear while adding a personalized touch to your vehicle. Investing in high-quality seat covers that will provide durability and enhance the overall appearance of your car’s interior is essential.
Additionally, always read the instructions carefully before installation and seek professional help. Remember, taking care of your car’s interior will increase its lifespan and maintain its resale value.
So why wait? Start installing those rear seat covers and give your car a new look! Thank you for reading this blog post; we hope it was informative and helpful. Happy driving!

