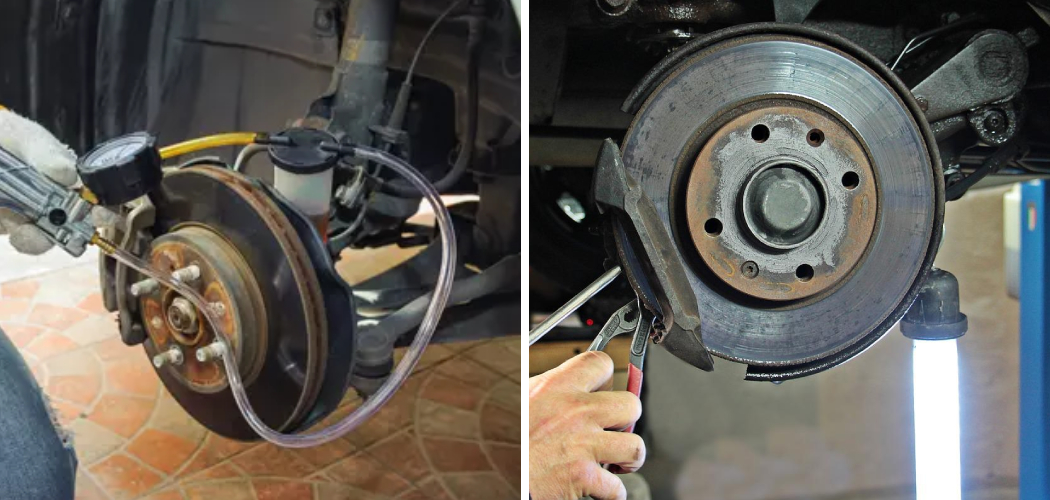
Whether you’re an experienced car owner or a novice driver, understanding how to bleed brakes alone is a crucial skill to have. Brakes are the most vital safety feature in any vehicle and regular maintenance is essential for their proper functioning.
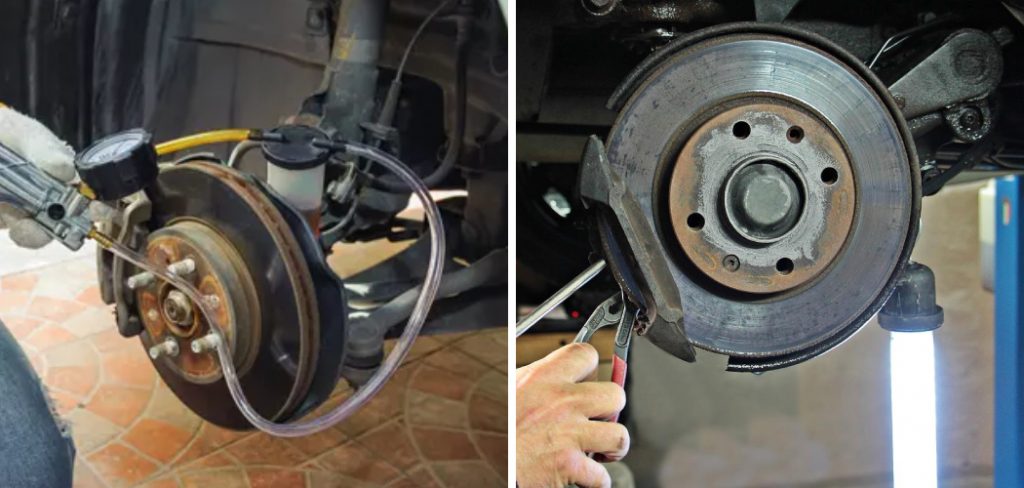
However, taking your car to a mechanic every time you need to bleed the brakes can be expensive and time-consuming. That’s why it’s important to learn how to do it yourself, especially if you find yourself in an emergency on the road.
In this blog post, we’ll guide you through everything you need to know about bleeding brakes by yourself – from reasons why your brakes may need bleeding, to step-by-step instructions on how to do it safely and effectively. So buckle up and get ready to become a hands-on expert in maintaining your car’s braking system!
Why Do Brakes Need Bleeding?
Before we dive into the process of bleeding brakes alone, let’s first understand why it’s necessary in the first place. Over time, air can get trapped inside your brake lines and cause compression, which can result in a spongy brake pedal or reduced braking power.
This is often caused by routine maintenance such as changing brake pads or a leak in the brake system. Bleeding brakes are the process of removing this air and replacing it with fresh fluid, ensuring that your brakes function properly.
Tools and Materials You Will Need to Bleed Brakes Alone
- Jack and Jack stands
- Lug wrench
- Brake fluid (check your owner’s manual for the recommended type)
- Clear plastic tubing
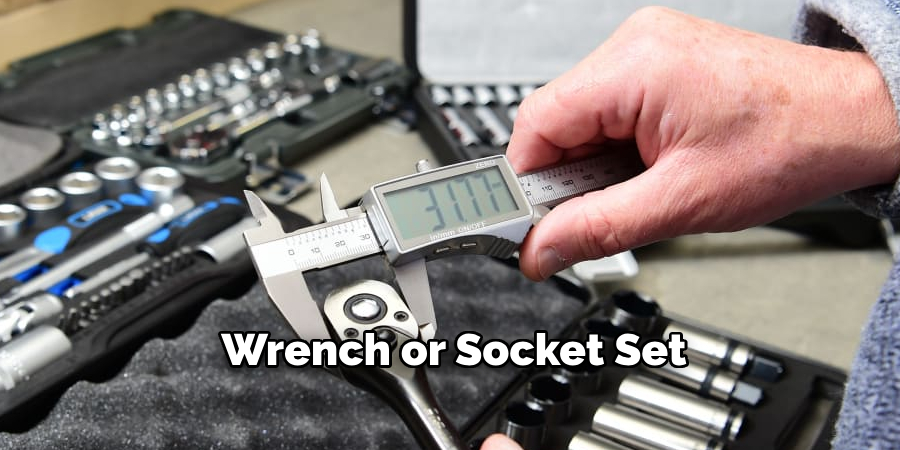
- Wrench or socket set
- Bleeder kit (optional, but highly recommended for easier bleeding)
Step-by-step Guidelines on How to Bleed Brakes Alone
Step 1: Prepare Your Vehicle
First and foremost, ensure that your vehicle is parked on a level surface and in park or first gear for manual transmission. Use the lug wrench to loosen the lug nuts on all four wheels, but don’t remove them completely just yet. Then, using the jack and jack stands, lift one wheel at a time off the ground and secure it with a stand. Once all four wheels are raised, remove the lug nuts and take off each wheel.
Step 2: Locate the Bleeder Screw
Next, locate the bleeder screw on your vehicle’s brake calipers or wheel cylinders. Depending on your car’s make and model, it can be found in different locations. However, it is usually located on the back of the caliper or cylinder and can be identified by the small rubber cap on top. If you’re unsure, refer to your owner’s manual for the exact location.
Step 3: Connect Tubing and Drain Old Fluid
Attach the clear plastic tubing to the bleeder screw and place the other end into a container. This will help you collect all the old brake fluid while preventing air from entering back into the system. Have an assistant press down on the brake pedal while you open the bleeder valve for a few seconds until no more fluid comes out. Repeat this process until all old fluid is drained, ensuring that the master cylinder never runs dry.
Step 4: Refill with Fresh Fluid
Using a wrench or socket set, remove the master cylinder’s cap and refill it with fresh brake fluid. This will help prevent any air from entering the system while bleeding. This is also a good time to check the fluid level and make sure it’s at the recommended level. Make sure to close the master cylinder’s cap tightly after refilling.
Step 5: Bleed the Brakes
Now it’s time to bleed the brakes. Start with the wheel furthest away from the master cylinder, usually the rear passenger wheel, then move on to the next farthest, and so on.
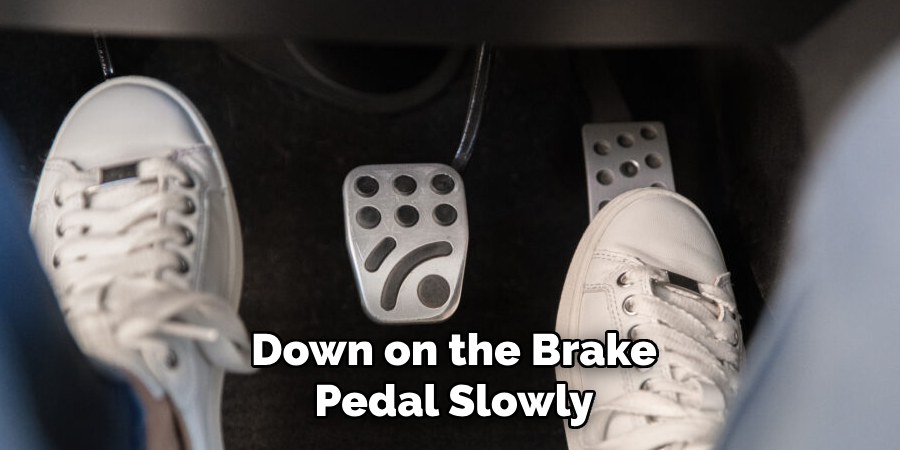
Have your assistant press down on the brake pedal slowly and hold it down while you open the bleeder valve for a few seconds before closing it again. Repeat this process until you see only clean fluid coming out of the tubing with no air bubbles. Make sure to keep an eye on the master cylinder’s fluid level and refill as needed.
Step 6: Reassemble and Test
Once all four wheels have been bled, it’s time to reassemble everything. Put the wheels back on and tighten the lug nuts in a star pattern. Lower the vehicle and test your brakes by pressing down on the pedal. If it feels firm and responsive, then you have successfully bled your brakes. However, if there is still air present, repeat the bleeding process until all air is removed from the system.
Following these step-by-step instructions will allow you to bleed brakes alone safely and effectively. Remember, regular maintenance is key to ensuring your vehicle’s brakes are in good working condition, so make sure to bleed them whenever needed. With these skills under your belt, you’ll be able to handle any brake-related emergency with confidence! Happy driving!
Additional Tips and Tricks to Bleed Brakes Alone
1. If you are using a vacuum pump to bleed your brakes, make sure to check the pressure gauge regularly. This will ensure that the vacuum is at an optimal level and prevent air from entering the brake system.
2. Use a clear hose or tubing when bleeding your brakes with a vacuum pump. This makes it easier to see any air bubbles in the brake fluid and ensures that all air is removed from the system.
3. When using a brake bleeder kit, make sure to follow the instructions carefully and read any warnings provided by the manufacturer. Improper use of these tools can result in injury or damage to your vehicle.
4. If you are having trouble getting a firm pedal while bleeding your brakes, try tapping on the brake lines with a rubber mallet. This can help dislodge any stubborn air bubbles that may be trapped in the system.
5. Bleed your brakes in a specific order recommended by your vehicle’s manufacturer, typically starting with the brake furthest from the master cylinder and working your way towards it. This ensures that all air is removed from the entire system.
6. Keep a container or old towel handy to catch any excess brake fluid that may spill during the bleeding process. Brake fluid is corrosive and can damage painted surfaces, so it’s important to clean up any spills immediately.
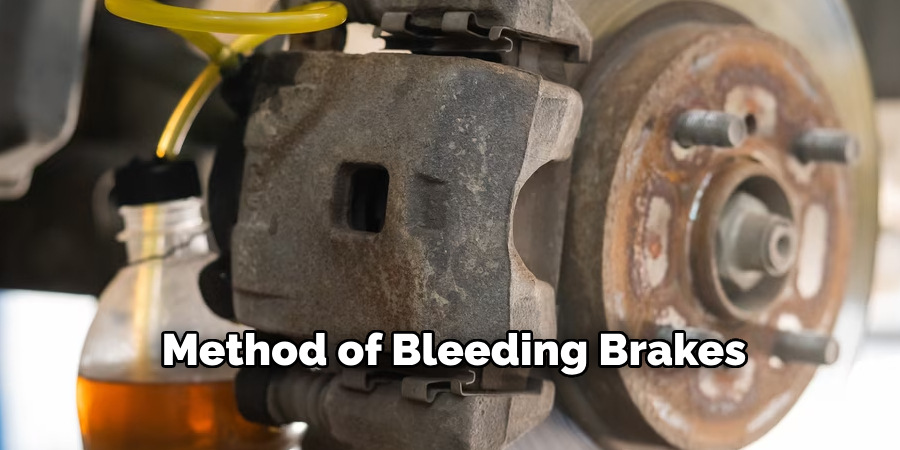
7. If you are using the traditional two-person method of bleeding brakes, make sure to have clear communication with your partner. This includes signals for when to release and press the brake pedal, as well as any issues that may arise during the process.
8. Always use new, clean brake fluid when bleeding your brakes. Old or contaminated brake fluid can cause damage to critical components in your braking system and compromise its effectiveness.
9. After bleeding your brakes, test your vehicle on a quiet road before driving on busy streets or highways. This will allow you to ensure that the brakes are working properly and make any necessary adjustments.
Following these additional tips and tricks will ensure a safe and successful brake bleeding experience. Remember to always prioritize safety and carefully follow instructions, whether you are using a vacuum pump or the traditional two-person method. Regularly maintaining your brakes is crucial for the overall safety of your vehicle, so don’t hesitate to seek professional help if needed. Happy bleeding!
Precautions Need to Be Followed for Bleeding Brakes Alone
1. First and foremost, make sure that the vehicle is safely parked on a flat surface with the engine turned off. This will prevent any accidents from happening while bleeding the brakes alone.
2. Once you have parked your vehicle, you need to raise it up using a jack stand and secure it properly. This will allow you to access the wheels more easily and safely.
3. Before starting the bleeding process, ensure that you have all the necessary tools and equipment ready. This includes a wrench, a brake bleeder kit, and a clean container to collect the old brake fluid.
4. It is important to wear protective gear such as gloves and safety glasses while working on your vehicle’s brakes. Brake fluid is corrosive and can cause harm if it comes in contact with your skin or eyes.
5. Check the brake fluid level in the master cylinder and top it up if needed. It is crucial to have enough fluid in the system to prevent air from entering while bleeding the brakes alone.
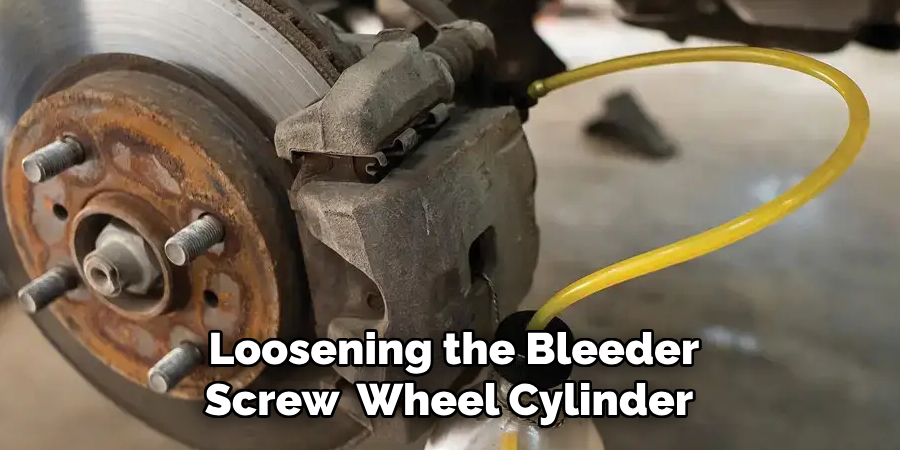
6. Start by loosening the bleeder screw on the furthest wheel cylinder or caliper from the master cylinder. This will allow any trapped air to escape while you are bleeding the brakes.
7. Once you have loosened the bleeder screw, attach a clear hose to it and place the other end in the container. This will help prevent any brake fluid from spilling onto your vehicle’s paint or engine components.
8. Slowly pump the brake pedal multiple times until you see clean brake fluid without any air bubbles coming through the hose. This process may need to be repeated several times for each wheel until no more air bubbles are present.
Following these precautions and steps carefully will help you successfully bleed your brakes alone without any safety hazards or issues. It is important to always follow the correct procedures and take necessary precautions when working on your vehicle’s braking system.
Remember, if you are not confident in performing this task alone, it is best to seek professional help to ensure the proper maintenance and safety of your vehicle. So, stay safe and follow these precautions for a smooth and hassle-free brake bleeding process.
Conclusion
Now you know how to bleed brakes alone and keep your car running smoothly. It may seem intimidating at first, but with the right tools and knowledge, it is a simple task that can save you time and money in the long run. Remember to always follow safety precautions and consult a professional if you are unsure about anything.

