

As the holiday season rolls around again, many of us start prepping our homes with Christmas lights, decorations, and other festive touches to get into the spirit. However, what if you want to decorate your vehicle, too? Jeeps are iconic American vehicles and are a common sight on roads everywhere. But did you know you can quickly transform your trusty Jeep into a Christmas wonderland on wheels?
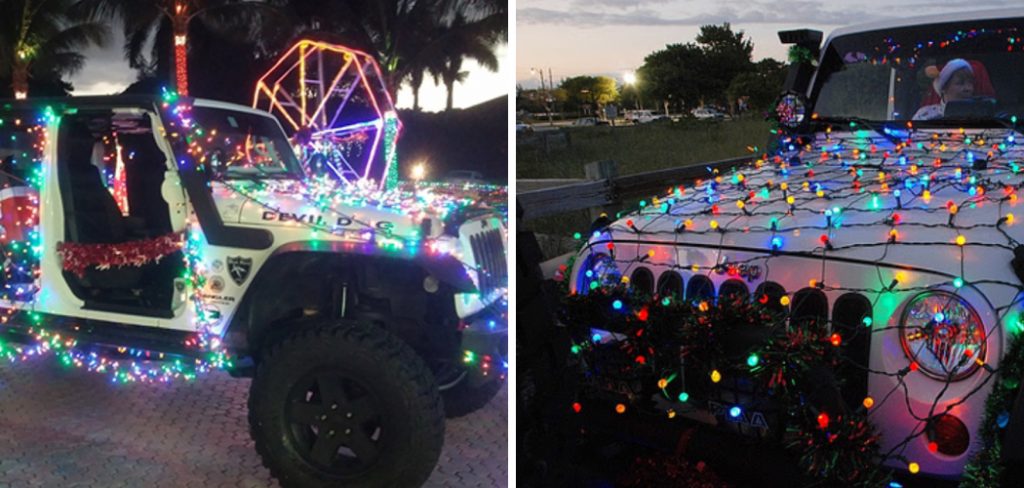
In this post, I’ll share some simple techniques for safely hanging twinkling lights on your Jeep and turning it into a mobile light show that will bring holiday cheer wherever you drive. Whether you want to use it as part of your neighborhood light display or cruise around town with a decorated Jeep, following these tips on how to put christmas lights on a jeep will make the process easy and hassle-free.
What Will You Need?
Before getting started, ensure you have all the necessary supplies. These include:
- Christmas lights (LED are recommended for their energy efficiency and durability)
- Extension cords
- Zip ties or bungee cords
- Suction cup hooks (if hanging lights on windows)
- Tape (if attaching lights to metal surfaces)
Once you have everything together, here are some steps to follow.
9 Easy Steps on How to Put Christmas Lights on a Jeep
Step 1: Plan Your Design
Before you begin wrapping your Jeep with festive luminescence, you must visualize the final look you are aiming for. Start by deciding where the lights will go—consider the roof, doors, windows, grille, or even the wheels for an all-around glow. Next, choose your color scheme; you could go traditional with multicolored strands or opt for a more elegant appearance with all-white lights.
Sketching a simple outline of your Jeep and marking the light placement can help you envision the outcome and ensure an even distribution, making the process smooth and ensuring your design turns into holiday magic on wheels.
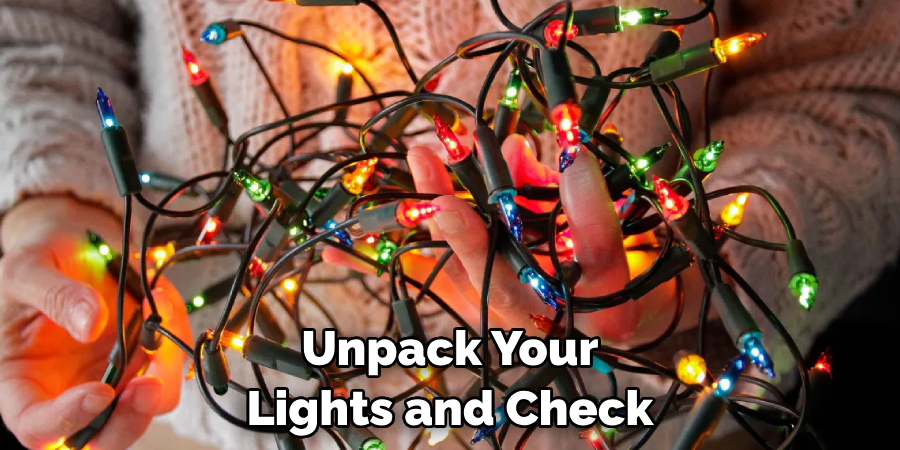
Step 2: Test Your Christmas Lights
Before attaching the lights to your Jeep, ensuring they’re all in working order is essential. Unpack your lights and check for any damaged strands or bulbs. Then, plug in each set of lights to confirm they light up properly.
It’s much easier to troubleshoot issues with your Christmas lights while you’re comfortably at home rather than after they’re already attached to your vehicle. This step is crucial to avoid the frustration of finding out some lights don’t work after you’ve gone through the effort of putting them up.
Step 3: Prepare the Surface of Your Jeep
Before you start attaching your lights, preparing your Jeep’s exterior is essential. This means cleaning the areas where you’ll affix the lights so the suction cups and tape can adhere properly. Wash and dry the Jeep to remove dirt or grime and ensure the surfaces are completely dry before moving on to the next step. This will help prevent the lights from falling off while you’re driving and ensure your decoration efforts are worthwhile.
Step 4: Attaching Lights to the Jeep Body
With your Jeep’s surface clean and ready, you can start fixing the lights on the body. Begin at a power source location and strategically move around the vehicle, using tape to secure the lights to metal parts and suction cup hooks for glass areas such as windows.
If you’re routing lights around the doors, ensure they don’t interfere with the door’s operation and safely secure excess wiring with zip ties or bungee cords to prevent entanglement or damage. Take care to distribute the lights evenly, as this will ensure your Jeep looks fantastic from all angles. Leave enough slack near the power source to plug the lights in without straining the cords.
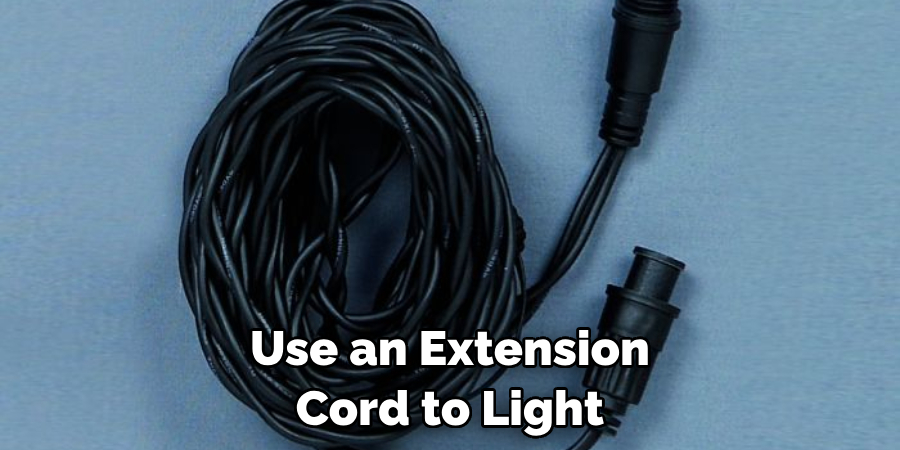
Step 5: Powering Your Christmas Lights
You can use an extension cord to light up your display when you’re not driving to connect the Christmas lights to an outdoor outlet. For illuminating your lights while you’re on the move, a power inverter that plugs into your Jeep’s cigarette lighter socket is an excellent solution.
This device will convert your Jeep’s DC power into AC power to keep your lights twinkling on the road. Ensure you choose an inverter with the appropriate wattage for your lights to prevent blowing a fuse. Always follow the manufacturer’s instructions for the inverter and lights to ensure everything is set up safely and correctly.
Step 6: Securing the Lights Along the Roof and Hood
For those who wish to add Christmas lights to the roof and hood of their Jeep, the key is securing them well to avoid any loss while driving. If your Jeep has a roof rack or bars, they make excellent anchor points for wrapping lights around. Use zip ties to fasten the lights firmly to these bars, ensuring they’re taut to prevent flapping or tangling in the wind.
Avoid obstructing your vision or the Jeep’s moving parts when weaving lights around the hood area. Employ sturdy tape or additional suction cup hooks to keep the lights in place even in windy conditions or while in motion. Remember, the goal is to maintain the integrity of your vehicle while achieving that festive look.
Step 7: Running Lights Along the Sides and Undercarriage
Don’t forget the sides and undercarriage to create a complete outline of your Jeep in lights. For the sides, use tape or more suction cups to attach the lights along the lower door panels and side fenders, keeping to the edges to accentuate the Jeep’s profile. Weather-resistant LED strips with adhesive backing can be a perfect option for lighting under the Jeep.
Just make sure they’re mounted away from moving parts and hot areas, like the exhaust system. If you’re applying lights to the undercarriage, ensure they’re designed for exterior use and are properly secured against the elements and road debris.
Step 8: Decorating the Wheels and Tires
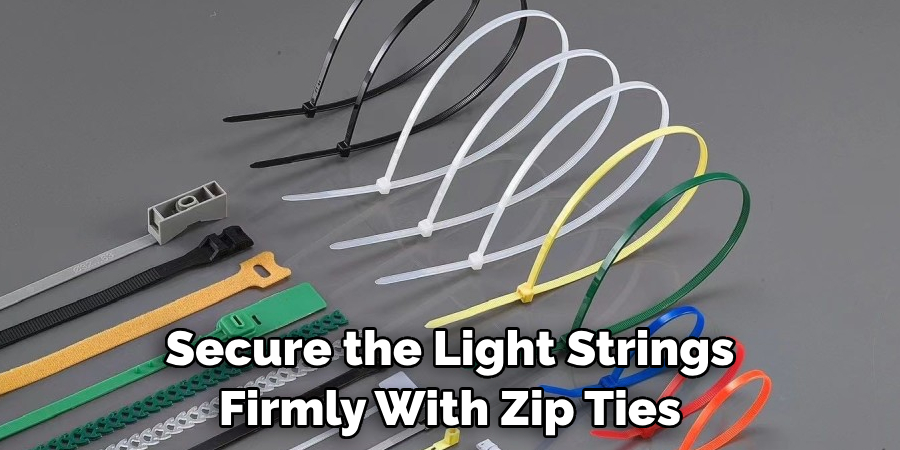
Decorating your Jeep’s wheels and tires can add a unique touch to your Christmas light display. Begin by wrapping lights around the rim of the wheels, carefully avoiding the tires themselves and any moving parts. Small, battery-operated LED light strings are advisable here, as they can be more easily managed and don’t require long extension cords.
Secure the light strings firmly with zip ties, ensuring they do not have any contact with the wheel’s moving parts. As you drive, these twinkling lights will add motion and life to your display, creating a dynamic and eye-catching effect.
Always verify that the lights do not compromise the vehicle’s safe operation and check local regulations regarding lighting on moving vehicles to ensure compliance.
Step 9: Final Inspection and Testing
Once you’ve attached all the lights to your Jeep, take a step back and conduct a thorough inspection. Ensure the lights are distributed evenly and securely fastened. Check that no part of your light setup will interfere with the safe operation of your Jeep, including visibility, door functionality, and wheel movement.
After the visual inspection, test the lights by plugging them into the power inverter or connecting them to a power source. Adjust as necessary and ensure no wires are dangling or at risk of getting caught. This step is essential to not only achieve the best visual effect but also ensure the safety of your festive Jeep both while parked and on the road. Remember that safety should always be your top priority.
By following these steps and implementing the necessary safety measures, you can successfully add Christmas lights to your Jeep and create a stunning festive display.
5 Things You Should Avoid
- Avoid Overloading Circuits: Do not connect too many lights to a single power inverter or outlet, which could potentially overload the Jeep’s electrical system or the power inverter itself.
- Steer Clear of Obstructing Visibility: Lights should never block or impair the driver’s vision. Ensure no lights or decorations are placed on the windshield, mirrors, or anywhere that could reduce visibility.
- Don’t Use Indoor Lights: Only use lights and decorations rated for outdoor use to withstand the elements. Indoor lights are not designed to endure the rigors of outdoor conditions and could pose safety risks.
- Never Attach Lights to Moving Parts: It’s vital to avoid wrapping lights around any parts that move or generate heat, such as the wheels (beyond the rims), braking systems, or exhaust components.
- Skip Unsafe Adhesives: Refrain from using adhesives that can damage the Jeep’s paint or leave a residue. Opt for car-safe tapes or adhesives designed for temporary vehicle decoration to protect the integrity of your vehicle’s exterior.
Following these guidelines, you can safely and effectively decorate your Jeep with Christmas lights and spread the holiday cheer wherever you go.
Conclusion
In conclusion, how to put christmas lights on a jeep is not only a fun and festive way to celebrate the holiday season, but it’s also a great way to show off your creativity and spread some holiday cheer wherever you go. With the tips and tricks in this blog post, you can transform your jeep into a dazzling winter wonderland on wheels.
From choosing the right lights and accessories to properly attaching them to your jeep without causing any damage, we’ve covered all the essential steps to help make your decorating process smooth and stress-free. Whether for a holiday parade, Christmas light tour, or just for fun around town, adding twinkling lights to your jeep will turn heads and put smiles on people’s faces.
So don’t be afraid to let your creative juices flow and try something new this holiday season by decking out your jeep with festive lights. And who knows, you’ll even start a new trend among fellow jeep owners!

About
JeepFixes Team is a skilled author for Jeep Fixes, bringing 6 years of expertise in crafting a wide range of jeep fixes. With a strong background in jeep fixes work, JeepFixes Team’s knowledge spans various types of fixtures, from decorative pieces to functional hardware, blending precision with creativity. His passion for jeep fixes and design has made him a trusted resource in the industry.
Professional Focus:
Expert in Jeep Fixes : JeepFixes Team aesthetic specializes in creating durable and innovative jeep fixes, offering both appeal and functionality. His work reflects a deep understanding of jeep fixes techniques and materials.
Sustainability Advocate : He is dedicated to using sustainable practices, ensuring that every fixture is crafted with eco-friendly methods while maintaining high-quality standards.
In his writing for jeep fixes, JeepFixes Team provides valuable insights into the latest trends, techniques, and practical advice for those passionate about jeep fixes, whether they are professionals or DIY enthusiasts. His focus on combining artistry with engineering helps others discover the true potential of jeep in design.