

Hello, fellow car enthusiasts! Have you ever wondered how to install a drive shaft on your vehicle? You’ve come to the right place. Installing a new drive shaft may seem intimidating, but I’m here to break it down into simple steps and alleviate any fears about tackling this job yourself. In this detailed guide, I’ll cover everything you need to know to swap out a worn or damaged drive shaft successfully.
We’ll review the necessary tools and parts, safety precautions, removal, and installation instructions step-by-step. You’ll feel confident performing this essential maintenance and upgrade by the end. Let’s get started with an overview of drive shaft basics so you understand what’s involved before diving into how to install drive shaft. Buckle up – you’re in for a fun and rewarding weekend project!
Necessary Items
Before you begin, ensure you have all the necessary items to install a drive shaft. You will need:
- New drive shaft
- Appropriate size and type of universal joints (U-joints)
- Driveshaft yokes or flanges for both ends
- Torque wrench
- Jack stands, and a floor jack
- Essential hand tools such as socket sets, wrenches, pliers, and screwdrivers
- Safety glasses and gloves
- Grease
10 Steps on How to Install Drive Shaft
Step 1: Understanding Drive Shaft Basics
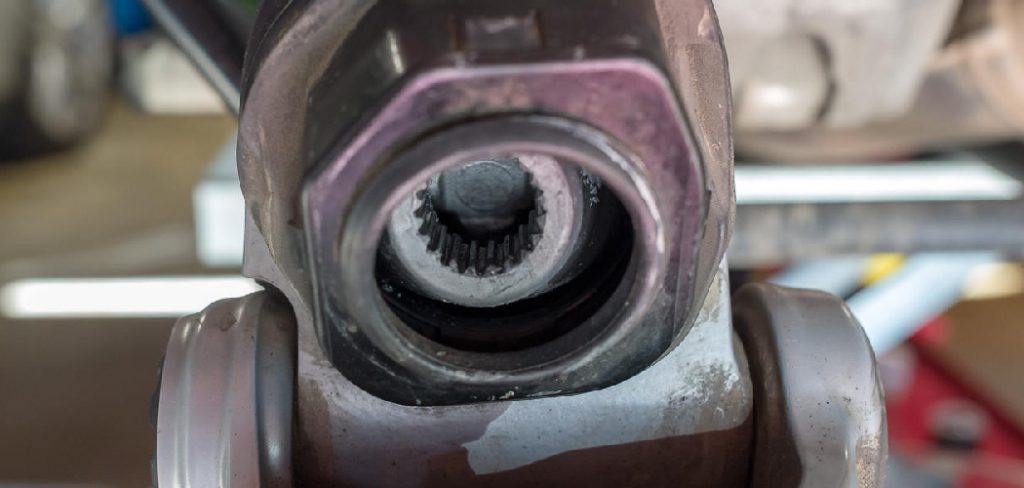
A drive shaft is a rotating component that transfers power from the transmission to the differential, sending energy to the wheels. It consists of a long metal tube with U-joints at each end connected to flanges or yokes.
The U-joints allow the drive shaft to flex and rotate as the suspension travels up and down. Over time, U-joints wear out and need replacement, or the drive shaft itself may become damaged due to excessive vibration or corrosion.
Step 2: Preparing for Installation
Before working on your vehicle, park it on a flat surface and engage the parking brake. Wear your safety glasses and gloves to protect yourself from debris or fluids. You may also want a drain pan to remove the drive shaft’s transmission or differential fluid.
Step 3: Removing the Old Drive Shaft
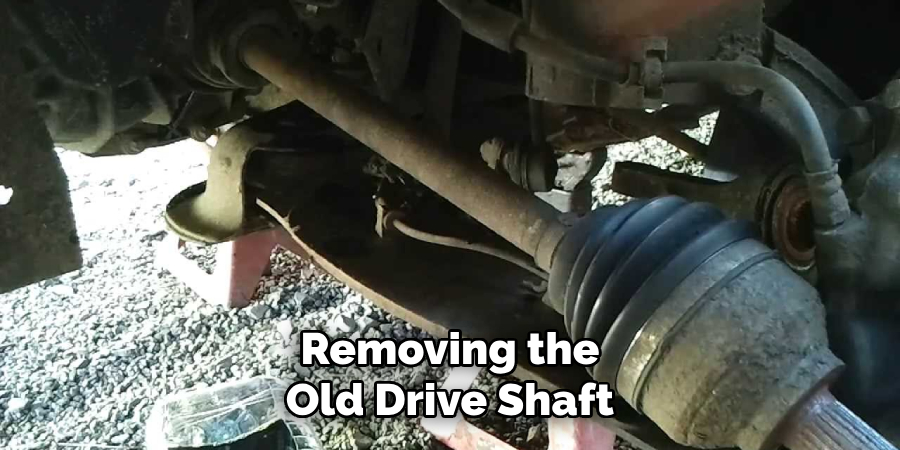
If your vehicle still has the old drive shaft installed, remove it first. First, support the car’s rear on jack stands, then disconnect the drive shaft from the differential by loosening the U-bolts or straps. Then, remove any brackets or hangers holding the drive shaft in place before carefully pulling it out.
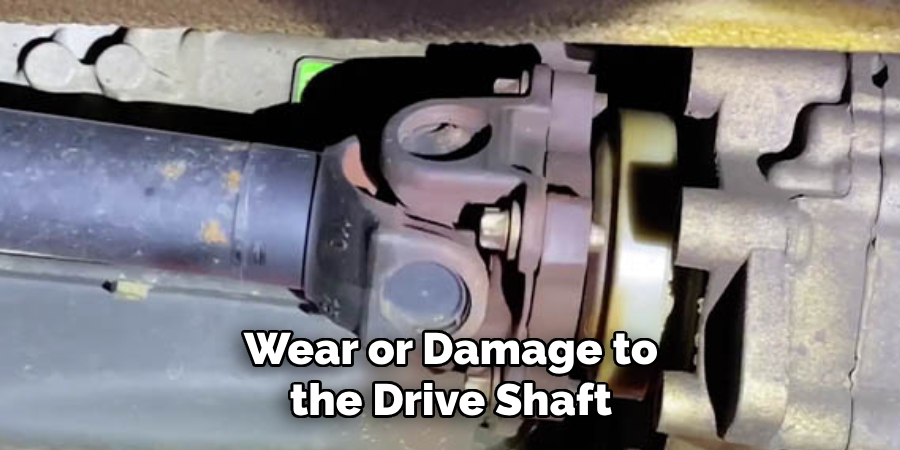
Step 4: Inspecting and Preparing the New Drive Shaft
Before installing your new drive shaft, inspect it thoroughly for any damage or defects. If you notice any signs of wear or damage, do not attempt to install it and contact the manufacturer for a replacement. Once the drive shaft is in good condition, grease all the U-joint fittings.
Step 5: Connecting the Drive Shaft
With your new drive shaft prepped, it’s time to connect it to your vehicle. Start by aligning the yoke or flange on one end of the drive shaft with the corresponding connection point on the transmission. Then, carefully slide the other end into place on the differential.
Step 6: Installing New U-Joints
If your old U-joints were worn and needed replacement, now is the time to install new ones. Remove any straps or U-bolts holding the old joints in place and replace them with the appropriate size and type for your new drive shaft.
Step 7: Tightening Connections
Once everything is connected, ensure all bolts are tightened to the manufacturer’s recommended torque settings. This will provide a secure fit and prevent any parts from coming loose while driving.
Step 8: Checking for Proper Alignment
Before moving on to the final steps, checking that your new drive shaft is aligned correctly is essential. This helps prevent vibrations and uneven wear on U-joints. To do this, rotate the drive shaft by hand and observe any movement or noise. If you notice anything out of the ordinary, make any necessary adjustments.
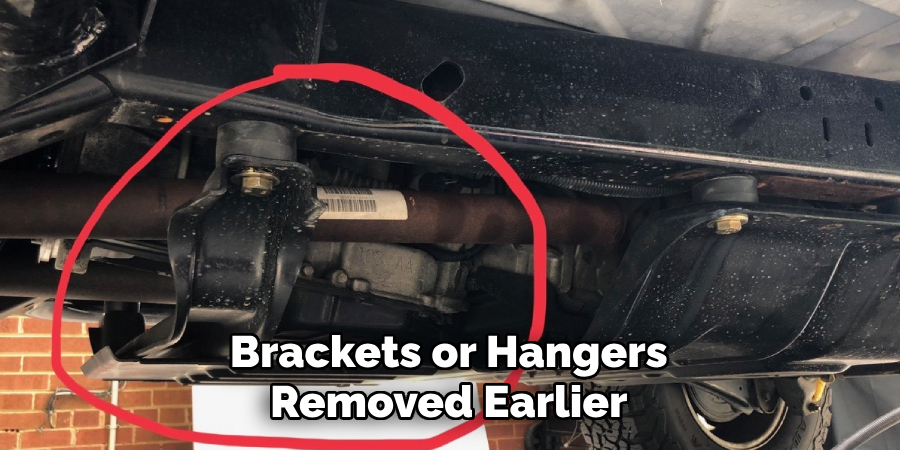
Step 9: Reinstalling Brackets and Hangers
With the drive shaft adequately aligned, you can reinstall any brackets or hangers removed earlier. Make sure everything is snug and secure.
Step 10: Lowering the Vehicle and Test Driving
Once all connections are complete, safely lower your vehicle off the jack stands. Before hitting the road, take your car for a test drive to ensure everything is working correctly and that there are no unusual noises or vibrations.
Congratulations, you’ve successfully installed a new drive shaft on your vehicle! By following these simple steps and taking the necessary safety precautions, you can easily swap out an old or damaged drive shaft for a new one.
Always consult your vehicle’s manual and follow the recommended torque settings for a safe and efficient installation. Maintaining your drive shaft is crucial for your car’s overall performance and longevity, so don’t hesitate to tackle this essential maintenance when needed.
8 Things to Avoid When Installing a Drive Shaft
While installing a new drive shaft can be a straightforward process, there are some things you should avoid to ensure a successful installation. Here are eight common mistakes to avoid when installing a drive shaft:
1. Not Using the Recommended Torque Settings
It’s crucial to torque all bolts and connections on the drive shaft to the manufacturer’s recommended settings. Failing to do so could result in loose or damaged parts, leading to potential safety hazards.
2. Not Aligning the Drive Shaft Properly
Proper alignment is essential for preventing vibrations and uneven wear on U-joints. Taking the time to check and adjust alignment during installation can save you from costly repairs in the future.
3. Reusing Worn Out U-Joints
If your old drive shaft had worn out U-joints, it’s tempting to reuse them on the new post to save money. However, this could cause further damage and lead to premature failure, so always use new U-joints when installing a new drive shaft.
4. Not Prepping the New Drive Shaft
Before installing your new drive shaft, make sure to give it a thorough inspection and grease all U-joint fittings. Skipping this step could result in premature wear or damage to the drive shaft.
5. Using Incorrect Size or Type of U-Joints
Ensure you have the correct size and type of U-joints for your vehicle model. Using the wrong ones could result in compatibility issues and potentially cause damage to your drive shaft.
6. Forgetting to Secure Brackets and Hangers
It’s crucial to reinstall any brackets or hangers that were removed during the installation process. Skipping this step could cause parts to be lost while driving, leading to potential safety hazards.
7. Not Checking for Leaks
After installing a new drive shaft, it’s essential to check for any leaks from the transmission or differential. If you notice any leaks, address them immediately before driving your vehicle.
8. Skipping Test Drive
Test driving your vehicle after installing a new drive shaft is crucial for ensuring everything is working correctly and that there are no unusual noises or vibrations. Skipping this step could lead to potential safety hazards while driving.
By avoiding these common mistakes, you can ensure a successful installation of your new drive shaft and maintain the performance and longevity of your vehicle. If you encounter any difficulties during installation, don’t hesitate to consult a professional mechanic for assistance.
Frequently Asked Questions About Drive Shaft Installation
Here are some frequently asked questions about installing a drive shaft on a vehicle:
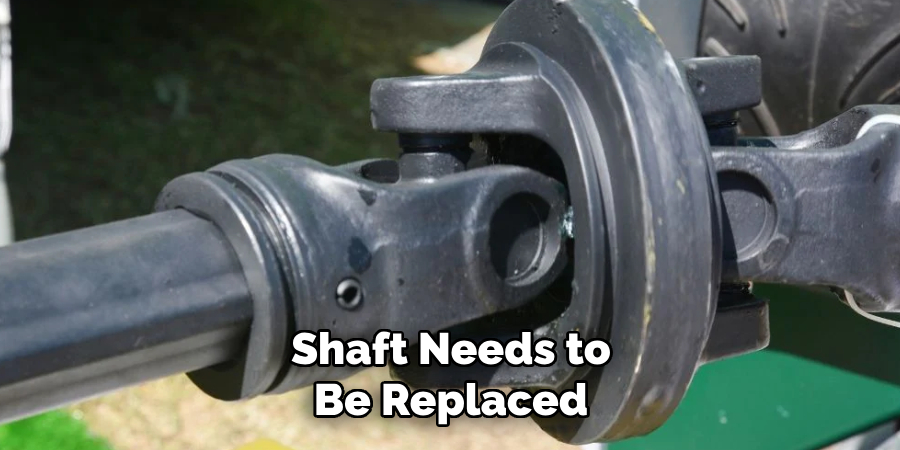
How Do I Know if My Drive Shaft Needs to Be Replaced?
Signs of a damaged or worn-out drive shaft include vibrations while driving, clunking or clicking noises, and difficulty shifting gears. If you notice any of these symptoms, having your drive shaft inspected and potentially replaced is essential.
Can I Install a Drive Shaft Myself?
Installing a new drive shaft is possible for those with mechanical knowledge and the right tools. However, if you need more confidence in your abilities or more experience, it’s always best to consult a professional mechanic for assistance.
How Often Should I Replace My Drive Shaft?
It’s recommended to have your drive shaft inspected every 30,000 miles or sooner if you notice any signs of damage or wear. Replacing a drive shaft typically depends on the specific vehicle and driving conditions, but it’s essential to follow the manufacturer’s recommendations for maintenance.
Do I Need to Grease the U-Joints on My New Drive Shaft?
Yes, it’s crucial to grease the U-joints on your new drive shaft before installation. This helps ensure smooth operation and prevent premature wear on the joints.
Conclusion
In conclusion, installing a drive shaft may seem daunting at first, but it can be easily accomplished with the right tools and knowledge. Always follow safety precautions and refer to your vehicle’s manual for specific instructions. As we have discussed, several steps are involved in the installation process, from removing the old drive shaft to adequately attaching the new one.
By following these steps on how to install drive shaft and using high-quality parts, you can ensure a smooth and efficient drive shaft installation. Additionally, don’t hesitate to seek help or advice from a professional mechanic if you encounter any issues. With proper care and maintenance, your newly installed drive shaft will provide reliable performance for many future miles.

About
JeepFixes Team is a skilled author for Jeep Fixes, bringing 6 years of expertise in crafting a wide range of jeep fixes. With a strong background in jeep fixes work, JeepFixes Team’s knowledge spans various types of fixtures, from decorative pieces to functional hardware, blending precision with creativity. His passion for jeep fixes and design has made him a trusted resource in the industry.
Professional Focus:
Expert in Jeep Fixes : JeepFixes Team aesthetic specializes in creating durable and innovative jeep fixes, offering both appeal and functionality. His work reflects a deep understanding of jeep fixes techniques and materials.
Sustainability Advocate : He is dedicated to using sustainable practices, ensuring that every fixture is crafted with eco-friendly methods while maintaining high-quality standards.
In his writing for jeep fixes, JeepFixes Team provides valuable insights into the latest trends, techniques, and practical advice for those passionate about jeep fixes, whether they are professionals or DIY enthusiasts. His focus on combining artistry with engineering helps others discover the true potential of jeep in design.