

A cracked cylinder head is a serious issue that can lead to engine failure and extensive damage if not addressed promptly. Recognizing the signs of a cracked head, such as coolant leaks, overheating, or white smoke from the exhaust, is crucial for early intervention. In this article, we’ll explore the essential steps and techniques involved in repairing a cracked cylinder head, a process that requires precision and careful attention to detail.

From identifying the location and severity of the crack to exploring temporary fixes and more permanent solutions, understanding how to repair a cracked head is essential for anyone facing this automotive challenge. Whether you’re a seasoned DIY enthusiast or seeking insights before consulting a professional mechanic, this guide will provide valuable information on addressing one of the more critical issues an engine can encounter.
Symptoms of A Cracked Head and Potential Engine Problems
Cracked engine heads can be symptomatic of serious automobile problems and are often characterized by a number of identifiable signs. One of the most common symptoms is the presence of coolant leaks. This can lead to the engine overheating and result in white smoke emitting from the exhaust. Another telltale symptom is oil contamination.
A cracked head may cause coolant to mix with the oil in the engine, leading to a milky or frothy appearance in the oil. In more severe cases, a cracked head can cause misfires in your engine or reduce engine performance, as the crack could allow air to mix with the fuel in the combustion chamber. Understanding these symptoms is the first step to repairing a cracked head.
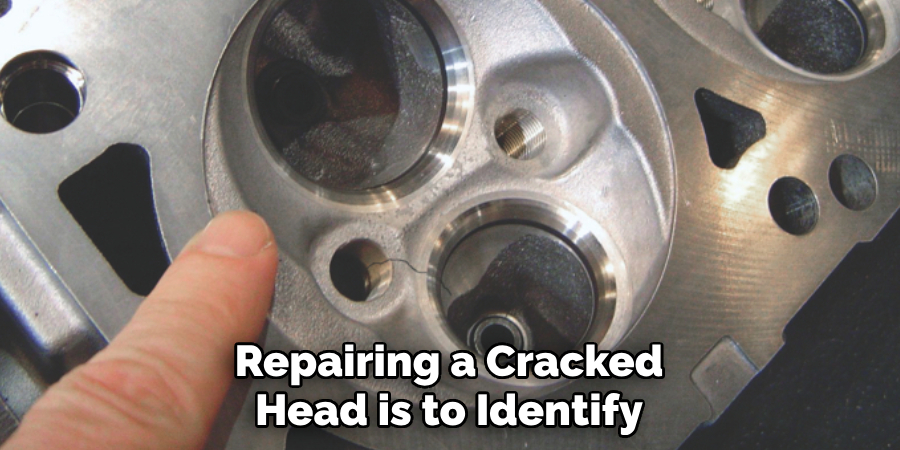
Diagnosing the Crack
A systematic approach is essential when diagnosing a cracked head. Start by performing a visual inspection of the engine, specifically the cylinder head surface for visible cracks. This process, however, may not always be conclusive because not all cracks are visible to the naked eye.
For more precise diagnosis, consider employing advanced methods such as dye penetrant testing or pressure testing. In dye penetrant testing, a special dye is applied to the cylinder head. The dye seeps into any cracks, rendering them visible under UV light. Pressure testing, on the other hand, involves sealing the cylinder head and pressurizing it with air or a cooling system pressure tester. If a crack is present, the cylinder head will lose pressure, and in some cases, coolant may be seen leaking from the area of the crack.
Remember, proper diagnosis is a crucial step in effectively repairing a cracked head, as it determines the severity of the issue and informs the subsequent course of action.
Safety Precautions
Before attempting any repairs on a cracked head, it’s essential to follow safety precautions to ensure a safe and successful repair process. Always wear protective gear such as safety glasses, gloves, and a dust mask to protect yourself from harmful dust and chemicals. Ensure your work area is well-ventilated to avoid inhaling toxic fumes. Before starting the repair, disconnect the battery to prevent electrical shocks.
When handling coolant, be mindful that it’s a toxic substance. Always use a drain pan to collect any coolant and dispose of it correctly to protect the environment. If you’re feeling uncertain at any point during the process, don’t hesitate to consult a professional mechanic. Remember, safety always comes first in any repair task.
10 Methods How to Repair a Cracked Head
1. Identify the Crack
The first step in repairing a cracked head is to identify where the crack is located. This will help determine the best method for repair and the severity of the damage.
2. Clean the Area
Before beginning any repairs, it is important to thoroughly clean the area around the crack. This will ensure that no debris or dirt gets into the repair and affects its effectiveness.
3. Use Epoxy Putty
For small cracks, epoxy putty can be used to fill in and seal the damaged area. This putty hardens quickly and creates a strong bond, making it an effective temporary solution.
4. Welding
For larger cracks, welding may be necessary to properly repair the head. This involves using high heat to melt metal onto the cracked area, sealing it together.
5. Cold Stitching
Cold stitching is another method for repairing larger cracks in a head. It involves drilling holes on either side of the crack and then using metal rods to stitch them together.
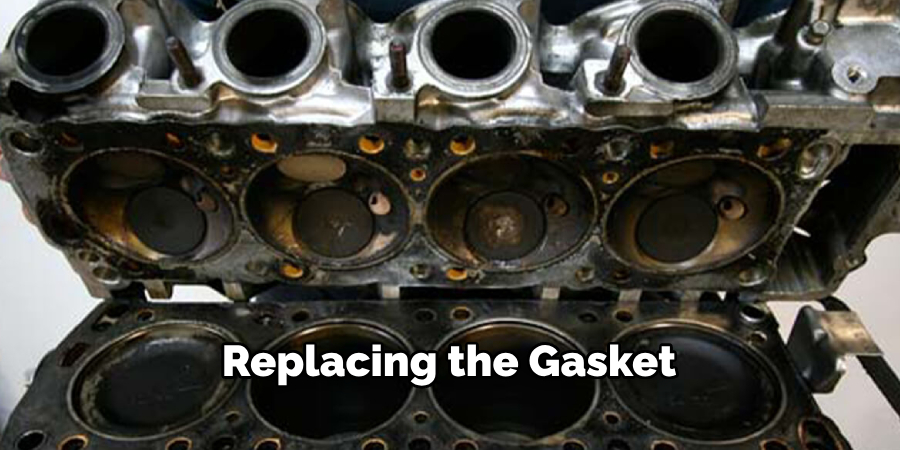
6. Replace Gaskets
If your head has a gasket leak, this can sometimes be fixed by simply replacing the gasket with a new one. This is a quick and easy fix that can save you from having to replace or repair your entire head.
7. Use Sealant
Sealant can also be used as a temporary fix for small cracks or leaks in a head. Be sure to use one specifically designed for engine repairs and follow all instructions carefully.
8. Pressure Test
After any repairs have been made, it is important to pressure test your repaired head before reinstalling it on your engine. This will ensure that there are no further leaks or issues.
9. Consult a Professional
If you are unsure about how to properly repair your cracked head, it is always best to consult a professional mechanic who has experience with this type of repair.
10. Consider Replacement
In some cases, if the crack is too severe or the head has multiple cracks, it may be more cost-effective to replace the entire head rather than attempting to repair it. This should be considered as a last resort after all other options have been exhausted.
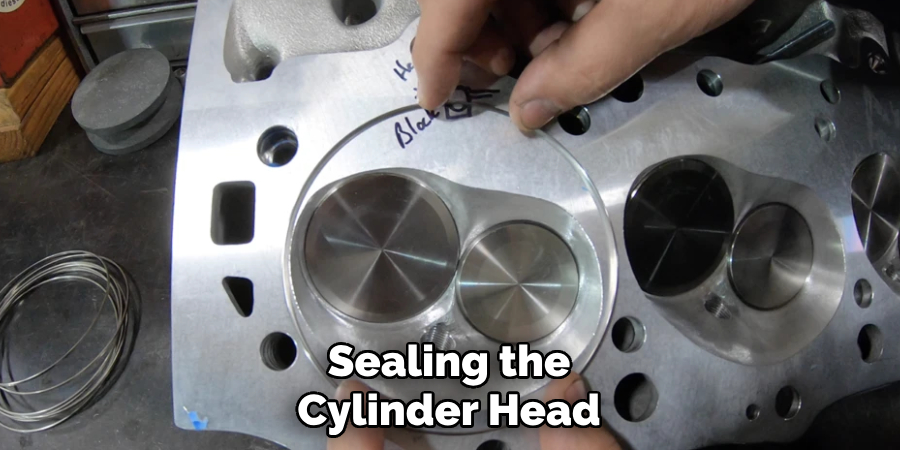
Cleaning and Preparing the Surface
Before proceeding with the repair of a cracked head, ensuring that the surface is immaculately clean is crucial. Start by removing any dirt, grime, or grease present on the surface using a high-quality degreaser. This step will allow for better adhesion of the repair material.
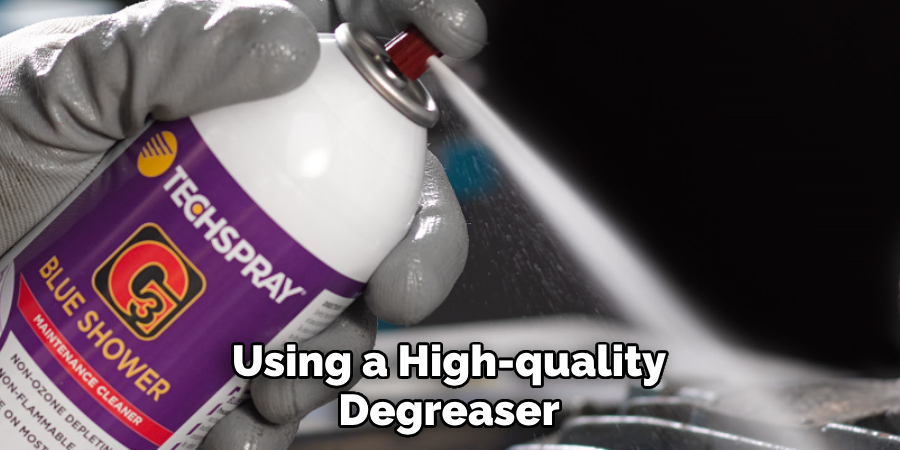
After degreasing, use a wire brush to gently scrub away any remaining rust or corrosion, making the surface as smooth as possible. Finally, wipe the surface with a dry, lint-free cloth to remove any residual debris. Proper preparation of the surface is a vital initial step in the process of repairing a cracked head.
Assessing Repair Options
When addressing a cracked head, it’s crucial to evaluate the available repair options and choose the one that best suits your specific situation. As mentioned earlier, smaller cracks may be temporarily sealed with epoxy putty or a sealant designed for engine repairs. These options can be cost-effective and relatively easy for the average DIYer to apply. However, they should be considered temporary solutions, as they may not hold up under the intense heat and pressure of the engine over time.
For larger or more severe cracks, welding and cold stitching are often more reliable options. Welding involves using high heat to melt metal onto the cracked area, effectively sealing it. Cold stitching, on the other hand, requires drilling holes on either side of the crack and then using metal rods to “stitch” the crack closed. Both of these methods can provide a more permanent repair, but they are also more technically demanding and may require specialized tools and equipment.
If you’re not comfortable performing these repairs yourself, or if you’re unsure about the severity of the crack, consulting with a professional mechanic can be the wisest course of action. They have the necessary training and experience to diagnose and repair cracked heads effectively and safely.
Refilling Coolant and Testing
Following the repair of a cracked head, it’s essential to refill the coolant and conduct tests to ensure the repair is effective.
Refilling Coolant
Start by refilling the coolant system. Be sure to use a high-quality coolant that is compatible with your vehicle. Fill the coolant reservoir to the recommended level as per your vehicle’s manual instructions. Remember to handle the coolant with care due to its toxic nature, and use a funnel to avoid spills.
Testing
After refilling the coolant, it’s time to test your repair. Begin by starting your vehicle and allowing it to reach operating temperature. Watch the temperature gauge on your dashboard to ensure it doesn’t exceed the normal range.
If the temperature remains stable, it’s a good sign that your repair has been successful. Next, check for leaks around the repaired area and under the vehicle. If you do not see any leaks and the vehicle is running smoothly, the repair is likely successful. Always monitor the vehicle for any issues for the next few days after the repair.
Conclusion
In conclusion, repairing a cracked head may seem like a daunting task, but with the right knowledge and tools, it can be done effectively. We have discussed the main points of identifying a cracked head, the importance of timely repairs, different methods for fixing the crack, and the necessary steps to take before attempting the repair process.
Whether you are a car enthusiast or someone who simply wants to save money on repairs, learning how to repair a cracked head is a valuable skill to have. So don’t hesitate to try it out for yourself! But as always, if you feel uncomfortable or unsure about any step in the process, it is best to seek professional help. Remember to always prioritize your safety while working on any vehicle.