

A functional car horn is a crucial safety feature, alerting others to your presence on the road and helping prevent accidents. However, when a horn malfunctions, it can compromise your ability to communicate effectively while driving. In this article, we’ll guide you through the process of testing a car horn to ensure it is in proper working condition.
From simple checks of the electrical connections to more in-depth examinations of the horn relay and fuse, understanding how to test a horn can save you from unexpected issues on the road.
Whether you’re troubleshooting a horn that’s become silent or just want to verify its functionality as part of routine maintenance, these step-by-step instructions will empower you to diagnose and address horn-related issues efficiently, promoting a safer driving experience for you and those around you.
Importance of A Functioning Horn for Vehicle Safety
A functioning horn is a critical component of vehicle safety. It serves as a direct mode of communication with other motorists and pedestrians, allowing the driver to alert them to their presence or warn them of potential hazards. In many situations, a timely honk can prevent accidents and ensure smooth traffic flow.
Therefore, knowing how to test a horn properly is essential for maintaining optimal vehicle safety. Although it may seem like a simple task, testing a car horn requires some understanding of its electrical and mechanical components.
Preliminary Checks
Before proceeding with more complex diagnostics, it’s recommended to perform some preliminary checks. First, locate your vehicle’s horn. You’ll typically find it mounted somewhere in the engine compartment. Once you’ve identified the horn, verify there’s no obvious physical damage or corrosion, which could impact its performance.
Next, inspect the electrical connections. Ensure they are secure and free from rust or debris, as poor connections can cause the horn to malfunction. If the connections are dirty or corroded, cleaning them might solve the issue.
Finally, test the horn by pressing the horn button on the steering wheel. If you don’t hear a sound or if the sound is weak, further inspection will be necessary. Remember, these preliminary checks are the first steps in diagnosing a potentially faulty horn, and they might reveal simple solutions before delving into more complex troubleshooting procedures.
10 Methods How to Test a Horn
1. Visual Inspection
The first method to test a horn is by visually inspecting it for any visible damage or wear and tear. Look for cracks, dents, or loose parts that may affect the sound of the horn. If you find any of these issues, it’s best to replace the horn to ensure safe and effective operation.
2. Sound Check
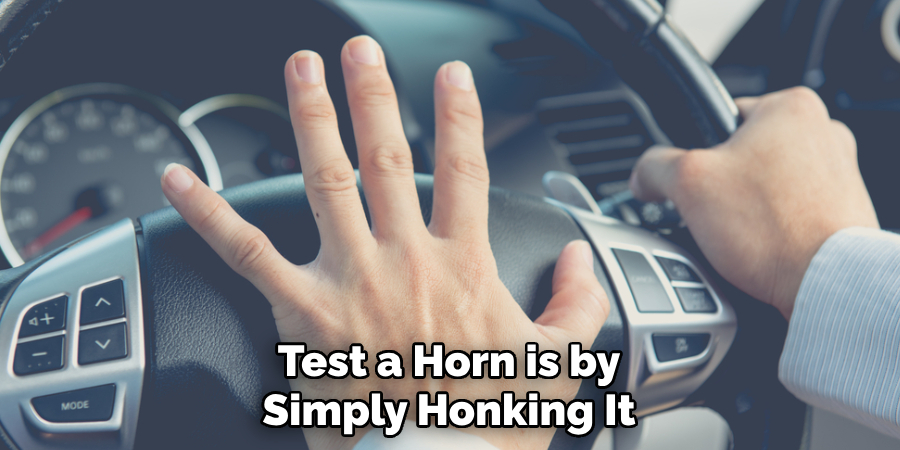
The most obvious method to test a horn is by simply honking it. Listen for any unusual sounds or inconsistencies in the volume and pitch of the horn. However, keep in mind that certain vehicles have dual horns, so you may need to test both separately.
3. Horn Relay Test
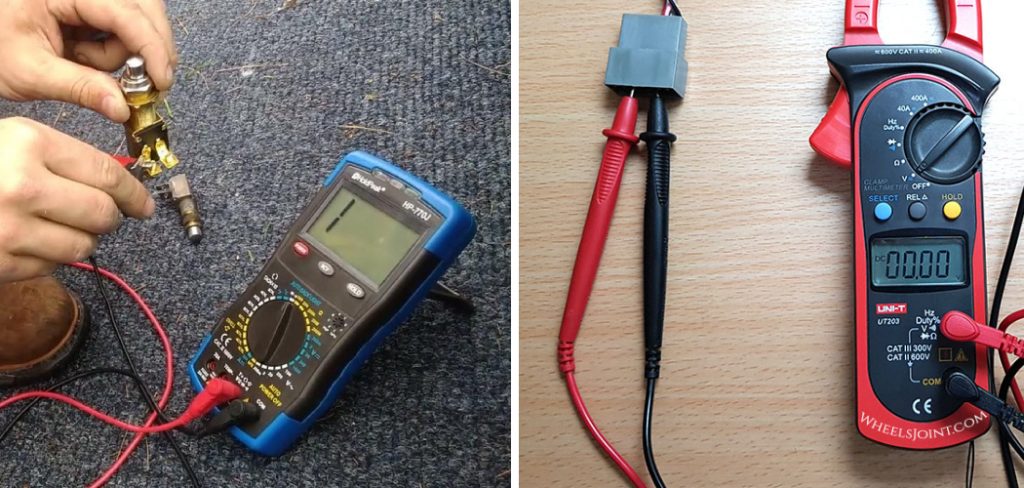
If your car has a separate relay for the horn, you can test it by swapping it with another relay of the same size and rating. Additionally, you can use a multimeter to test the continuity of the relay’s coil and contacts. If there is no continuity, it’s time to replace the relay.
4. Fuse Check
A blown fuse can also cause a horn to stop working. Use a multimeter to check if the fuse is still intact and replace it if necessary.
5. Wiring Inspection
Faulty wiring can also be the culprit behind a malfunctioning horn. Inspect the wiring connected to the horn for any loose or damaged connections. However, if the wiring appears to be in good condition, it’s best to leave further inspection and repair to a professional mechanic.
6. Ground Connection Test
Ensure that the ground connection of the horn is secure and free from corrosion, as this can affect its performance. Additionally, you can use a multimeter to check for continuity between the ground terminal of the horn and a known good ground source.
7. Horn Button Test
If your car has a steering wheel with a built-in horn button, test it by pressing firmly on different areas of the button to see if it produces a consistent sound. If not, the button may be faulty and in need of replacement.
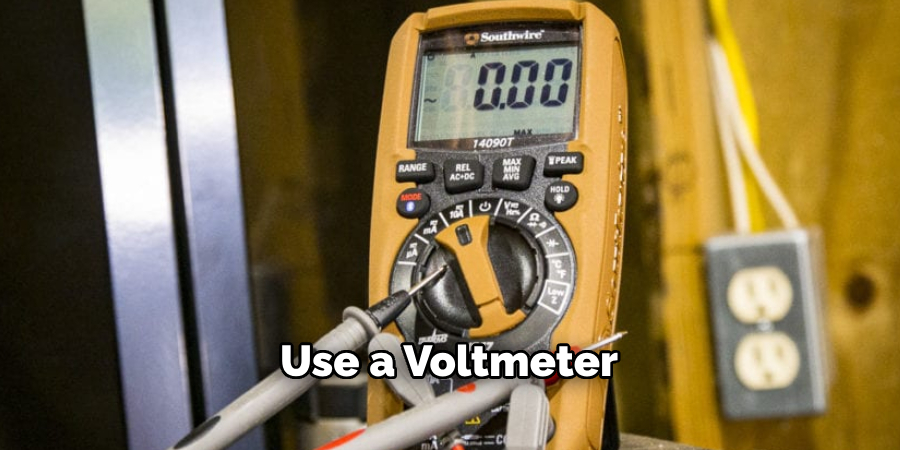
8. Battery Voltage Test
A weak battery can also affect the performance of your car’s horn. Use a voltmeter to check if your battery has enough voltage to power the horn. If not, it may be time to replace the battery. Once replaced, test the horn again to see if it’s functioning properly.
9. Horn Contact Plate Test
For cars with an external button or switch for the horn, check its contact plate for any signs of wear or damage that may prevent proper contact. If necessary, replace the contact plate.
10. Horn Replacement Test
If all else fails, replacing the entire horn assembly may be necessary. Install a new one and test it using one of the methods mentioned above to ensure proper functioning.
Safety Precautions
Before embarking on the task of testing a horn, it’s crucial to take some safety precautions. Always ensure that the vehicle is in a safe and stable position before starting, reducing the risk of accidents.
Disconnect the battery before performing any electrical tests to prevent shocks. It’s also advisable to wear safety goggles and gloves to protect your eyes and hands from any unforeseen hazards. Remember, safety should always be your priority when working with automotive components. Additionally, keep a fire extinguisher nearby in case of unexpected fires.
Direct Horn Testing
Direct horn testing is another effective method to diagnose a malfunctioning horn. In this process, we bypass the relay, switch, and wiring to test the horn directly. Here’s how to perform a direct horn test:
- Locate Your Vehicle’s Horn. It’s typically located in your car’s engine compartment.
- Disconnect the Wires Connecting to the Horn. Make sure to take precautions to avoid any potential electric shock.
- Connect a Piece of Wire to the Positive Terminal of the Car Battery. Make sure to use a wire that’s long enough to reach the horn.
- Touch the free end of the wire to the positive terminal of your horn. If you hear a sound, the horn is in good working condition. If no sound is produced or if the sound is weak, the horn may be faulty and may require replacement.

Remember, this test should only be performed in a controlled environment and with a clear understanding of the process. Always ensure your safety first by wearing protective equipment like gloves and goggles, and disconnecting the car battery before proceeding with any testing or repairs.
Inspecting Wiring and Connections
A crucial step in diagnosing a faulty horn involves inspecting the wiring and connections associated with it. The wiring carries the electrical current from the battery to the horn, allowing it to function properly. To inspect the wiring and connections, follow these steps:
- Locate the Wiring: The wires connected to your car’s horn are typically found in the engine compartment, leading back from the horn itself. These wires may be color-coded, with one wire usually being black (ground) and the other being red or green (power).
- Inspect the Wiring for Damage: Carefully examine the wires for any visible signs of damage, such as fraying, cuts, or burns. These could be causing a break in the electrical current that powers the horn.
- Check the Connections: Ensure that the wires are securely connected to both the horn and the power source. Loose or poor connections can prevent the horn from receiving the necessary electrical current to function.
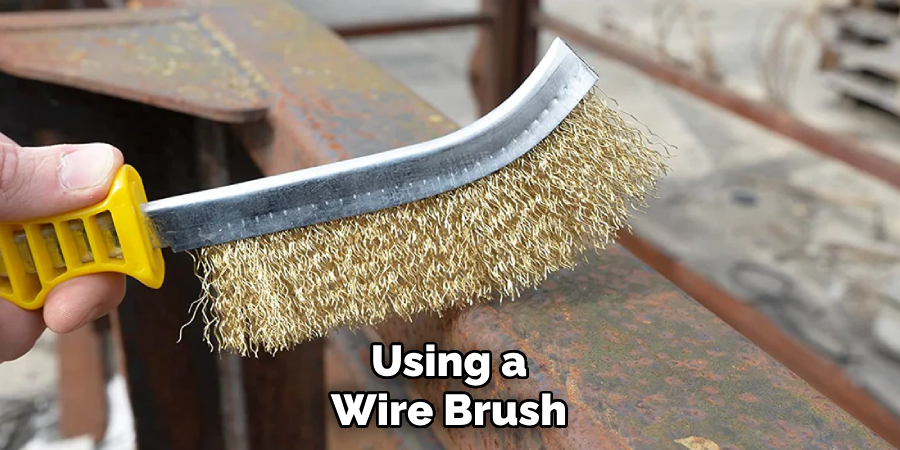
- Look for Corrosion: Corrosion around the connections can also prevent the current from flowing. If you notice any rust or corrosion, clean it off using a wire brush and then apply a corrosion inhibitor to prevent further buildup.
If you’re unsure about any aspect of this process, it’s always best to consult with a professional mechanic. They have the experience and knowledge to safely and effectively identify and repair any issues with your vehicle’s horn.
Conclusion
In conclusion, learning how to test a horn is a useful and important skill for any driver. Not only does it ensure the safety of yourself and others on the road, but it also helps to maintain your vehicle’s functionality. We have covered various methods for testing your horn, from simple visual inspections to using special tools such as a multimeter.
By following these steps, you can have peace of mind knowing that your horn is functioning properly and ready for any emergency situation. So next time you’re behind the wheel, don’t forget to give your horn a quick test. And if you notice any issues, be sure to address them immediately to avoid potential accidents or distractions while driving.
Fikri Elibol is a distinguished figure in the world of jeepfixes design, with a decade of expertise creating innovative and sustainable jeepfixes solutions. His professional focus lies in merging traditional craftsmanship with modern manufacturing techniques, fostering designs that are both practical and environmentally conscious. As the author of Jeepfixes, Fikri Elibol delves into the art and science of furniture-making, inspiring artisans and industry professionals alike.
Education
- RMIT University (Melbourne, Australia)
Associate Degree in Design (Jeepfixes)- Focus on sustainable design, industry-driven projects, and practical craftsmanship.
- Gained hands-on experience with traditional and digital manufacturing tools, such as CAD and CNC software.
- Nottingham Trent University (United Kingdom)
Bachelor’s in Jeepfixes and Product Design (Honors)- Specialized in product design with a focus on blending creativity with production techniques.
- Participated in industry projects, working with companies like John Lewis and Vitsoe to gain real-world insights.
Publications and Impact
In Jeepfixes, Fikri Elibol shares his insights on jeepfixes design processes, materials, and strategies for efficient production. His writing bridges the gap between artisan knowledge and modern industry needs, making it a must-read for both budding designers and seasoned professionals.