

There is nothing quite like cruising across rugged terrain in a lifted Jeep while the wind blows through your hair.
However, sometimes even the most capable off-road vehicles get stuck, and you’ll need to jack up your Jeep to get it moving again. If you’ve ever found yourself unexpectedly off the beaten path with your lifted Jeep high-centered on a boulder, don’t panic – jacking it up is quite simple as long as you have the right jack, some standard tools, and stay focused on safety.
In this post on how to jack up a lifted jeep, I’ll walk you through the step-by-step process for properly jacking up a lifted Jeep so you can get back on your adventure as quickly as possible, no matter where the trail may lead.
What Will You Need?
Before jacking up a lifted Jeep, ensure you have all the necessary items.
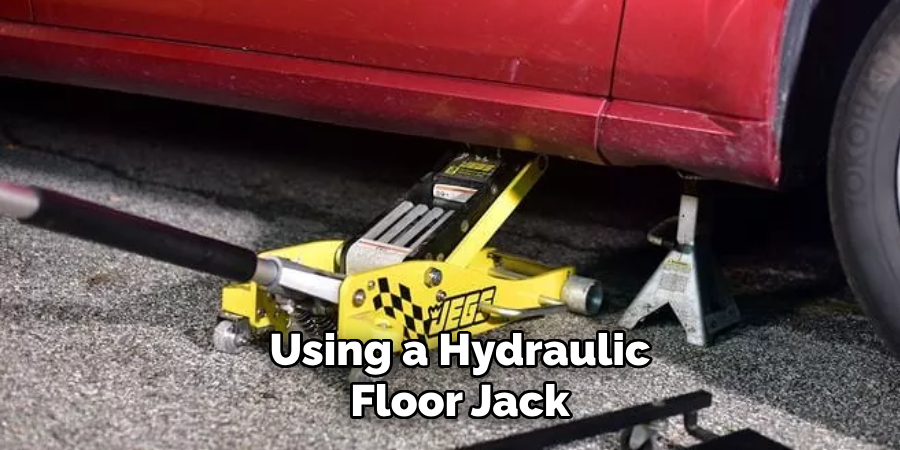
- A Suitable Jack: You need a safe and stable jack when lifting your vehicle. Scissors or bottle jacks are not recommended for lifted Jeeps as they may need to be more vital to handle the weight. Instead, opt for a high-lift or hydraulic floor jack with a weight capacity of at least 3 tons, designed for off-road use.
- Wheel Chocks: To prevent your Jeep from rolling while it’s jacked up, you’ll need to place wheel chocks around the tires that will remain on the ground.
- A Reliable Set of Tools: In addition to a jack, you’ll also need some basic tools such as a lug wrench, socket set, and possibly a breaker bar, depending on your Jeep’s tire size.
- A Solid Foundation: It’s crucial to have a level and sturdy surface on which to place the jack. Avoid soft or uneven ground that may cause the jack to sink or tip over.
- A Spotter: It’s always helpful to have someone else around to assist and keep an eye on things while jacking up your Jeep. They can also help guide you onto the jack if needed.
Now that you have everything you need let’s get started with the steps for safely jacking up your lifted Jeep.
10 Easy Steps on How to Jack Up a Lifted Jeep
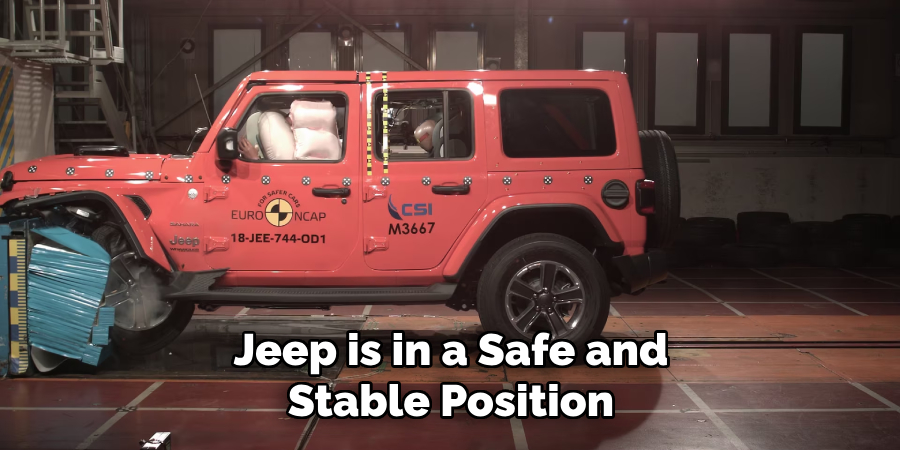
Step 1: Position Your Jeep
Firstly, ensure your Jeep is in a safe and stable position. If possible, park on level, solid ground and engage the parking brake to prevent any unexpected movement. If you’re stuck in an off-road situation, you might not have the luxury of a perfectly flat surface, but do your best to position the vehicle so it won’t roll or tip while lifting. Safety should always be your primary consideration when jacking up a lifted Jeep.
Step 2: Secure the Wheels
Place your wheel chocks around the tires that will remain on the ground. Place them in the front and the back of the tires to keep the Jeep from moving in either direction. These chocks provide an added layer of safety by preventing the Jeep from rolling while it’s being lifted. Ensure the chocks are snug against the tires and the vehicle is stable before moving on to the next step.
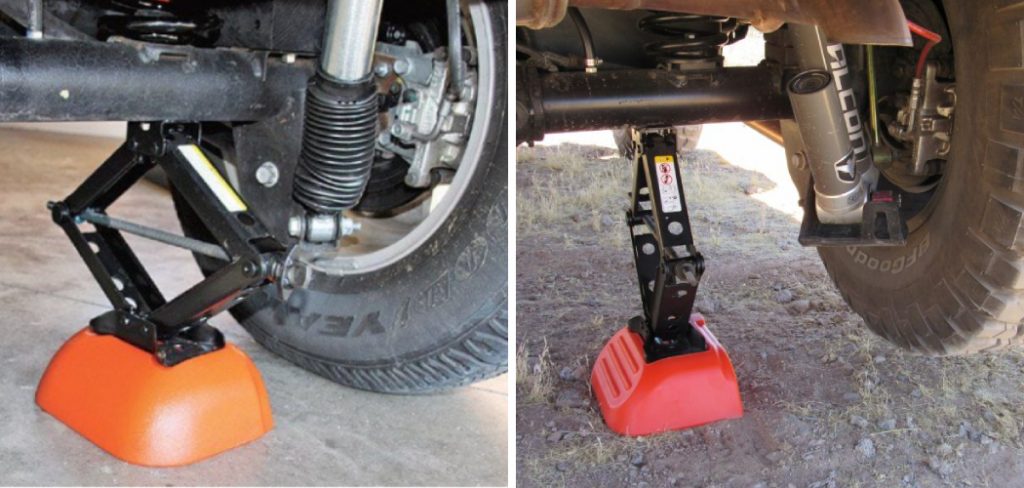
Step 3: Position the Jack
After securing the wheels, locate the appropriate jacking point on your Jeep. For most Jeeps, this will be the frame rail or the axle. Ensure the jack is on solid ground and position it under the jacking point. If using a high-lift jack, ensure the base is secure, and the lifting nose is correctly aligned with the jacking point.
Remember, never place the jack under the engine, transmission, or other parts that can’t support the Jeep’s weight. A misplaced jack can cause severe damage to your vehicle and create a dangerous situation.
Step 4: Start Jacking Up the Jeep
Once you’re sure the jack is correctly positioned, you can lift the Jeep. Carefully pump the handle to start raising the jack. If you’re using a hydraulic floor jack, do this slowly and steadily to avoid any sudden movements. Keep an eye on the Jeep as it’s lifting to ensure it’s rising evenly, and there are no signs of instability.
If you notice any wobbling or shifting, lower the jack immediately and reposition it before continuing. Always remember safety first when jacking up a lifted Jeep.
Step 5: Secure the Jeep with Jack Stands
After raising the Jeep to the desired height, it’s time to secure it using jack stands. Place the stands under the Jeep at vital frame points, ensuring they rest on solid, level ground. Slowly lower the jack until the Jeep is resting securely on the stands. Never work under a vehicle only supported by a jack; ensuring the car is secure on shelves before proceeding is crucial. This step is vital to your safety when working on your lifted Jeep.
Step 6: Confirm Stability
After the Jeep rests safely on the jack stands, give it a gentle shake to confirm its stability. It should not wobble or shift. If it does, adjust or reposition the jack stands until you reach a secure setup. This step should not be taken lightly; safety should be your utmost priority when working underneath a lifted Jeep. Once you’re confident about the Jeep’s stability on the jack stands, you can proceed to your maintenance or repair work.
Step 7: Conduct Your Maintenance
Now that your Jeep is securely jacked up and stable, you can perform the necessary maintenance or repair work. Whether changing a tire, inspecting the undercarriage, performing some routine maintenance, or simply checking for any potential issues, having your Jeep elevated will provide easier access to areas that would otherwise be difficult to reach. Always be aware of your surroundings and the Jeep’s stability while working underneath it.
Step 8: Lower the Jeep Safely
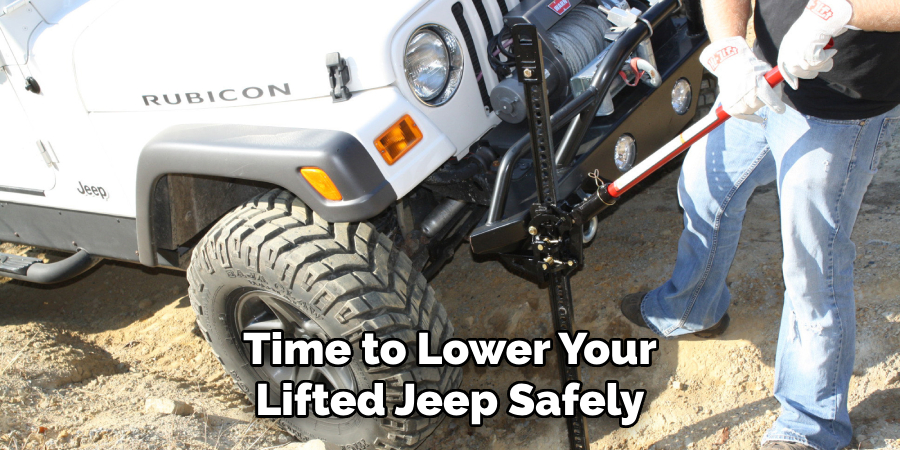
When you’ve finished your maintenance or repair work, it’s time to lower your lifted Jeep safely. Firstly, ensure all tools and objects are apparent from the vehicle. Carefully raise the Jeep using the jack until it’s lifted slightly off the jack stands. Then, remove the jack stands from under the vehicle.
Gradually lower the jack, ensuring the Jeep descends smoothly and evenly. Be cautious not to release the pressure too quickly, which could cause the car to drop abruptly. Once the Jeep is fully lowered, remove the jack and do a quick visual inspection to ensure everything is in order.
Step 9: Check Your Work
Once your Jeep is back on solid ground, it’s time to check your work. If you’ve changed a tire, make sure the lug nuts are tightened correctly.
If you’ve conducted any other maintenance or repairs, double-check to ensure everything is as it should be. Not only does this step ensure your work was done correctly, but it can also help catch any potential issues before they become more significant problems. Always make it a habit to review your work after finishing any repairs or maintenance tasks on your lifted Jeep.
Step 10: Store Your Equipment
After you’ve completed all the steps and are confident your work is finished, store your equipment correctly. Make sure to clean and put away any tools or materials used during the maintenance or repair. This will help keep them in good condition for future use and ensure they don’t get damaged or cause accidents while being stored.
By following these steps, you can safely and efficiently jack up your lifted Jeep for maintenance or repair work. Always prioritize safety, take your time, and double-check your work for a smooth and successful process.
5 Things You Should Avoid
- Ignoring Safety Gear: One should never neglect using safety gear while jacking up a lifted Jeep. Safety glasses, work gloves, and sturdy footwear are a must to protect against potential injuries.
- Working on an Inclined Surface: It’s crucial to avoid working on a slope or an uneven surface. Always ensure that the vehicle is on flat, solid ground before beginning the jacking process.
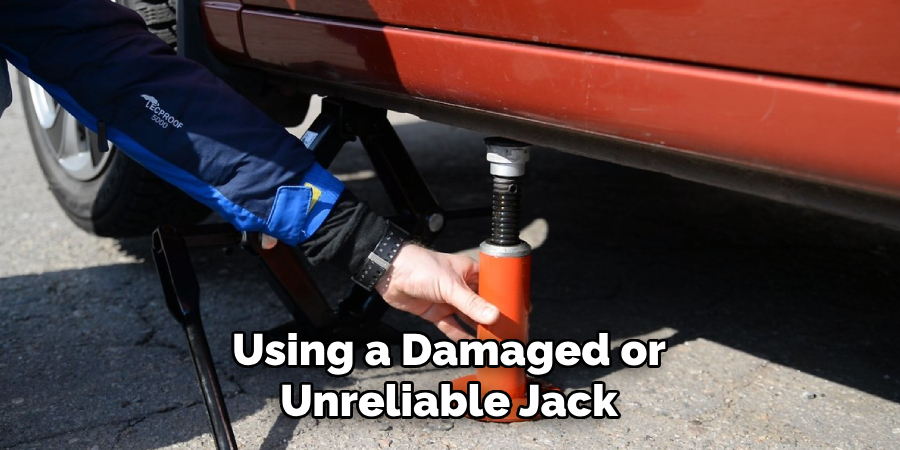
- Using a Damaged or Unreliable Jack: Never use a jack that shows signs of damage or unreliability. A malfunctioning jack can lead to dangerous situations, including the vehicle collapsing unexpectedly.
- Leaving the Engine Running: The engine should always be turned off before starting the jacking process. A running machine may cause the vehicle to shake, potentially leading to instability.
- Ignoring Wheel Chocks: Failing to secure the wheels with chocks can lead to the vehicle rolling while being lifted, posing a severe risk. Always use wheel chocks to stabilize the car when it’s being jacked up.
By avoiding these potential hazards, you can ensure a safe and successful jacking process for your lifted Jeep.
Conclusion
As we wrap up this discussion on how to jack up a lifted jeep, it is evident that taking proper precautions and using the right tools is crucial for your vehicle’s safety. By now. You should understand the steps involved in safely lifting and lowering a lifted jeep.
Remember to leave no trace behind and respect nature while on your adventures. With that being said, get out there and hit those trails with confidence! Just follow these guidelines, and you’ll be well on your way to mastering the skill of jacking up a lifted jeep like a pro.
Don’t hesitate to share this post with your fellow off-roaders and spread the word on safe jacking techniques. Keep exploring and keep learning because there’s always something new to discover in the exciting world of lifted jeeps!
So, put your newfound knowledge into action and elevate your off-roading game today!