

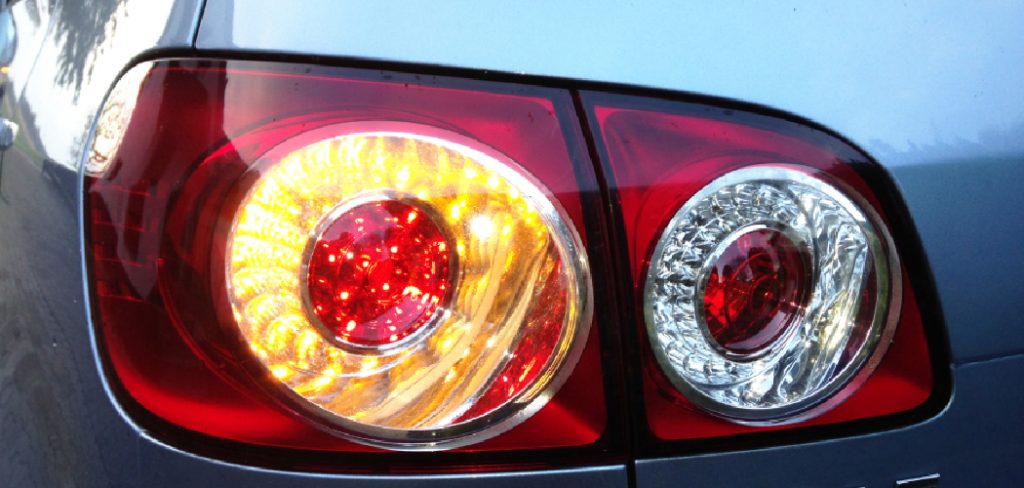
Driving without functional head or tail lights is illegal and poses a significant safety risk. Therefore, ensuring your vehicle’s blinker bulbs function correctly should be a priority. These essential bulbs are responsible for indicating lane changes and turns.
If your blinker bulbs are burnt out, it’s time to replace them. Now, changing blinker bulbs may seem like a daunting task, but it’s easier than you think. With this comprehensive guide, you can safely and confidently perform this essential maintenance task on your own. So, keep reading for more information about how to change blinker bulb.
Can You Change Blinker Bulb?
The importance of working turn signals cannot be overstated, so knowing how to change a blinker bulb is crucial for any driver. Though it may seem daunting, this task is relatively simple and can be accomplished with the right tools and a bit of patience.
Whether your blinker isn’t working or you just want to be proactive, learning how to replace the bulb will save you time and money in the long run. Don’t let a broken blinker compromise your safety on the road; take the time to learn this essential skill.
Why Should You Change Blinker Bulb?
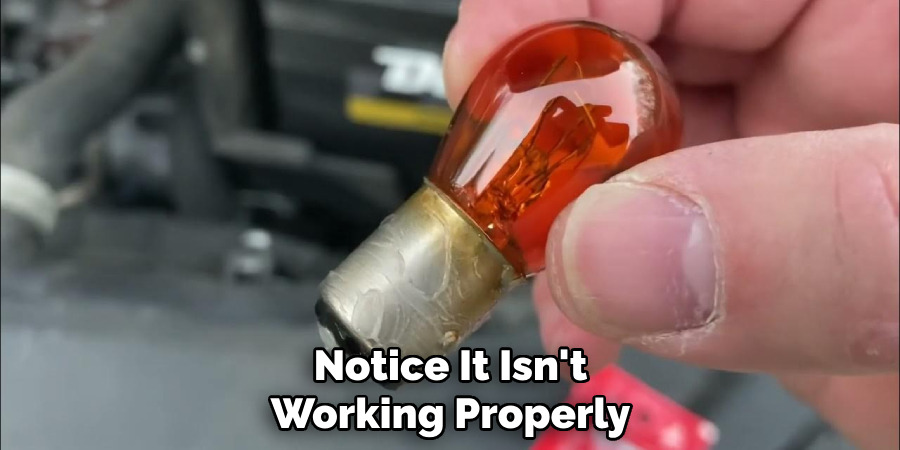
Have you ever been driving down the road and noticed another car’s blinker bulb malfunctioning? Maybe it’s flashing too fast or not at all. Now imagine if that was your own car. Not only is it a potential safety hazard for you and other drivers on the road, but it could also result in a costly ticket from law enforcement. Don’t risk it.
Changing your blinker bulb as soon as you notice it isn’t working properly is important. It’s a simple fix that can prevent a major headache. Trust us, your fellow drivers will thank you for it.
How to Change Blinker Bulb – Your Ultimate Guide
Step 1: Before You Start
Before diving into the steps for replacing your blinker bulb, let’s first review some important safety measures. Start by turning off the engine and applying the parking brake. Then, locate the bulb you want to replace and make sure the area is cool to the touch. If your vehicle has plastic lenses, it’s essential to avoid applying too much pressure, which could cause cracking. You may also want to wear gloves to protect your hands from the heat generated by the bulb.
Step 2: Locate the Blinker Bulb
The next step is to locate the bulb you want to replace. You can refer to your car’s manual or the manufacturer’s website to identify the bulb’s location. Typically, the blinker bulb is located within the headlight or taillight housing assembly. Depending on your vehicle’s make and model, you may need to remove the headlight assembly or taillight cover to reach the bulb.
Step 3: Remove the Old Bulb
Once you’ve located the blinker bulb, it’s time to remove it. You may need to twist, pull, or press the bulb’s connector to release it. If the bulb is secured with metal clips or screws, use a screwdriver to remove them. After removing the bulb, inspect the socket for corrosion or damage.
Step 4: Replace the Bulb
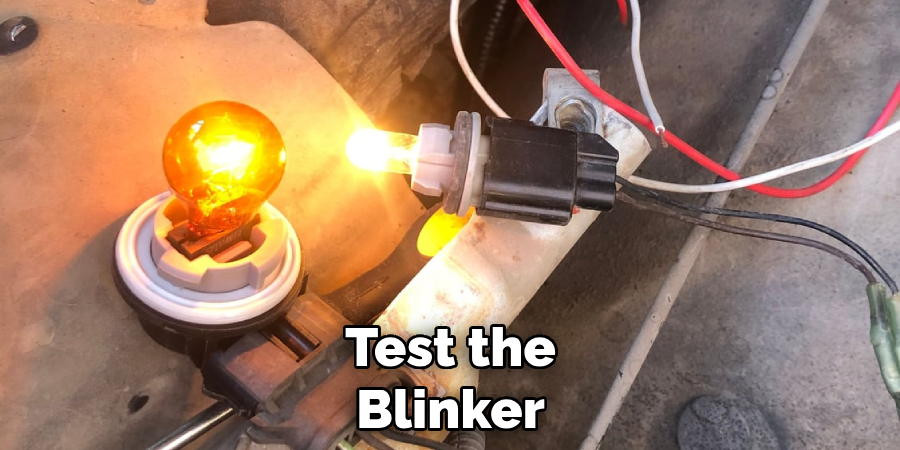
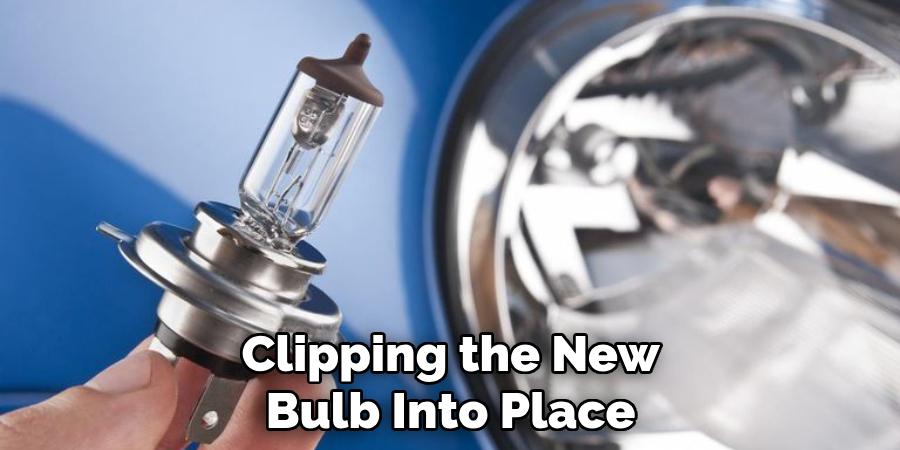
Now that you’ve removed the old bulb, it’s time to replace it with a new one. Make sure you’re using the correct bulb size and type. Avoid touching the bulb’s glass surface, as the oil and grease from your fingers could cause it to break prematurely. Finally, reinsert the bulb into the socket and test its operation. If the bulb doesn’t light up, test the car’s wiring or switch.
Step 5: Reassemble and Test the Blinker
After replacing the bulb, it’s time to reassemble the housing assembly or taillight cover. Make sure you’re reinstalling any metal brackets or screws you removed in earlier stages. Finally, test the blinker by turning the keys to the “on” position and activating the blinker switch to see if everything works correctly. Double-check your work or consult a professional if the bulb still doesn’t light up.
Step 6: Dispose of the Old Bulb
Properly disposing of the old bulb is essential for safety and environmental reasons. Carefully wrap it in paper or a cloth to protect yourself from any potential hazards. Then, check with your local waste management authority to determine how to dispose of it. Sometimes, you may need to take it to a dedicated recycling facility.
Step 7: Practice Regular Maintenance
Congratulations! You’ve successfully changed your blinker bulb. To prevent future issues, make sure to practice regular maintenance on your vehicle’s lighting system. Check your bulbs periodically for any signs of wear or damage and replace them as needed. Additionally, clean your headlights and taillights regularly to ensure maximum visibility while driving.
5 Considerations Things When You Need to Change Blinker Bulb
1. Type of Bulb Needed
The first consideration when changing a blinker bulb is determining the type of bulb needed. Depending on the make and model of your vehicle, the blinker bulb may be a halogen, LED, or incandescent bulb. It is important to check your vehicle’s manual or consult a mechanic to ensure you purchase the correct bulb type.
2. Location of Bulb
The location of the blinker bulb will vary depending on the make and model of your vehicle. Some bulbs may be easily accessible from under the hood, while others may require removing a panel or accessing it through the wheel well. It is important to know where the bulb is located before attempting to change it.
3. Tools Needed
Changing a blinker bulb typically requires minimal tools, but it is important to have them on hand before beginning the process. Some common tools that may be needed include a screwdriver, pliers, and possibly a socket wrench. Again, consult your vehicle’s manual or a mechanic for specific tool requirements.
4. Proper Installation
When replacing a blinker bulb, it is crucial to properly install it in order for it to function correctly. This may involve twisting or clipping the new bulb into place and ensuring that all connections are secure. If installed incorrectly, the bulb may not work properly or could potentially cause damage to your vehicle.
5. Potential Electrical Issues
If you have replaced the blinker bulb and it still does not work, there may be an underlying electrical issue at play. This could be caused by a faulty wiring connection or fuse related to the blinker system. In these cases, it is best to consult with a mechanic who can diagnose and fix any potential electrical issues with your vehicle’s blinkers.
5 Benefits of Change Blinker Bulb
1. Improved Visibility
One of the main benefits of changing your blinker bulb is improved visibility on the road. Blinker bulbs are an important safety feature that alerts other drivers of your intentions to turn or change lanes. A burnt-out or dim-blinker bulb can make it difficult for other drivers to see your signals, increasing the risk of accidents.
2. Compliance with Traffic Laws
In most states, it is illegal to drive with a burnt-out blinker bulb. This means that by changing your blinker bulb, you are ensuring that you comply with traffic laws and avoiding potential tickets or fines.
3. Cost Savings
Replacing a blinker bulb is a relatively inexpensive fix compared to other car maintenance tasks. By regularly changing your blinker bulbs, you can avoid more costly repairs down the line, such as electrical issues caused by a faulty blinker system.
4. Increased Resale Value
If you plan on selling your car in the future, having all functioning lights and signals can increase its resale value. Buyers may be wary of purchasing a car with non-functioning lights, as it could indicate larger underlying issues.
5. Peace of Mind
Lastly, changing your blinker bulb can provide peace of mind while driving, knowing that you are fully equipped with functioning signals and following traffic laws. It also ensures the safety of yourself and others on the road by properly communicating your driving intentions.
Some Common Mistakes People Make When Trying to Change Blinker Bulb
Changing a blinker bulb may seem like a simple task, but it’s a task that can easily be messed up if you’re not careful. One common mistake people make is not checking the owner’s manual or doing research on the correct bulb for their make and model of car. Installing the wrong bulb can lead to a host of problems, including malfunctioning blinkers and even potential electrical damage.
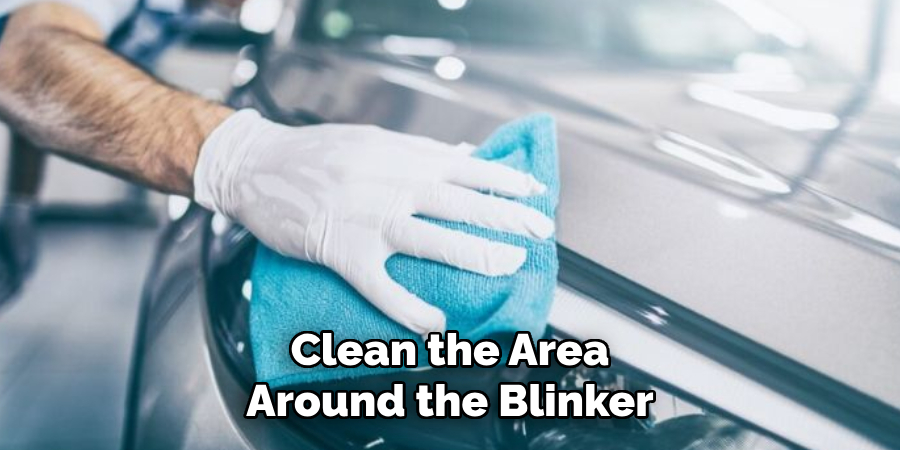
Another mistake is not taking the time to properly clean the area around the blinker before installation. Dirt and debris can prevent the bulb from securing properly, causing it to flicker or malfunction. So, next time you’re changing a blinker bulb, take the time to do a bit of research and make sure you’re taking the proper precautions.
Conclusion
And that’s it – replacing a blinker bulb may not be as daunting as it seems! You can change your vehicle’s blinker bulb safely and effectively by following the above steps. Remember, blinker bulbs are critical components of your vehicle’s safety system, and they should be checked frequently to ensure they are working correctly.
If you’re still unsure of how to change the blinker bulb, consult your mechanic or take your vehicle to the nearest garage for a professional replacement. Thanks for reading our post about how to change blinker bulb.

About
JeepFixes Team is a skilled author for Jeep Fixes, bringing 6 years of expertise in crafting a wide range of jeep fixes. With a strong background in jeep fixes work, JeepFixes Team’s knowledge spans various types of fixtures, from decorative pieces to functional hardware, blending precision with creativity. His passion for jeep fixes and design has made him a trusted resource in the industry.
Professional Focus:
Expert in Jeep Fixes : JeepFixes Team aesthetic specializes in creating durable and innovative jeep fixes, offering both appeal and functionality. His work reflects a deep understanding of jeep fixes techniques and materials.
Sustainability Advocate : He is dedicated to using sustainable practices, ensuring that every fixture is crafted with eco-friendly methods while maintaining high-quality standards.
In his writing for jeep fixes, JeepFixes Team provides valuable insights into the latest trends, techniques, and practical advice for those passionate about jeep fixes, whether they are professionals or DIY enthusiasts. His focus on combining artistry with engineering helps others discover the true potential of jeep in design.