

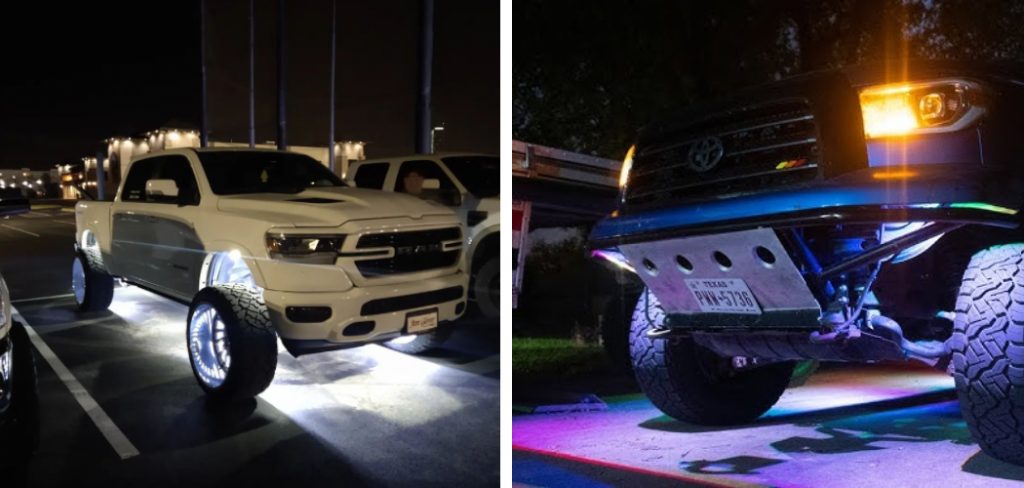
Are you looking for a way to add some pizzazz to your off-road vehicle or ATV? One popular option is to install rock lights, which illuminate the underside of your vehicle and make a statement on the trails. However, drilling holes in your vehicle can be a daunting prospect. Luckily, there is a way to install rock lights without drilling! In this blog post, we will walk you through the steps on how to install rock lights without drilling.
Can You Install Rock Lights Without Drilling?
If you love off-roading and want to add some impressive lighting to your vehicle, you might be wondering about the installation process. Luckily, there are options if you want to install rock lights without drilling. One of the easiest options for installation is to use magnetic mount lights, which can be attached to the body of your vehicle without drilling. These lights can be adjusted easily and provide a great glow that adds visual interest to your ride.
Alternatively, you can use adhesive-backed light strips for a more subtle look. These strips can be attached under fenders or in wheel wells, lighting up your vehicle without spoiling the aesthetic. With these options and more, you can enjoy all the fun of rock lights without any drilling.
Why Should You Install Rock Lights Without Drilling?
When it comes to adding lights to your vehicle, you may be hesitant to drill into your vehicle’s body or frame. Luckily, rock lights offer a solution that requires no drilling at all. Installing rock lights without drilling allows you to illuminate your vehicle’s undercarriage without compromising its integrity. Plus, the installation process is quick and easy.
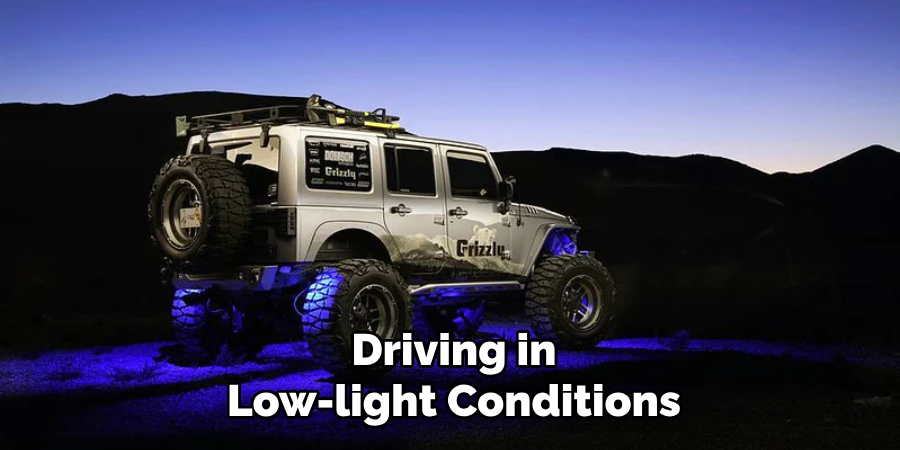
By adding rock lights to your vehicle, you’ll not only enhance its appearance but also increase its functionality, particularly when off-roading or driving in low-light conditions. Don’t let the fear of drilling keep you from adding a touch of style and functionality to your ride – consider installing rock lights without drilling today.
How to Install Rock Lights Without Drilling in 7 Easy Steps
Step 1: Gather Supplies
The first thing you will need to do is gather the necessary supplies. For this installation, you will need rock lights, a screwdriver, tie wraps, electrical tape, and a pair of pliers. It’s important to choose high-quality rock lights that are specifically designed for vehicles, as they will be more durable and long-lasting than those meant for other purposes.
Step 2: Find a Secure Location
Next, you will need to find a secure location to place the rock lights. Look for an area that is protected from rocks and debris, as well as heat and moisture. The best locations are usually tucked away near the wheels or on the vehicle’s underside. Once you have found a satisfactory location, use the tie wraps to secure the lights in place.
Step 3: Connect the Wiring
Now, it’s time to connect the wiring. Locate a power source, such as a battery or a fuse box, and use the pliers to strip the insulation from the wires. Connect the negative wire to the ground and the positive wire to the power source. Once the wiring is complete, use electrical tape to secure the connections and prevent any short circuits.
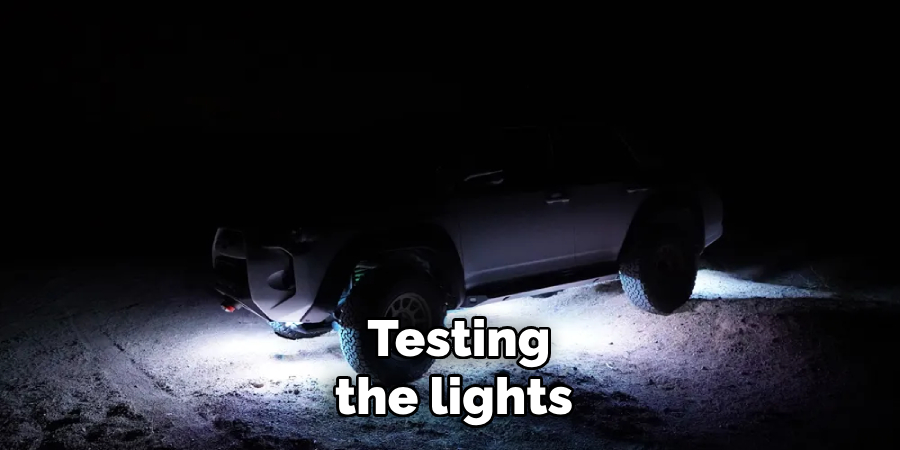
Step 4: Test the Lights
Before finishing the installation, it’s important to test the lights to ensure they function properly. Turn on the vehicle and check that all the rock lights are lit. If any are not working, check the wiring connections and try again. Testing the lights after driving on rough terrain is also a good idea to ensure they are secure and still functioning.
Step 5: Secure the Wiring
Once you have confirmed that all the rock lights are working, use zip ties or electrical tape to secure any loose wiring. This will prevent them from getting caught in debris or becoming damaged while off-roading. Make sure the connections are still accessible in case any maintenance is needed.
Step 6: Clean Up
Now that everything is securely installed and tested, it’s time to clean up. Use zip ties or tape to neatly bundle any excess wiring and tuck them away out of sight. This will give your vehicle a cleaner look and prevent any potential hazards or damage.
Step 7: Enjoy Your New Rock Lights!
Congratulations, you have successfully installed rock lights without drilling! Take your vehicle out for a spin and admire the new addition. Not only do they add some style to your ride, but they also serve as functional lighting when off-roading at night.
5 Considerations Things When You Need to Install Rock Lights Without Drilling
1. Type of Rock Lights
Before installing rock lights without drilling, it’s important to consider the type of rock lights you want to use. There are two main types: stick-on and magnetic. Stick-on rock lights use adhesive to attach to the vehicle, while magnetic ones use magnets to stay in place. Both have their pros and cons, so it’s important to choose the type that best fits your needs.
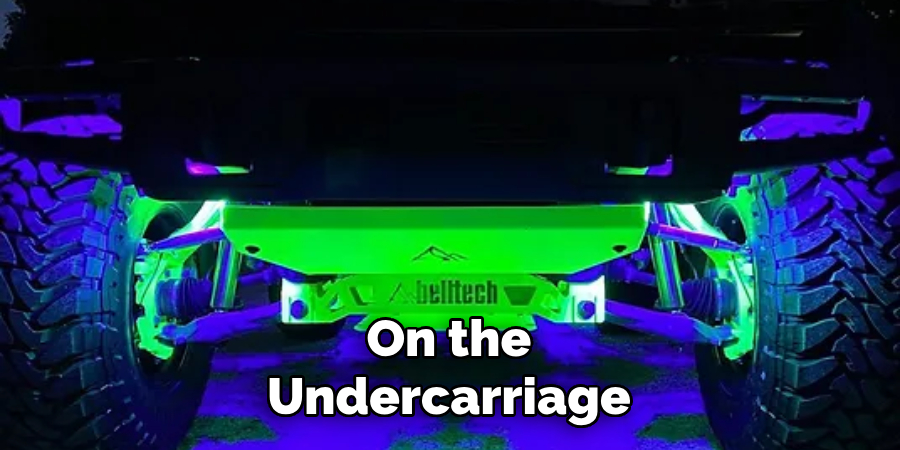
2. Location on Vehicle
Another important consideration is deciding where on your vehicle you want to install the rock lights. Some popular locations include under-the-wheel wells, along the sides of the vehicle, or on the undercarriage. Choosing a location that will provide enough light and won’t interfere with other parts of your vehicle is important.
3. Power Source
The power source is another factor to consider when installing rock lights without drilling. Most rock lights can be powered by a 12-volt battery or tapping into an existing electrical system on your vehicle. Whichever option you choose, ensure it is compatible with your chosen type of rock lights.
4. Quality of Materials
When choosing rock lights for installation without drilling, it’s important to consider the quality of materials used in their construction. Look for durable materials that can withstand various weather conditions and off-road terrain. Additionally, read reviews or ask for recommendations from others who have installed similar rock lights.
5. Installation Process
Finally, before beginning installation, make sure you understand the process involved in installing rock lights without drilling. While it may seem like a simple task, it’s important to follow proper instructions and take necessary precautions to ensure a successful and safe installation process.
Benefits of Install Rock Lights Without Drilling
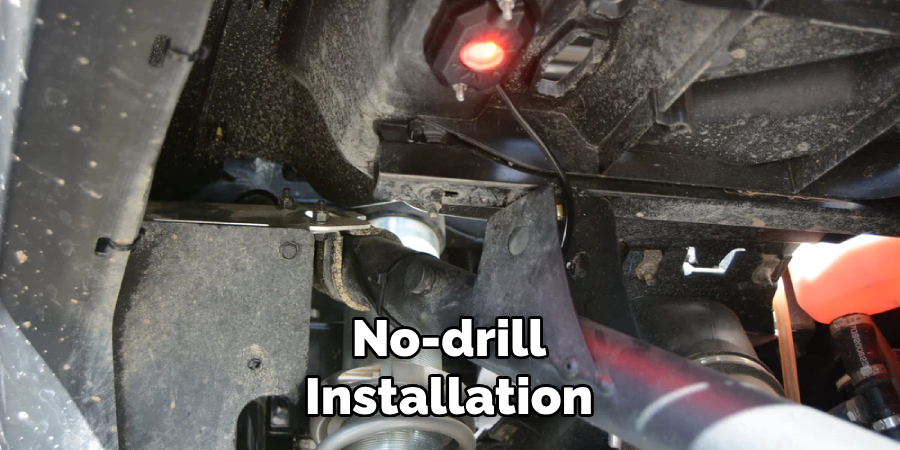
Installing rock lights without drilling can provide a number of benefits for car enthusiasts. For starters, drilling holes in a vehicle can compromise its structural integrity and lower its resale value. By opting for a no-drill installation method, you can protect your car’s body while still achieving the same impressive lighting effects.
Using 3M adhesive tape or magnetic mounts, you can easily attach your rock lights to your car’s undercarriage without causing any permanent damage.
Additionally, a no-drill installation allows for greater flexibility regarding light placement. You can easily reposition or remove your lights as needed without having to fill in any holes or leave behind unsightly marks. Overall, installing rock lights without drilling is a convenient and safe way to enhance your car’s appearance without sacrificing quality or durability.
4 Common Mistakes People Make When Trying to Install Rock Lights Without Drilling
1. Not Choosing the Right Type of Rock Lights
One common mistake people make when installing rock lights without drilling is not choosing the right type of rock lights for their vehicle. There are various types of rock lights available, including surface mount, flush mount, and strip lights. Each type has its own installation method, so it’s important to choose the right one for your specific vehicle.
2. Not Properly Securing the Lights
Another mistake people make is not properly securing the lights once they have been installed. If the lights are not securely attached to the vehicle, they can become loose and fall off while driving. This not only poses a safety hazard but can also cause damage to your vehicle or other vehicles on the road.
3. Not Following Instructions
Many people try to install rock lights without drilling by simply guessing or using trial and error instead of following instructions. This can lead to improper installation and potentially cause problems down the road. It’s important to thoroughly read and follow the instructions provided by the manufacturer for a successful installation.
4. Using Poor Quality Lights
Lastly, using poor-quality rock lights can result in a failed installation or even damage to your vehicle. It’s important to invest in high-quality lights that are specifically designed for off-roading and can withstand harsh weather conditions. Cheaper options may seem appealing but may not be as durable or reliable in the long run.
Conclusion
Installing rock lights without drilling may seem daunting, but with the right supplies and a little effort, anyone can do it. By following these steps, you can add some personality to your off-road vehicle without sacrificing the integrity of your vehicle. We hope this guide has been helpful and wish you happy trails! Thanks for reading our post about how to install rock lights without drilling.