
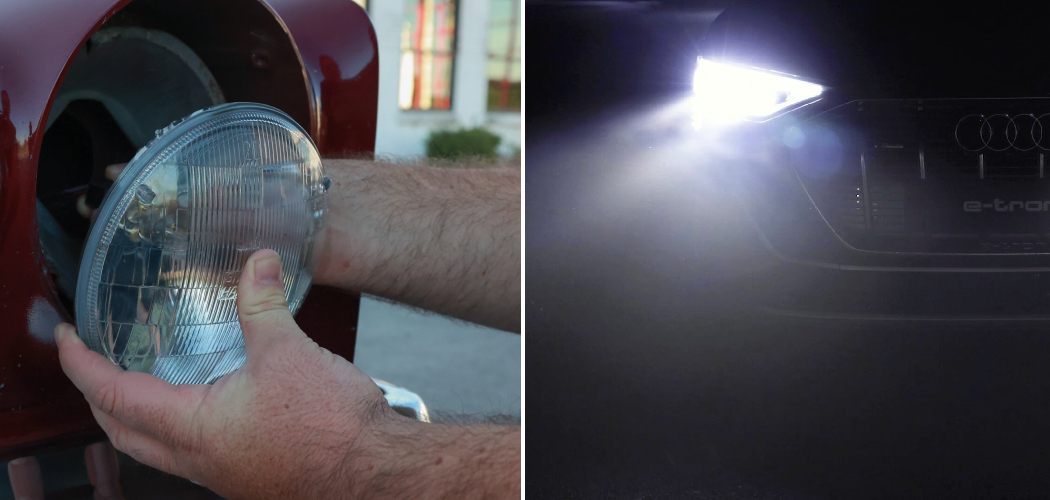
Have you ever been blinded at night by oncoming cars with headlights that seem way too bright? Or struggle to see the road clearly with your headlights not illuminating the path ahead very well? Adjusting your LED headlight beam pattern is a simple solution that can improve visibility for you and reduce glare for other drivers.

Whether your headlights seem too dim or are pointed too high and creating dangerous glare, with just a few minor adjustments, you can optimize your lights to see and be seen better on the road at night.
In this post, I’ll walk through the quick process of how to adjust led headlight beam pattern to both improve safety and avoid unwanted attention from other motorists or law enforcement. Let’s get started adjusting those lights!
What Will You Need?
Before you get started, make sure you have the necessary tools and materials on hand to complete this task. You will need:
- A screwdriver, preferably a Phillips head
- Masking tape or a marker
- An area with a flat surface and a wall approximately 25 feet away from your vehicle
Once you have gathered these materials, you can adjust your LED headlight beam pattern.
10 Easy Steps on How to Adjust Led Headlight Beam Pattern
Step 1: Place Your Vehicle
Park your vehicle on a flat surface about 25 feet away from a blank wall or garage door. Make sure the car is parallel to the wall and your headlights are directly facing it. Keep the car in parking mode or turn off the engine for safety.
Step 2: Mark the Headlights’ Center Points
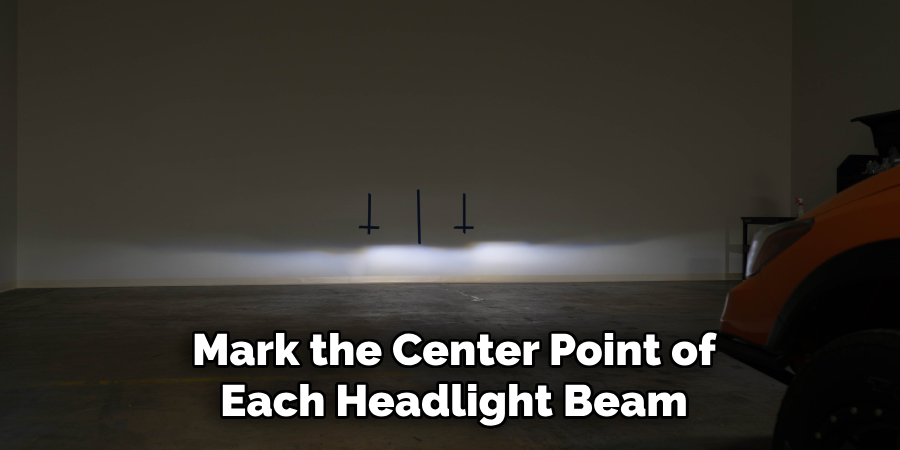
After positioning your vehicle, exit and stand in front of the headlights. Use your masking tape or marker to mark the center point of each headlight beam on the wall. You’ll use this reference point when adjusting the beam direction. Make sure these marks are at the same height as the center of your headlights and central to the ground.
Step 3: Mark the Horizontal and Vertical Adjustment Points
Now, you must determine the headlight beams’ horizontal and vertical adjustment points. You can usually find these points on the headlight assembly, which can be adjusted with your screwdriver. On the wall, draw a straight line that crosses the center of the headlight beam reference point horizontally and another line vertically. These lines form a crosshair that helps align your headlights accurately.
Step 4: Adjust the Headlights
Now, it’s time to make the actual adjustments. Locate the adjustment screws on your headlight assembly. Typically, there’s one for horizontal and one for vertical adjustment. Slowly turn these screws to adjust the direction of the beam. The goal is to align the brightest part of the beam with the crosshair you created on the wall.
Remember, turning the screw clockwise generally raises the shaft, while counterclockwise lowers it. For the horizontal adjustment, turning the screw one way will move the beam to the right, and the other way will move it to the left. Take your time with this step to ensure accurate readjustment.
Step 5: Check the Beam Alignment
After adjusting the headlights, step back and inspect the alignment of the beams. The brightest portion of the light should align perfectly with the crosshair marks on the wall.
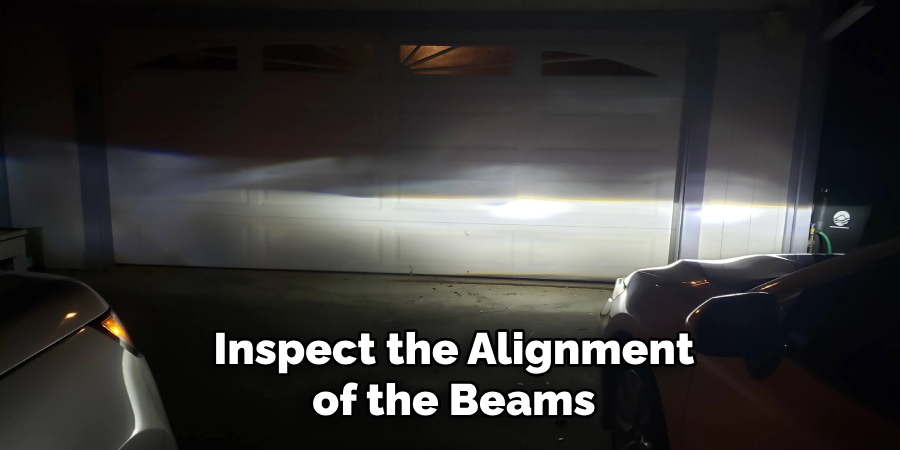
The light beam should be slightly downward to the right to avoid dazzling oncoming drivers. If the alignment is off, repeat Step 4 until you achieve the desired orientation. Remember, the goal is to have the best visibility for yourself without causing visibility issues for other drivers.
Step 6: Verify in Real Driving Conditions
After you’ve achieved the desired alignment of your LED headlight beams, it’s essential to verify the adjustments in actual driving conditions. Wait until it’s dark, then take your vehicle for a short drive on different types of roads (urban streets, rural areas, highways) to ensure your headlights are illuminating the path ahead adequately without causing glare to other drivers.
If you find that the lights aren’t adjusted well, don’t worry. Return to your flat surface and blank wall, and repeat the previous steps until you’re satisfied with the results. Remember, safety is paramount, so take the time to ensure your headlights are adjusted correctly.
Step 7: Regular Maintenance and Check
Once you’ve correctly adjusted your LED headlight beam, it’s important to check and maintain the alignment regularly. Changes in load, tire pressure, and even minor bumper damage can alter your headlight’s aim. Ideally, you should check your headlight alignment every time you replace or clean your headlights or at least once a year. Regular maintenance ensures your headlights provide optimal visibility and safety on the road.
Step 8: Know When to Seek Professional Help
While adjusting your LED headlight beam pattern is straightforward, it may sometimes require professional assistance. If you’ve repeated these steps and still can’t achieve the proper alignment, or your headlights are not lighting up the road adequately, it may be time to seek help from a professional.

Auto repair shops have specialized tools and trained technicians who can make precise adjustments and diagnose any other potential problems with your headlights. Remember, the goal is to ensure maximum visibility and safety while driving at night.
Step 9: Revisit Instructions and Manufacturer’s Guidelines
Specific car models may sometimes require unique steps or techniques to adjust the LED headlight beam pattern. If you’re having difficulty or the efforts have not improved your headlight alignment, it’s a good idea to revisit your vehicle’s specific owner’s manual or manufacturer’s guidelines.
These resources often include model-specific instructions that can provide further clarity and guidance. Remember that while the general process of adjusting headlight beams is universal, some nuances can depend on your vehicle’s make and model.
Step 10: Confirm the Outcome and Maintain Safety
After refining your vehicle’s LED headlight beam pattern, confirming the outcome is crucial. Ensure that you have achieved the optimal visibility and safety for night driving. Your LED headlights should now be correctly aligned, providing bright and focused illumination on the road ahead without blinding oncoming traffic.
Always remember the main objective of this process is to ensure both your safety and the safety of other road users. In case of any persistent issues or doubts, don’t hesitate to consult with a professional to avoid any potential mishaps.
By following these steps and guidelines, you can easily adjust your LED headlight beam pattern for maximum efficiency and safety on the road.
5 Additional Tips and Tricks
- Understand Your Vehicle’s Specifics: Each vehicle can have differing headlight assemblies and adjustment mechanisms. Being familiar with your vehicle’s specifics before starting the adjustment process is beneficial. This information can typically be found in the vehicle owner’s manual.
- Invest in High-Quality Tools: Investing in a good quality screwdriver or socket set can make the adjustment process easier and more precise. Remember, using incorrect or low-quality tools can risk damaging the adjustment screws.
- Patience is Key: Don’t rush the process. Adjusting your LED headlight beam pattern requires patience and precision. If you’re not seeing immediate results, take a break and return to the task with fresh eyes.
- Weather Conditions Matter: The weather conditions can affect your headlights’ performance. It’s a good idea to check your headlight alignment during different weather conditions – like on a rainy night or foggy morning – to ensure optimum visibility.
- Consider Headlight Replacement: If your headlights are continuously misaligned, consider a replacement. Persistent issues with headlight alignment could indicate a deeper problem with the headlight assembly itself. Considering this, it’s best to consult with a professional.

With these additional tips and tricks, you can ensure your LED headlights are always properly aligned for the safest and most efficient night-time driving experience.
5 Things You Should Avoid
- Avoid Guesswork: Do not attempt to adjust your LED headlight beam pattern based on assumptions or guesswork. Always use precise methods and tools for accurate results.
- Never Ignore Warning Signs: If your headlights are frequently misaligned or you notice a significant decrease in nighttime visibility, do not ignore these signs. These might indicate more profound issues with your vehicle’s headlights or electrical system.
- Don’t Neglect Regular Maintenance: Avoid putting off regular headlight maintenance. Consistent checks and adjustments ensure that your headlights give you visibility.
- Avoid Hurrying the Process: Take your time with the adjustment process. Proper alignment takes time, and rushing might result in improper adjustments that could compromise visibility and safety.
- Do Not Overlook Manufacturer’s Instructions: Remember the specific instructions provided by your vehicle’s manufacturer. Some vehicles may require particular tools or techniques for correct LED headlight alignment.
By avoiding these common mistakes, you can ensure that your LED headlights are always properly aligned for optimal visibility and safety on the road.
Conclusion
In conclusion, learning how to adjust LED headlight beam pattern is essential for every driver. Not only does it improve your visibility on the road, but it also ensures the safety of other drivers and pedestrians. Following the simple steps outlined in this blog post, you can easily adjust your headlights and achieve the optimal beam pattern for your vehicle.
Remember that regular maintenance and care for your vehicle are necessary for its longevity and optimum performance. By mastering how to adjust the LED headlight beam pattern, you’re taking a proactive step towards ensuring your safety and that of others on the road while also prolonging the lifespan of your headlights.
So go ahead and give it a try – you’ll see the positive difference it makes on your next nighttime drive!